


Setting up the menu
Settings can be made using the OSD Switch located on the back of
the camera.
1. Press the button to access the SETUP mode.
The SETUP menu is displayed on the monitor.
2. Please select any function you wish to activate
by using the UP/DOWN selections.
The cursor can be moved up or down by using the
UP/DOWN selections.
Position the cursor to point to the function you wish to operate.
* MAIN-menu : Use UP/ DOWN selections. / SUB-menu : Use LEFT/ RIGHT selection
3. Change the status of the selected feature using the LEFT/RIGHT selections.
When the LEFT or RIGHT selection is done, available values and modes are displayed in order. Please
keep the selection until you get to the mode you wish to operate.
4. When completed, move the cursor
indicator to „EXIT‟ position and press the Button to finish
the setting.
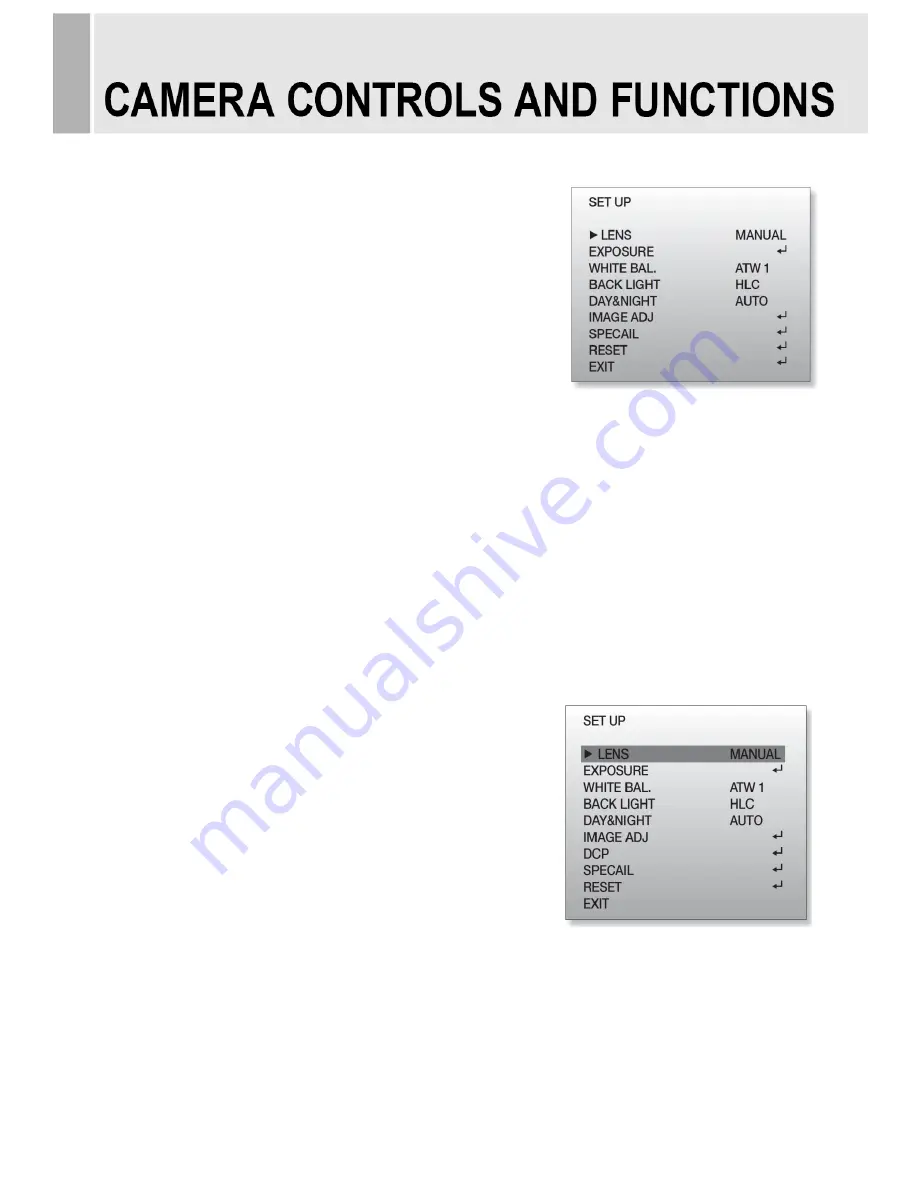
1.SET UP MENU
1-1. LENS
(1) Manual Mode
- The level of brightness of a screen is automatically
controlled using the Electronic Shutter, AGC, and Sense-Up.
(2) DC Iris Mode
- DC IRIS, AGC, and Sense-Up are used to automatically
control the brightness level of a screen.
(3) Video Iris Mode
- VIDEO IRIS, AGC, and Sense-Up are used to automatically
control the brightness level of a screen.
- 17 -
< SET UP START-UP SCREEN >


