To Reset the DVD Setting
After releasing the front panel, use a pencil or any non-metalic object to press & hold the reset
button for five seconds to reset the main unit and the unit will return to the factory default
settings.
ET
RE
S
E - 14
Press SET UP button on remote control or long press AS/PS button to bring
up the SET UP Menu, select MISC then select DEFAULT, the DVD Setting will
resume to factory default value .
The unit is allowed to connect with external Audio /
Video system such like Digital Camera or Game
Console. You can connect the external A/V system
thru the A/V in jack on front panel. After connect with
external A/V system, pressing mode to “A/V In 2” to
enjoy this external A/V system on this unit.
7) FRONT PANEL A/V IN JACK
3.5mm A/V Cable ( not included )
Video
Right Audio
Left Audio
Ground
1
2
3
4
The unit is only support the 3.5mm A/V Jack Pin Assignment shown as the diagram..
The unit is support A/V out thru the A/V Jack on front panel. For more details
operation, please refer to “Menu operation-AV Jack
18)
Display / Menu Button
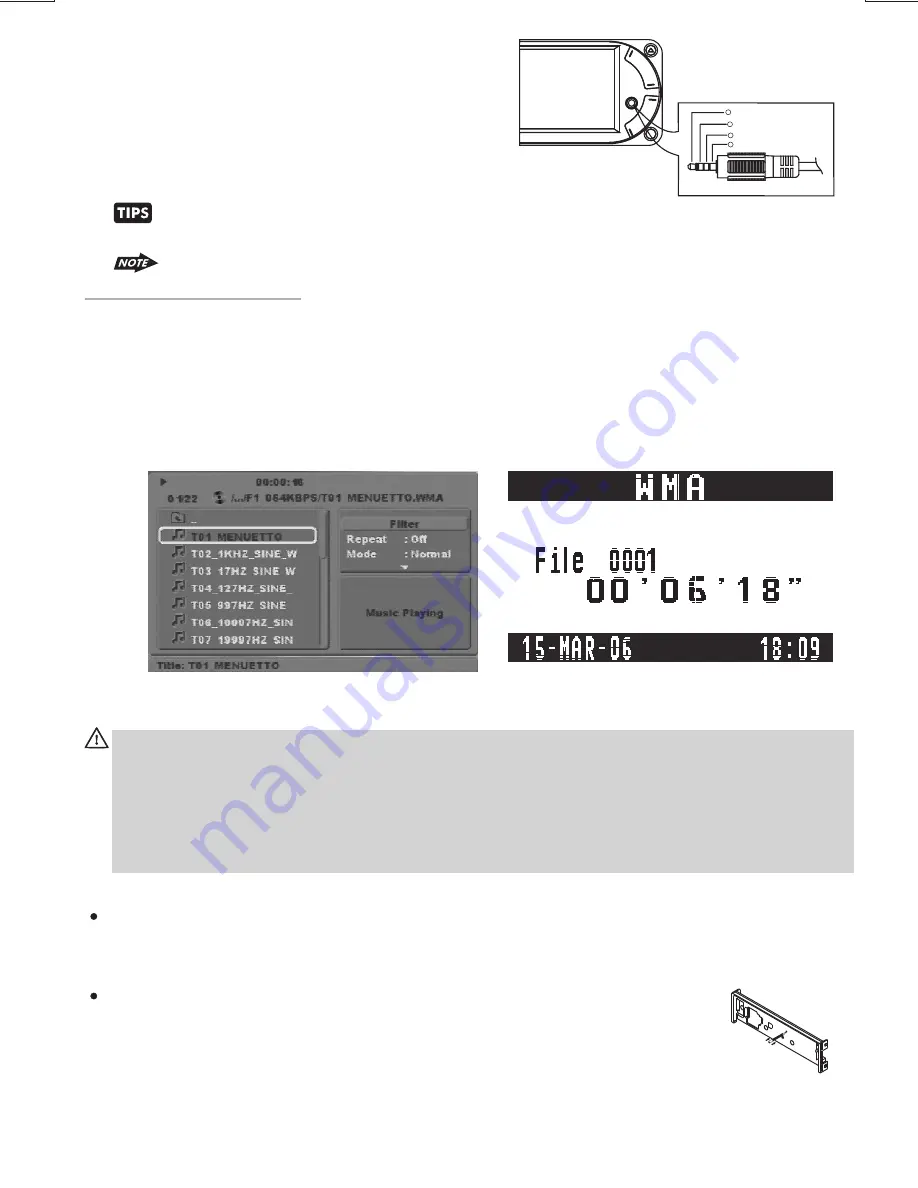
This DISPLAY inter-change button can be used to interchange between the two types of
DISPLAY INTERFACE, the 'Image Display Interface” & 'Big Font Display interface'. This is
useful when playing a CD or MP3 or WMA or other music disc and if user prefer to see the CD
Track no / MP3 File number and elapse time with bigger numerical fonts, the Big Font Display
offer a better read out for the numerical display. User can press the DISP button to inter-
change from Image Display Interface to Big Font Display Interface.
Image Display Interface
Big Font Display Interface
Caution:
In some countries, it's unlawful to operate a vehicle while video is displayed in the driver's
viewing area. Pls always switch the unit's display to "Big Font Type Display" mode by pressing
the DISP/MENU button while driving.
For safety reason, the driver should only enjoy / watch the video while the car is in parking
mode.


