background image

Call Recorder VoIP II Manual EN v2.3         © 2017-2018 Vidicode          21 


Click ‘View Recycle Bin’ in the List view


Select one or more recordings you want to restore 


Right click  


Choose 

‘R

estore


or 


Open the Actions menu  


Go to Recycle Bin 


Select one or more recordings you want to restore 


Choose ‘Restore’


or 


Open  the  Actions  menu 

or  click  ‘View  Recycle  Bin’  in 

the List view 


Go to Recycle Bin 


Select one or more recordings you want to restore 


Right click  


Choose 

‘R

estore


5.1.5


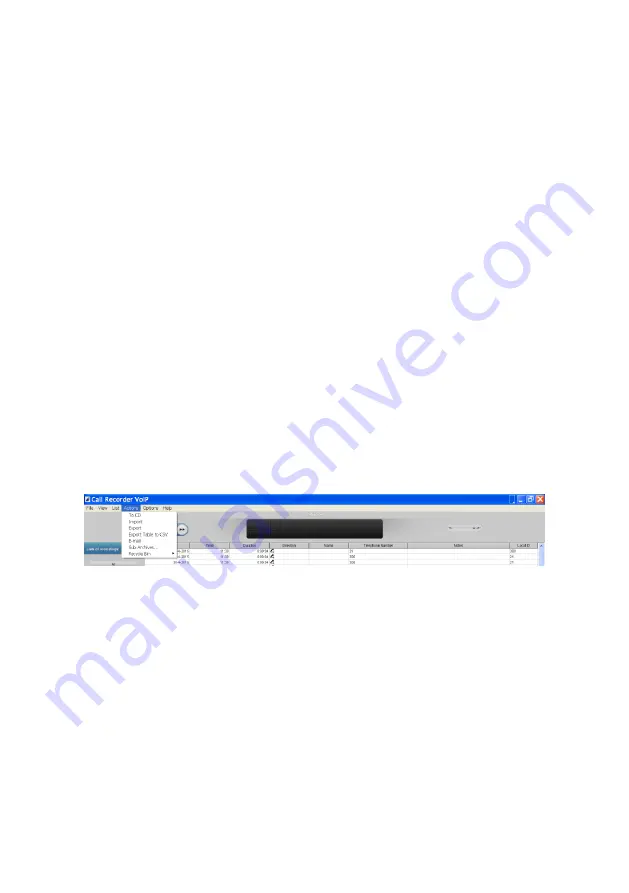
Actions 

In  the  Actions  tab,  you  can  Back  up  the  recordings  to  CD,  Import  an 
previously made back up, Export recordings as audio, E-mail recordings 
and view Sub archives.  


To CD 

This  function  is  used  to  back  up  or  export  an  entire  database  or  a 
selection of recordings on CD.  
 

Note  that  you  need  to  use  a  separate  CD-writing  application  for 
actually writing the files to CD. 


If you do not want to burn the entire database onto CD 


Use  the  Search  Tab  to  make  a  selection  of  the 

recordings you want to back up on CD.  

Summary of Contents for Call Recorder Single II

Page 1: ...Call Recorder VoIP II Manual EN v2 3 2017 2018 Vidicode 1 Call Recorder VoIP II Manual V2 3...

Page 2: ...N mode 5 2 2 Hardware installation USB mode 6 2 3 Powering the IP Phone 6 2 4 LEDs Button 7 2 5 Software installation 7 3 Options menu 9 3 1 Language 9 3 2 Setup 9 3 2 1 Recording 9 3 2 2 Licensing 11...

Page 3: ...8 5 1 Main Menu 18 5 1 1 File 18 5 1 2 View 19 5 1 3 List 19 5 1 4 The Recycle Bin 20 5 1 5 Actions 21 5 2 Names en Notes 25 5 3 List and Search buttons 25 5 3 1 The List button 25 5 3 2 The Search bu...

Page 4: ...Recording from an IP Softphone does not need the CR VoIP unit to be connected during recording but it is still needed during the installation of the software There are 2 types of Call Recorder VoIP w...

Page 5: ...PC software 2 1 Hardware installation LAN mode Connect the LAN cable from the Telephone to the CR VoIP port 1 TEL Connect the Wall LAN switch to the CR VoIP port 2 LAN Connect the LAN cable from the P...

Page 6: ...CR VoIP does not change the powering of the IP Phone The IP Phone can be powered by its own mains adaptor or by PoE Power over Ethernet With PoE the CR VoIP always passes the PoE to the IP Phone so th...

Page 7: ...installation The CR VoIP should be powered Now place the CD in your computer and the software installation starts If the installation does not start automatically then locate the file CRVoIPInstall ex...

Page 8: ...are now important to configure such as Select the language of the user interface Add one or more recorder channel licenses Enter the IP address es of your local phone s Note You need to enter at least...

Page 9: ...2018 Vidicode 9 3 Options menu 3 1 Language The Call Recorder VoIP software supports several languages and it is possible to change the used language at any moment Select your language and click 3 2 S...

Page 10: ...e that the shown direction of the call is incorrect Note2 This IP address is not used as a filter Avaya This option enables support for the special Avaya IP Office H 323 protocol Minimum Duration Mini...

Page 11: ...recording channels is determined by the available license keys up to a maximum of 4 channels At least 1 license key must be entered otherwise no call recording is done To be able to move the license f...

Page 12: ...ecording can be selected from the list In most cases the sound card of the computer is used for playback Channel Also the channel of the Playback device must be selected For the channel selection of t...

Page 13: ...press the Browse button to select an existing directory Automatic removal on program exit When this option is enabled and the calls are as old as the entered number of days or older then the recorder...

Page 14: ...system tray when main Window is closed When this option is on the application will move to the system tray and continue to record calls when the main window is closed To completely close the software...

Page 15: ...he program can be protected separately Check the item you want to protect Enter the password Click Apply to save the password Upon deleting a recording or entering the settings the user will be prompt...

Page 16: ...l Recorder VoIP are stored in a database The setting Visible Columns allows you to select which columns are displayed The option Auto size columns can be checked if you want the columns in the list vi...

Page 17: ...e the playback of the currently selected recording C Stop the playback or recording D Moves the playback position forward Keep the button pressed to increase the speed E Information about the current...

Page 18: ...st of recordings the large remaining area 5 1 Main Menu The main Menu gives access to the sub menu s File View List Actions Options and Help In this chapter we will explain these menu options 5 1 1 Fi...

Page 19: ...ht corner of the screen All applications running in the background are visible there as an icon To retrieve the application from the system tray just click on the icon 5 1 3 List Recordings are saved...

Page 20: ...d or Right click and choose Delete In both cases a dialogue opens asking you to confirm the deleting Use the SHIFT Delete keys to permanently delete a recording without moving it to the recycle bin fi...

Page 21: ...ne or more recordings you want to restore Right click Choose Restore 5 1 5 Actions In the Actions tab you can Back up the recordings to CD Import an previously made back up Export recordings as audio...

Page 22: ...tton Selection will be active Browse to the location where you want to store the Export directory using the Browse button this can either be on the PC or on the network Adjust the maximum size if need...

Page 23: ...gs I is the number of the recording D is the date of the recording T is the time of the recording X is the duration of the recording N is the name associated with the recording P is the telephone numb...

Page 24: ...ble location for the supervisor like a network drive The combined Archive is created by copying new recordings from the Sub Archives to the Current Archive To define which Sub Archives you want to acc...

Page 25: ...ain window double click on the Notes of the recording or right click and select Edit The following dialog opens To change the name that is attached to the telephone number edit the name To attach note...

Page 26: ...ch button In the Search tab you can define a Search A Query based on a recording s date week time of day duration device telephone number name or notes Click on the in front of the properties you want...

Page 27: ...7 The query will be saved with the entered name and a shortcut to the saved query will be added to the List tab To run the query select on the button in the List tab Naturally new recordings that sati...

Page 28: ...t Choose Help in the menu Select Check for Update In the pop up windows click Check for Update In the case of an available update a short list of fixes of the last version is displayed Press Download...

Page 29: ...r issues concerning the use of any Call Recorder Vidicode is not a source of official interpretation of laws of any country or state and shall not be construed as a source for making decisions whether...

Reviews: