Victrola VTA-370B Instruction Manual Download Page 14

14 


6)    Press STOP button to cancel the recording and the number of tracks will appear on the display.


Note: When CD audio is recording to USB, the CD can be recorded while CD is stopped OR while 
playing. Recording volume is preset and cannot be adjusted. The listening volume does not affect 
the recording. 

 
Recording from CD-MP3 to USB: 

Please note: No audio will be heard when recording, this is normal.   
When recording from CD-MP3 to USB, the recording starts from track one on the CD and will record 
until the entire CD is copied to the USB drive. You can press STOP to stop the recording process at 
any time, but this will limit the tracks shown on the USB. We recommend recording the entire 
CD-MP3 to USB and then deleting files that are not preferred. 

 
1)  First Connect the USB memory stick into USB port. 
2)  Select CD Source Mode, then put a CD-MP3 on the tray and close the tray. 

3) 

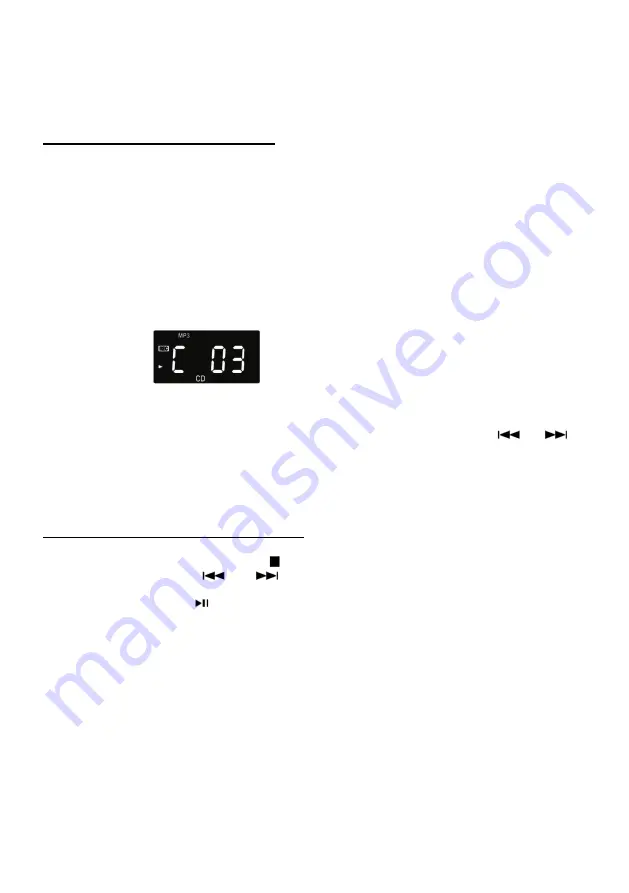
The unit will enter the CD mode, the CD can be recorded while CD is stopped OR while playing. 


4.      To record from the beginning of the CD-MP3: 

a) Press the RECORD button to enter the recording mode and it will start to copy the entire   
CD-MP3 onto the USB from the first track. 


b) When recording is finished, it will exit the record mode automatically. 

5)     

To record from a specific track:


a) Select the exact track you want to record using the 

BACK and NEXT buttons

 (

  or 

).


b) Then press RECORD to start recording from that specific track. 


c) Press STOP to end the track recording. 

     
6)      When your recording has been stopped, the number of tracks will appear on the display. 
 

Erasing the Last Track or All Tracks: 

1. With an USB memory stick inserted, select the USB function by rotating the selector knob. 
2. In stop mode, press and hold the STOP   button, “dEL 1” will appear on the display. 
3. Press the BACK or NEXT (

  or 

) to select delete one track (“dEL 1”) or delete all tracks 

(“dEL A” ). 

4. Press the PLAY/PAUSE (

) button twice to confirm delete.   

5. If you select to delete one track, the display will appear with the numbers of track at the end. 
6. If you select to delete all tracks, the display will show “no FO” at the end. 


Please note: After recording is complete (depending on the length of the recording), button operation 
might be disabled briefly while the recording is finalized internally. If the buttons do not operate, 
please wait 30 seconds to 1 minute for the unit to finish processing the recording. Unit will then return 
to normal operation. 


Summary of Contents for VTA-370B

Page 1: ...1 MODEL VTA 370B 7 IN 1 TURNTABLE Instruction Manual PLEASE READ THIS INSTRUCTION MANUAL CAREFULLY BEFORE USE AND KEEP IT FOR FUTURE REFERENCE...

Page 2: ...istening to an External Audio Device BT Mode 10 Listening to an External Audio Device AUX Mode 10 Listening to a Vinyl Record 11 Listening to a Cassette Tape 11 USB Memory Stick Playback Recording 11...

Page 3: ...near any heat sources such as radiations heat registers stoves or other apparatus including amplifiers that produce heat 9 Do not defeat the safety purpose of the polarized or grounding plug A polari...

Page 4: ...e apparatus shall not be exposed to dripping or splashing and that no objects filled with liquids such as vases shall not be placed on apparatus 18 The use of the equipment in moderate climate 19 The...

Page 5: ...ss to cancel the recording In USB mode track can be deleted by using this button 10 PLAY MODE In CD USB mode press to select the repeat or shuffle mode When the CD or USB is stopped press to program m...

Page 6: ...ble into the unit Insert the opposite end into the amplifier device Be sure to connect the white plug to the white jack and the red plug to the red jack 21 FM Antenna While tuned to a station in FM mo...

Page 7: ...g a coin or screwdriver Important When you transport the unit turn the screw counter clockwise to secure the turntable C Speed Selector D Tone Arm holder E Tone Arm Before use completely loosen the tw...

Page 8: ...rivate listening first reduce the volume level to minimum Insert your headphones plug into the 3 5mm jack then adjust the volume up by turning the VOLUME knob Note The speakers will automatically be d...

Page 9: ...ent track will be played repeatedly If you press the or button to select another track the track you select will be played repeatedly REPEAT FOLDER Repeat one folder The REPEAT FOLDER icon will show o...

Page 10: ...external device turn on the Bluetooth function NOTE The effective distance between your external device and this apparatus is 10 meters 33ft 4 Wait a moment for VTA 370B to appear on the devices list...

Page 11: ...top of the turntable cover especially while playing a record Listening to a Cassette Tape 1 Rotate to select TAPE function The LED Display will display tAPE Load an audio cassette tape into the unit l...

Page 12: ...d playback To cancel the REPEAT or SHUFFLE mode press the PLAY MODE button repeatedly till the icon disappears from the display Programmed Playback You can program up to 99 tracks for the USB Notes Sh...

Page 13: ...y by pressing the RECORD button during recording Then 00 00 will flash on the display a few seconds and the next audio track will show on the display 7 To stop recording press the STOP and REC and USB...

Page 14: ...copy the entire CD MP3 onto the USB from the first track b When recording is finished it will exit the record mode automatically 5 To record from a specific track a Select the exact track you want to...

Page 15: ...clean a record use a soft anti static cloth to gently wipe the record surface Keep records in their protective sleeves when not in use Always store records upright on their edges Avoid placing records...

Page 16: ...B IEC A CASSETTE PLAYER Track System 4 Track 2 channel stereo Tape Speed 4 8 cm sec Wow and Flutter 0 4 WRMS Frequency Response 125 to 6300 Hz 6 dB RECORD PLAYER Motor DC servo motor Drive System Belt...

Page 17: ...is being used nearby and is interfering with the radio reception Properly tune in the desired station Turn off the interfering TV set FMRADIO The sound is distorted The antenna is not oriented properl...

Page 18: ...s volume not turn up Your device is too far from the unit or there re some obstacle between your device and the unit Ensure the unit is switched to BT mode Move your Bluetooth device closer to unit Tu...

Page 19: ...on with any other antenna or transmitter To maintain compliance with the FCC s RF exposure guidelines place the product at least 20cm from nearby persons IC Statement This device complies with RSS247...

Page 20: ...must be in the original packaging or reasonable substitute to prevent damage Customer Must include full name shipping address and telephone number inside of package No return will be shipped back to a...

Reviews: