Vicon SN240D Quick Manual Download Page 13

13 

3.2   Access from the internet  

Once  connected,  the  network  camera  is  accessible  on  your  local  network  (LAN).  To  access  the 
network camera from the Internet you must configure your broadband router to allow incoming data 
traffic  to  the  network  camera.  To  do  this,  enable  the  NAT  traversal  feature,  which  will  attempt  to 
automatically configure the router to allow access to the network camera. This is enabled from Setup 
> System > Network > NAT. For more information, please see 

“System > Network > NAT” of User’s 

Manual.  


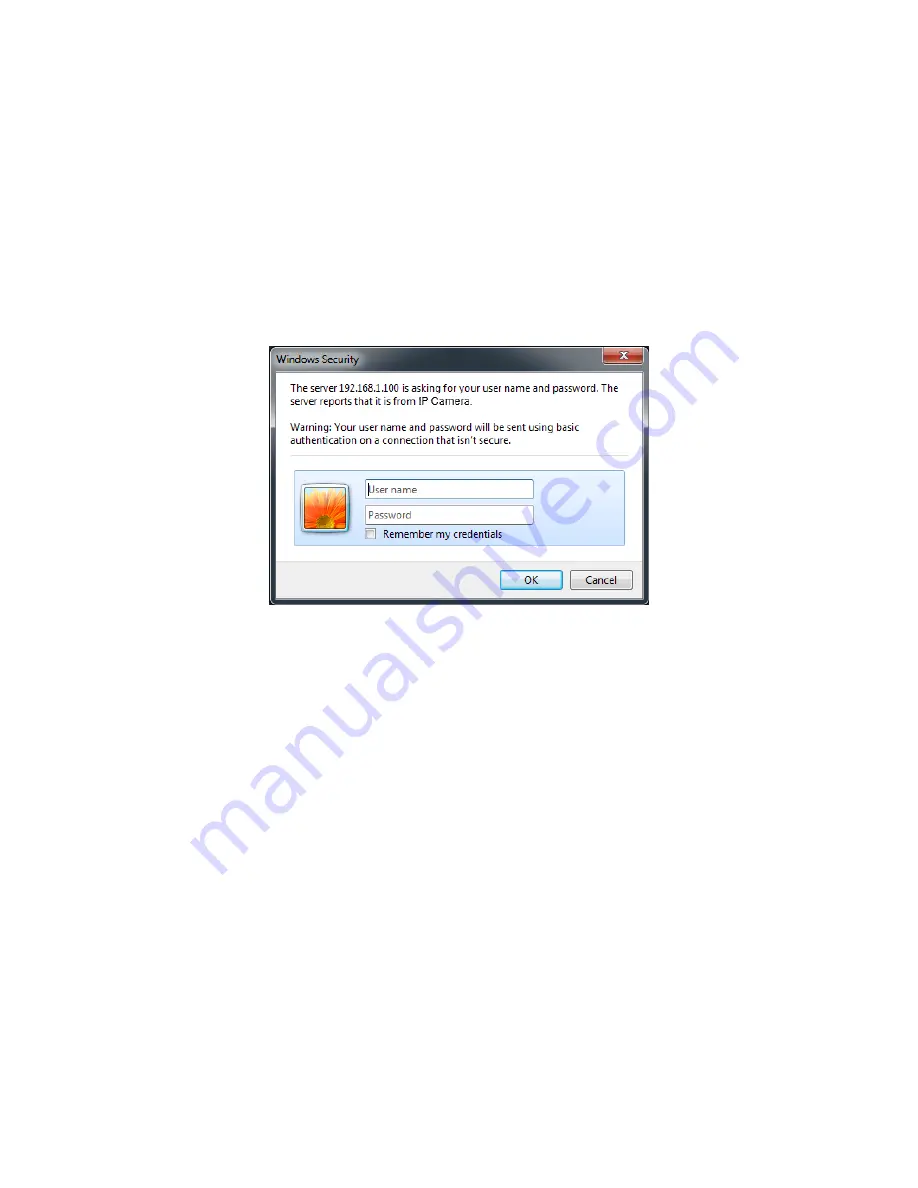
3.3   Setting the admin password over a secure connection  

To gain access to the product, the password for the default administrator user must be set. This is 
done in the Admin Password dialog, which is displayed when the network camera is accessed for 
the setup at the first time. Enter your admin name and password, set by the administrator.  


NOTE:

 The default administrator user name is 

ADMIN

 and password is 

1234

. If the password is lost, 

the  network  camera  must  be  reset  to  the  factory  default  settings.  S

ee  “Resetting  to  the 

factory default settings”.  

To  prevent  network  eavesdropping  when  setting  the  admin  password,  this  can  be  done  via  an 
encrypted HTTPS connection, which requires an HTTPS certificate (see NOTE below). To set the 
password via a standard HTTP connection, enter it directly in the first dialog shown above. To set 
the  password  via  an  encrypted  HTTPS  connection,  please  see 

“System  >  Security  >  HTTPS”  of 

User’s Manual.  

NOTE:

  HTTPS  (Hypertext  Transfer  Protocol  over  SSL)  is  a  protocol  used  to  encrypt  the  traffic 

between web browsers and servers. The HTTPS certificate controls the encrypted exchange 
of information.  


Summary of Contents for SN240D

Page 1: ...rant that the functions contained in this equipment will meet your requirements or that the operation will be entirely error free or perform precisely as described in the documentation This system has...

Page 2: ...8 CMOS sensor which can provide quality imaging down to 0 013 lux True Wide Dynamic Range WDR 120dB improves detail in bright or low light areas of the image and DNR corrects imperfections in the imag...

Page 3: ...as VCA Video Content Analysis The network camera s external inputs and outputs can be connected to devices such as sensors and relays enabling the system to react to alarms and activate lights or ope...

Page 4: ...screw and plastic bushing Ceiling using the supplied M6 tapping screw and bushing 3 Wind the both thread of the pipe end with Teflon tape about 20 times for sealing Then use a silicone rubber sealant...

Page 5: ...nnect to the dome camera from the wall 4 Secure the wall mount bracket to the wall using plastic anchors and 8x35 screws or appropriate for the mounting surface 5 Remove the cable access plate and rou...

Page 6: ...the ceiling mount flange as a template 3 Pull out cables required to connect to the dome camera from the ceiling 4 Attach the ceiling mount bracket using plastic anchors and screws 5 Attach 1 5 inch...

Page 7: ...ve for Maintenance In order to perform maintenance or change hardware settings remove lower dome cover first and unlock the camera assembly by turning in the direction indicated by the arrows in the f...

Page 8: ...and FAN 4 6 pin terminal block PINK ALARM INPUT 1 GRAY ALARM INPUT 2 VIOLET ALARM INPUT 3 SKY BLUE ALARM INPUT 4 BROWN GND YELLOW ALARM OUTPUT 5 RJ 45 BLACK Ethernet RJ 45 port compatible with 10 100...

Page 9: ...ve the cable for communication terminated by setting the appropriate DIP switch Without proper termination there is potential for control signal errors Total length of the cable for communication shou...

Page 10: ...tivate external devices such as buzzers or lights Connect the device to the AO Alarm Output and G Ground connectors Connecting to the RS485 The camera can be controlled remotely by an external device...

Page 11: ...ich can be found on Vicon s website vicon security com under Software Downloads to search and allocate an IP address or reset the product to the factory default settings and then perform the installat...

Page 12: ...treaming video in Microsoft Internet Explorer set your browser to allow ActiveX controls 3 1 Access from a browser 1 Start a browser ex Internet Explorer 2 Enter the IP address or host name of the net...

Page 13: ...ayed when the network camera is accessed for the setup at the first time Enter your admin name and password set by the administrator NOTE The default administrator user name is ADMIN and password is 1...

Page 14: ...e Stream profiles are configured under Setup Basic Configuration Video Image For more information see Basic Configuration Video Image of User Manual The resolution drop down list allows you to select...

Page 15: ...pop up window to manually start or stop the event The PTZ button activates a pop up window for Pan Tilt and Zoom control The VCA button shows hides VCA rule setting and detected objects The Face Dete...

Page 16: ...local storage select it from the list and click the Playback buttons Go to the first go to the beginning of the video clip Fast backward play fast play backward rewind of the video clip Backward play...

Page 17: ...layed monthly If there is a recorded data for a particular date a blue square on the date will be displayed If you select a particular date in the calendar a yellow square on the date will be displaye...

Page 18: ...of the Live View page Accessing the network camera from a computer for the first time opens the Admin Password dialog box Enter your administrator or operator user name and password to get into setup...

Page 19: ...al Performance Considerations When setting up your system it is important to consider how various settings and situations will affect performance Some factors affect the amount of bandwidth the bit ra...

Page 20: ...VICON INDUSTRIES INC For office locations visit the website www vicon security com...

Reviews: