


Aria Ceiling Hood Fitting Instructions and Operation
Note
: The ventilation pipe must be installed after adjusting the extractor
hood.
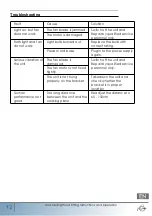
Ceiling Installation
Saw a hole in the ceiling
according tothe dimensions of
the extractor hood.
Slide the extractor hood into the
opening.
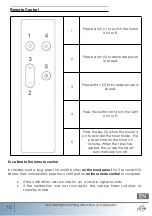
Ceiling
Brackets
Hood
Push the extractor hood upwards until the brackets engage in the false
ceiling. If youdo not engage, use a screwdriver to pierce the four holes
in the lower corners of the hood.
The brackets should be adjusted so that the
lower edge of the extractor hood is flush
with the ceiling. Screw four screws through
the four holes in the lower corners of the
hood.
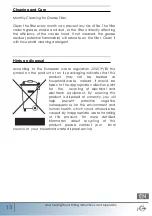
When mounting a non-return valve, it must be ensured that the
valve can be opened freely. If the valve cannot be opened
freely, it can reduce the suction power and increase the
noise from the extractor hood.
Note: The hood uses 220mm x 90mm rectangular ducting.
Please ensure that you use this or 150mm round. If reducing the
size, the minimum size is 125mm round. Using anything smaller will
invalidate the warranty.