14
N.B.
x
Too high an input level will burn the coil
x
If the source material has an extremely wide dynamic
range, minimum levels may not be sufficient to achieve
the desired result. In this case, use of Vestax SL-201mkii
compressor-limiter is required.
13. Using anti-static spray, clean the vinyl blank perfectly.
14. Set external music source at the desired start
point in pause or stop mode
15. Lock the cutting arm by rotating the cam. Manually move
the arm by using manual rotation wheel and position arm
above appropriate point on blank.
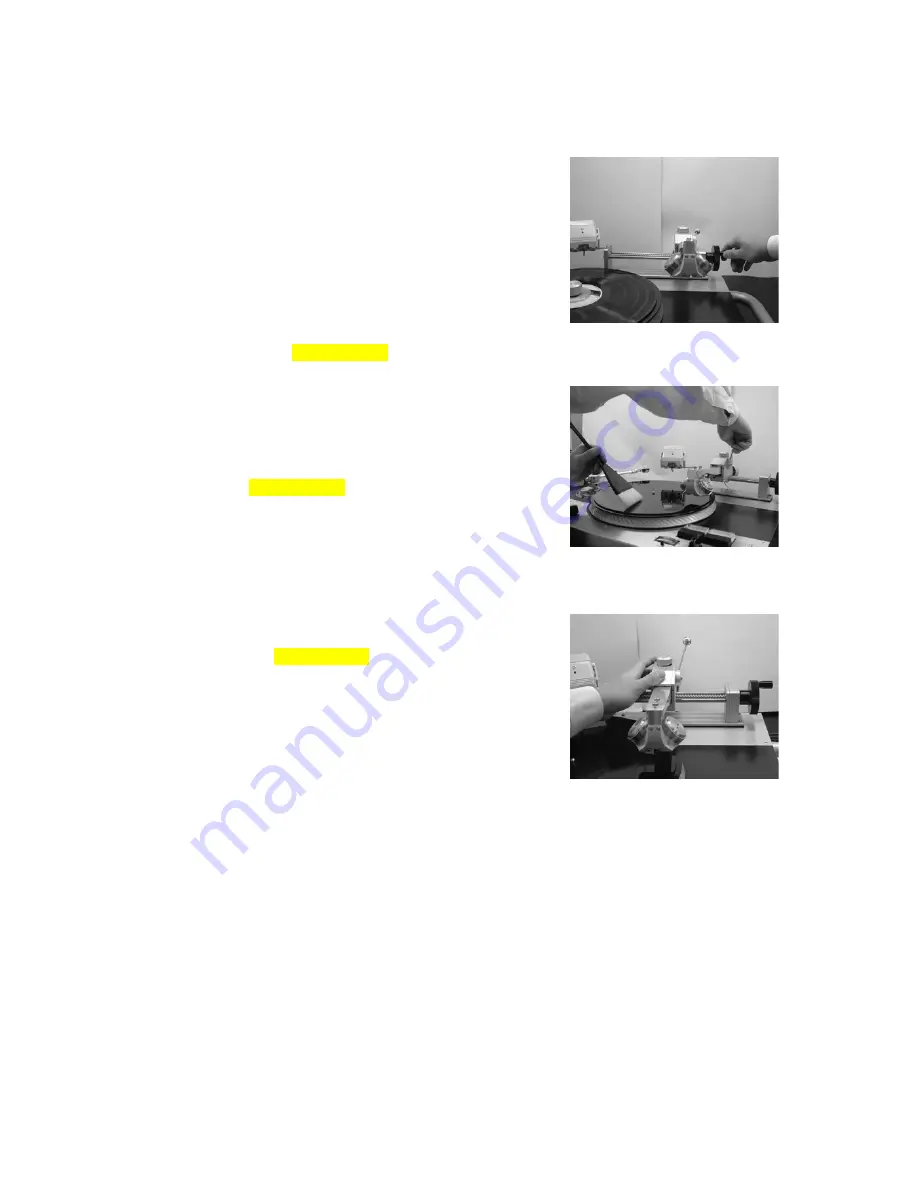
16. Hold the brush as per (Figure 12.1-C).
Place the release lever in the down position gently.
17. Start the music source and recording begins!
18. Using the brush gently take the excess vinyl
off-cuts away form the cutting stylus.
Try to make the vinyl off-cuts wind around the center
spindle (disc holder). This will reduce the amount
of brush action required.
Please refer to (Figure 12.1-D).
Caution: If the vinyl off-cuts builds up around the
cutting stylus you will not get a perfect cutting result.
Please continually check the stylus. In case the
off-cuts get stuck around the stylus use the tweezers
to remove the build up very carefully.
19. Put the input level down as you would with a fade out
on an audio mixer.
20. Move the release lever gently to the up position, then
unlock the cam. Move the arm all the way to the right
away from the vinyl(Figure 12.1-E).
21. Push Start/Stop button to stop the platter rotation.
22. Check the surface of the vinyl and check there are
no off-cuts on the vinyl. If there is any residual, use
the record cleaner and cleaning solution to clean the vinyl.
FIG12.1D
FIG12.1C
FIG12.1E


