72
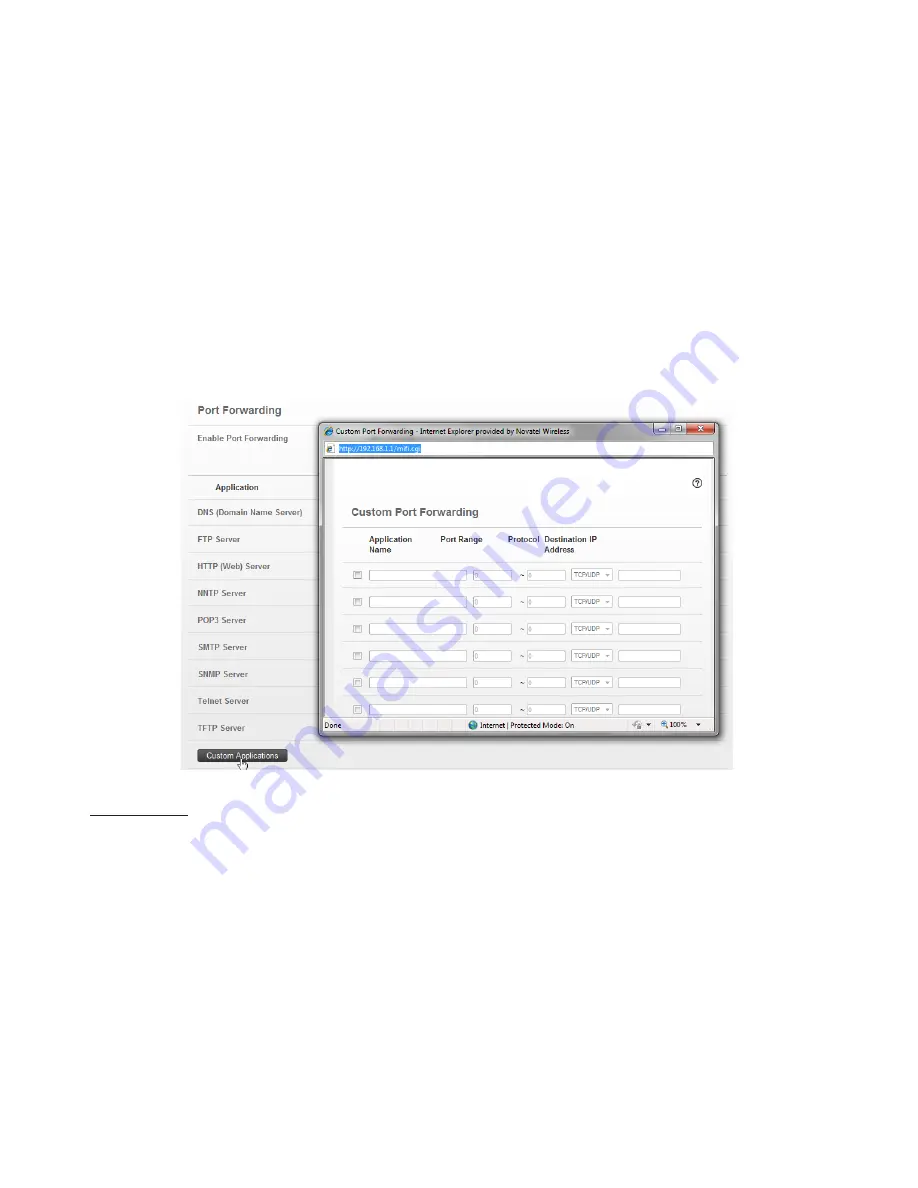
Custom Applications
This page is not available unless the Port Forwarding feature is enabled.
Click
Custom Applications
to open the Custom Port Forwarding screen. You can define and enable
custom Port Forwarding applications. You need to know details of the traffic used and generated by
the applications you wish to define. The Port Forwarding screen has the following options:
•
Application Name
— Type a name for the application.
•
Port Range
— Click the
Ports
link to show the Port Definition Panel. Click
Hide
when you
finish defining the current application. Click
Save
when you finish defining all applications.
•
Protocol
— For each port range (each row), select the protocol (TCP, UDP, or both) used by
incoming traffic on that port range.
•
Destination IP Address
— Input the IP address of the connected device to which you want
incoming traffic to be forwarded.
Port Ranges
You can define up to six port ranges for each application. Each port range has the following options:
•
Start Port
— Type the beginning of the range of port numbers used by outgoing traffic
for this application. Use as many rows as necessary to define the required number of port
ranges. Unused rows can be left blank.
•
End Port
— Type the end of the range of port numbers. If the port is a single port instead of a
range, type the same value for both the Start Port and the End Port.
•
Protocol
— For each port range (each row), select the protocol (TCP, UDP, or both) used by
that port range.
You can define all of your applications before you click
Save
to save your changes. Use the
Ports
and
Hide
links as necessary to open and close the Port Definition Panel so you can define the ports for
each application as needed.


