7
EN
Verbatim is a Mitsubishi Kagaku Media Company
Chapter: Hardware Installation
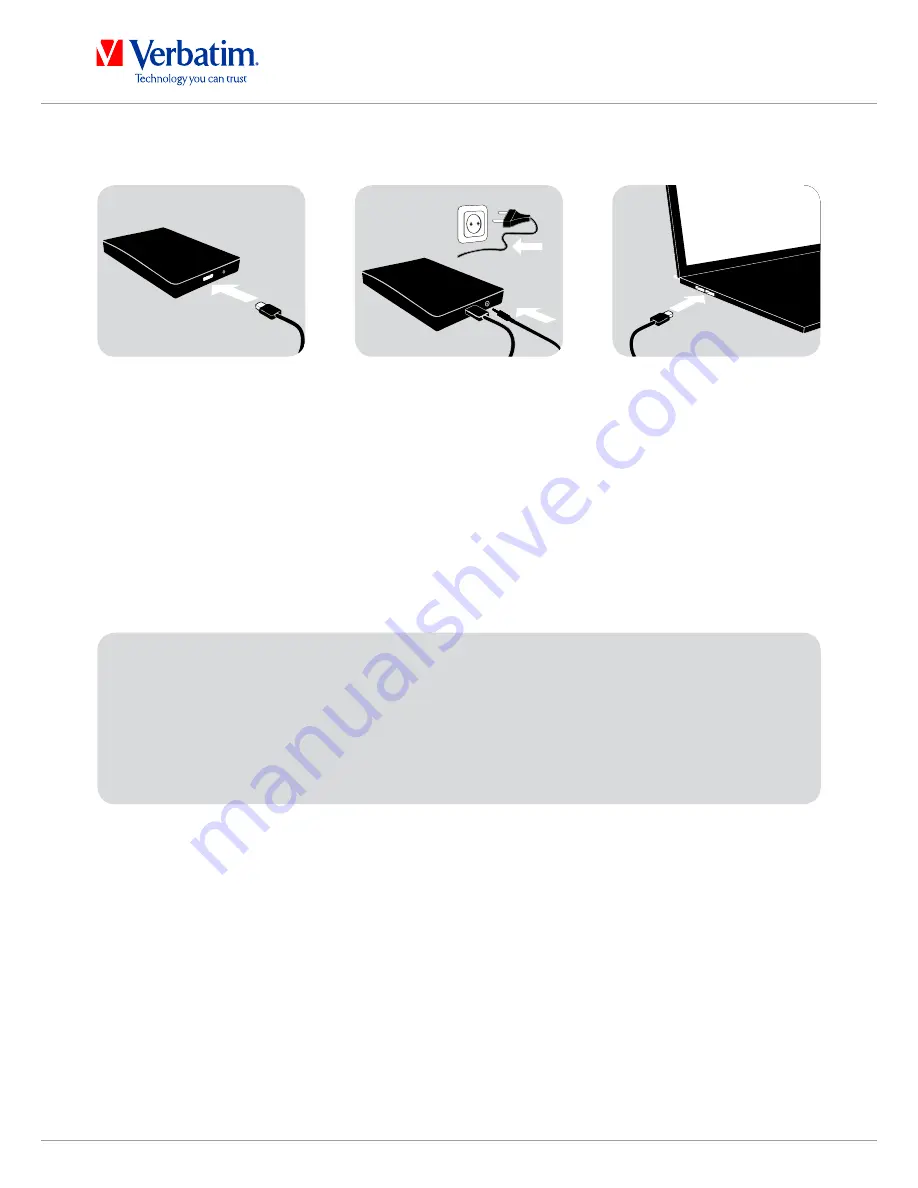
1. Connect the interface cable* to the Verbatim portable Hard Drive.
2. optional: Connect the cable of the power supply to the Verbatim portable Hard Drive
and the power supply itself to the socket.
3. Connect the interface cable* to the interface port of your computer.
4. optional: if your device comes with a power switch, switch on the device before using
it.
* Please use the interface cables that come with your device (e.g. USB) for connecting the device to
your PC/Mac.
Chapter: Driver Installation
Under Windows XP/Windows Vista/Windows 7 and Mac OS X a separate Verbatim driver
is not required. The drivers will be installed automatically by the operating system after
plugging in the Verbatim portable Hard Drive into the interface port of the computer.
Since USB 3.0 is backwards compatible with USB 2.0, the Verbatim portable Hard
Drive can be connected to all USB ports. When connected to a USB 2.0 port, however,
the performance (data transfer rate) of the Verbatim portable Hard Drive will be
much lower than when the drive is connected to a USB 3.0 port.
For optimum performance the Verbatim portable Hard Drive should always be
connected to a USB 3.0 interface.
1.
2.
3.


