20
The next screen allows you to assign this user to an existing
10.
group. As described above, the initial factory setting provides for
the default group named “@guest-share”. When done with this
form, press
Next
to continue.
The fi nal screen for adding a user allows you to assign access
11.
privileges to currently defi ned shares. Of course, if you checked
“Create Private Folder” in step (9), then read/write access has
automatically been provided to this user’s private folder.
Though the initial factory setting provides for three default shares
(admin, guest-share, and public), only “public” is available for
selection for access to new user accounts.
When done with this form, press
Complete
.
Add New Group
Next you may optionally setup a new group. If you do not want to
12.
set up a group at this time, you may jump ahead to Step 15.
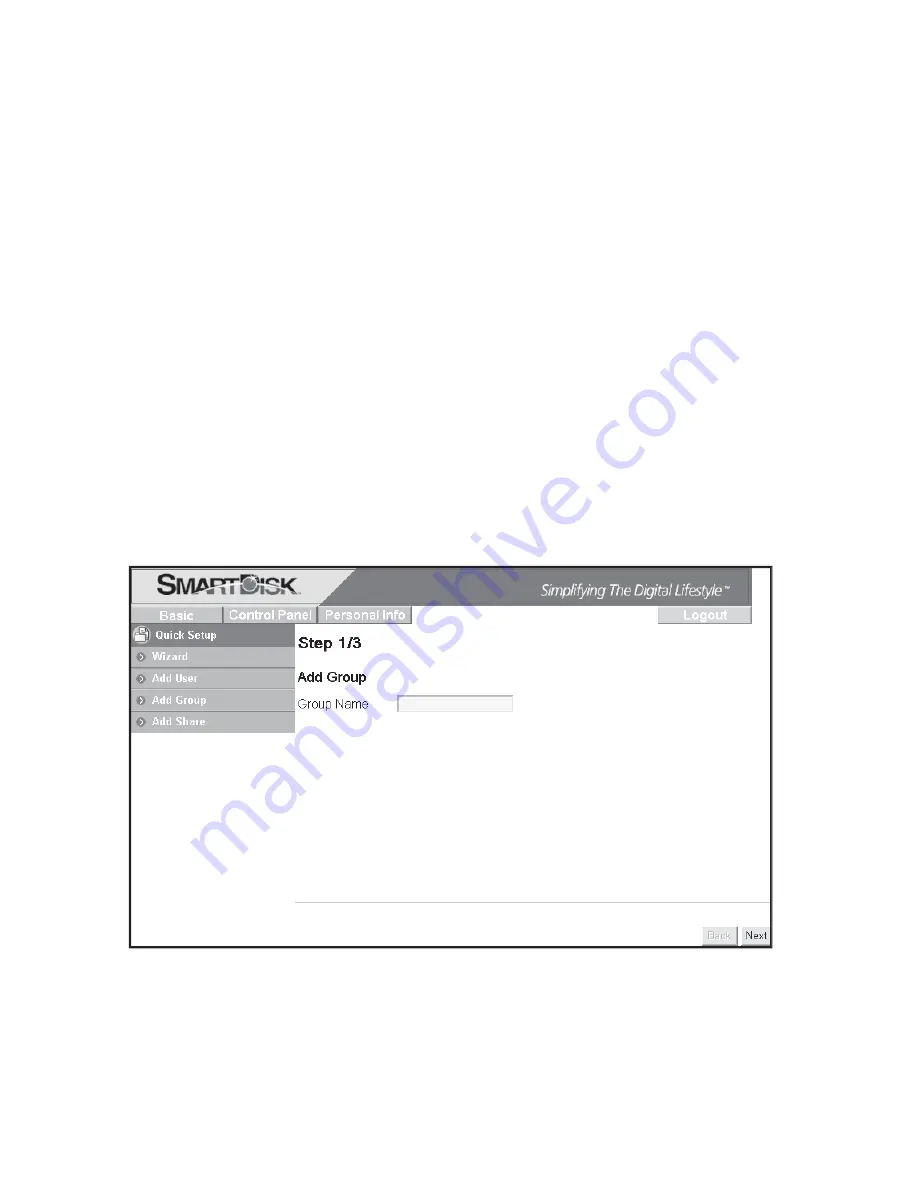
Begin group setup by selecting the
Quick Setup
/
Add Group
button.
Fill in the initial screen with your group’s name. The group name
must be lower-case and may be a maximum of 20 alphanumeric
characters, without spaces. The group name must begin with an
alphabetic character. Press
Next
to continue.


