Network Camera User’s Guide
60/83
“Quality”
Highest (The same as “Clarity” on control panel )
High
Medium (The same as “Default” on control panel )
Low
Lowest (The same as “Fluency” on control panel )
The control method is the same as control panel’s
“Quality
”.
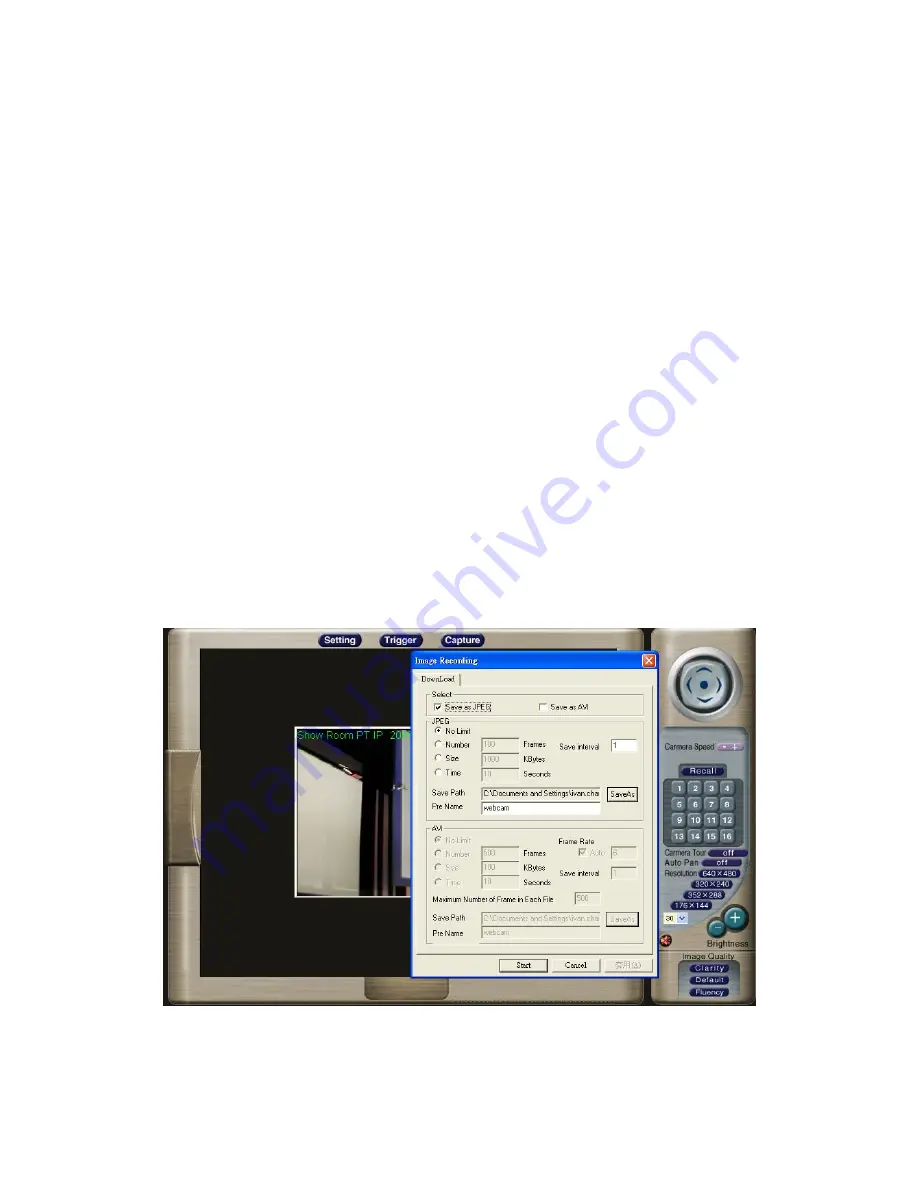
“Image Recording…-> Save as JPEG”
Select “
Image Recording…”
The “Image Recording” pop-up window displays, select
“Save as JPEG”
Input the “
Download Number
” for the number of images desire to be saving, or
“
Download No Limit
” to save the images continuous, until the “
Stop Image Recording
” is
selected.
Select
“SaveAs
” , the pop-up window to select the save path and file name prefix, select
“Save
” to continue.


