


64 VELUX
VELUX 65
Enter
Back
on
off
Menu
No. 1
Window
Locate
P1
P2
P1
P2
user settings
display
Enter
Back
display light
sleep mode
disPlay
House
disPlay ligHt
Menu
No. 1
Window
Locate
Enter
Back
on
off
P1
P2
Enter
Back
display light
sleep mode
P1
P2
user settings
display
disPlay
House
slEEP modE
15:43
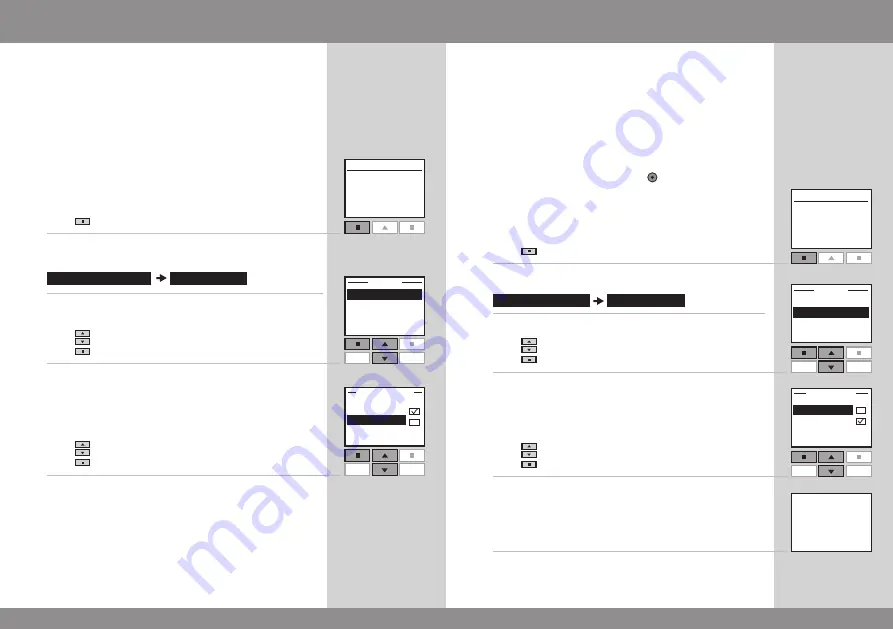
Display
Display light
In standard settings, the light in the display is turned on
when the keypad is activated and turned off again after
20 seconds. If you do not want any light in the display and
you want to prolong the battery lifetime, you can opt out
of this.
The example shows how to turn off the light in the display.
1
Press
"Menu".
2
Scroll through the menus:
3
Press
to highlight "Display light".
Press
"Enter" to confirm your choice.
4
Press
to highlight "Off".
Press
"Enter" to confirm your choice.
Note:
The light in the display can be turned on by choosing
"On" in item 4.
Sleep mode
The life of the batteries can be prolonged by setting the
remote control to go into sleep mode. When it has been
set to go into sleep mode, the light in the display will be
turned off 20 seconds after the last press of a key. Time is
shown.
Press any key to activate the remote control again. How-
ever, a long press of the stop key
will immediately stop
all products in operation.
The example shows how to set the remote control to go
into sleep mode.
1
Press
"Menu".
2
Scroll through the menus:
3
Press
to highlight "Sleep mode".
Press
"Enter" to confirm your choice.
4
Press
to highlight "On".
Press
"Enter" to confirm your choice.
5
When the remote control is in sleep mode, time is shown.
Note:
Choose "Off" in item 4 if you do not want the
remote control to go into sleep mode.


