


Veilux VR-412D1 & VR-412C Compact DVR’s
www.veilux.net
31
Operating Instruction & User’s Guide
①
Using the arrow keys and the Select button, select the desired Year/Month/Day in the activated
calendar window.
②
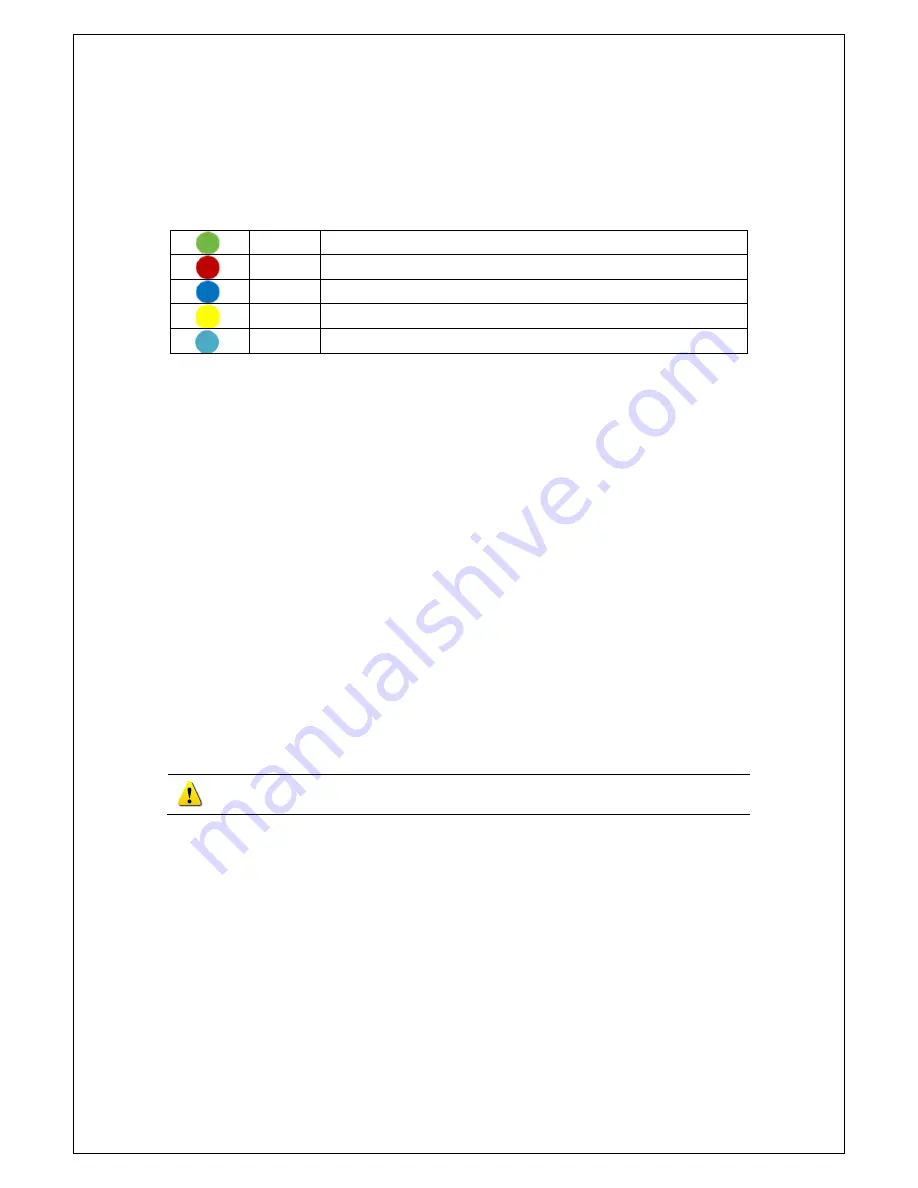
On the calendar window, select the desired search date. The recorded one-hour video of each channel
is then displayed in a bar graph.
Green
Continuous recording is in progress.
Red
Motion recording is in progress.
Blue
Sensor recording is in progress(Only VR-412D1 supported).
Yellow
Sound recording is in progress(Only VR-412D1 supported).
Sky-blue
An image that recorded before the time change.
③
Move the time line to a specific time point using the arrow keys or the numeric buttons and press the
Search button.
④
Selecting the time causes the recorded video for each channel to be displayed as a bar graph in
minute units.
⑤
Move the time line to a certain time point using the arrow keys and the numeric buttons and press
the Select button. Playback will then start from the specified time point.
5-8-6 Multi-Time Search
The user can play back the video contents of a certain channel recorded in different time zones.
Multi-time data can be searched in Multi-time Search mode.
①
The user can search data by date as in the Multi-Channel Search mode.
②
Time zones and channels may be viewed by selecting the desired date.
③
Select the start time and the channel using the arrow keys.
④
The hourly recorded video of the selected channel will then be displayed as a bar graph in minute
units.
⑤
Move the time line using the arrow keys and the numeric buttons and specify the time. Afterward,
press the Start button and play back the contents.
※ A different time zone means continuous 4 hours.
5-8-7 Multi-Day Search
The user can play back the video contents of a certain channel recorded in different days.
Multi-time data can be searched in Multi-Day Search mode.
①
Using the arrow keys and the Select button, select the desired Year/Month/Day in the activated
calendar window.
②
The date list and the recording status from the date the user selects are viewed by selecting the
desired date.
③
Select the start time and the channel using the arrow keys.
④
The recorded video of the selected channel will then be displayed as a bar graph in minute units.
⑤
Move the time line using the arrow keys and the numeric buttons and specify the time. Afterward,
press the Start button and play back the contents.
Summary of Contents for VR-412C
Page 1: ......


