background image

22

13. Download and install app

The free Muvi K-Series app is available for iOS and Android and allows you to connect 
your K-Series camcorder to your phone using the in-built WiFi.

To install the app on your phone open the App Store (iOS) or Play Store (Android) on 
your phone and use the search function to search for Muvi K-Series. Select the app 
and then click on the install button to install the app on your phone.

23

14. Turning on the WiFi and 

connecting to the app

Turning on the WiFi

Please note that to use the K-Series camcorder with the app you will need to have a 
microSD card inserted in the camcorder as all videos and images will be saved to the 
microSD card and not the the phone itself.

To connect to the Muvi K-Series app you will need to turn on the WiFi on the 
camcorder. Turn the camcorder on and then, once the LCD information display 
appears move the WiFi switch on the front of the camcorder to the WiFi position. 
The blue LEDs on the bottom of the camcorder will flash slowly to indicate that the 
WiFi is turned on. 

Connecting to the app

Turn on the WiFi on your phone and then enter the phone’s WiFi settings. Look for 
Muvi K-Series in the list of available networks and select to connect. You may need 
to refresh the list or scan for networks for the camcorder to appear. Please enter 
00000000 as the password. 

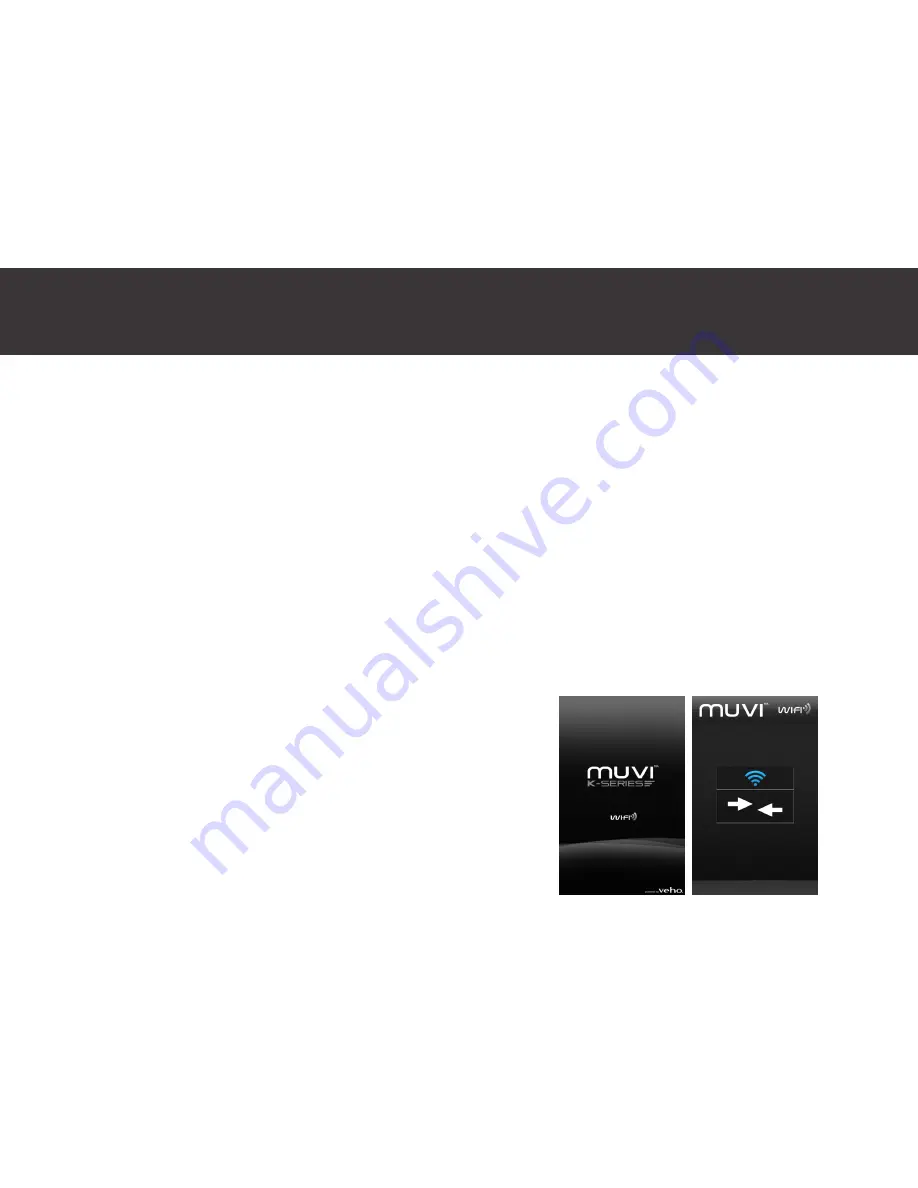
Exit the WiFi settings and open the Muvi K-Series app on your phone.

Summary of Contents for muvi K-series

Page 1: ...User Manual...

Page 2: ...g to the app 23 Guide to using the app 26 K Series Camcorder Specs 37 2 Precautions When using the K Series HD camcorder please adhere to the following precautions 1 Do not drop knock or shake the cam...

Page 3: ...6 Top LED Indicator blue 7 LCD Display 8 Stop Record Button 9 Capture Button 10 Microphone 11 HDMI Port Mini USB AV Out Port microSD Slot 1 2 3 5 4 8 9 11 6 7 10 14 Battery Lock Switch 15 Microphone...

Page 4: ...Indicators Blue Indicator Power On Solid On Recording Video Flash Slowly Solid On Recording Audio Flash Slowly Solid On Capturing Photo Flash Once Flash Once microSD Card Full Solid On Charging Flash...

Page 5: ...d that a class 6 or higher card is used for the best results With the camcorder turned off remove the port cover on the side of the camcorder and insert the microSD card into the microSD slot You will...

Page 6: ...to move between the options Press the start record button to select the option you want to change and the camera button to exit the option that you are in Set the key tone volume to off medium or stan...

Page 7: ...the highlighted position After you have selected the correct number press the start record button to move to the next position Once you have changed the minute setup press the start record button to r...

Page 8: ...Press the start record button to select the option you want to change and the camera button to exit the option that you are in Choose between Video Record video and audio together Silent Record video...

Page 9: ...photo every 5 10 30 or 60 seconds whilst recording video at the same time Select HM so that you can manually press the capture button at any point during filming to take a photo without having to stop...

Page 10: ...at you are in Choose between Single Shot Capture a single photo Fast Shot Choose between capturing 3 photos in 1 second 6 photos in 1 second or 8 photos in 1 second When you press the camera button th...

Page 11: ...nsequential incidental and contingent damages to personal property due to misuse or improper installation or improper care and maintenance of the K Series waterproof case Veho will not under any circu...

Page 12: ...he camcorder as all videos and images will be saved to the microSD card and not the the phone itself To connect to the Muvi K Series app you will need to turn on the WiFi on the camcorder Turn the cam...

Page 13: ...matically start to try and connect again If this fails exit the app and go the WiFi settings to connect to the camcorder again For Android users select yes and then click on the WiFi icon to return to...

Page 14: ...corder icon Settings Zoom out Zoom in 27 Photo capture Make sure that you are in photo capture mode by pressing the Photo button The Photo button will turn blue to indicate that it is in photo capture...

Page 15: ...screen press the back button at the top in the right hand corner 29 Close the preview screen You can close the preview screen in both normal and maximised screen modes To close the preview tap the pr...

Page 16: ...of the warning indicator to off medium or standard Front Indicator Turn the status indicator on the camcorder off or on Video Content Loop Turn on to continually overwrite files when the memory become...

Page 17: ...iple files To edit the download settings press the settings icon in the top right hand corner Here you can choose between Quick Download Original files and you can also clear the cache data 33 To down...

Page 18: ...ttom left of the screen and choose the social media platform that you wish to use 35 To trim your videos tap the thumbnail of the video you wish to edit and then tap the edit icon To trim the video dr...

Page 19: ...again To return to the preview screen press the camera button in the bottom left hand corner 37 Camera Optics Minimum focal range 2 5cm Maximum focal range Endless Aperture f 2 8 Focus Fixed focus An...

Page 20: ...at WAV WiFi transmission range Up to 60 metres Memory Up to 32GB microSD microSDHC card Connections Mini USB HDMI out AV out Storage temperature 10 C 60 C Operating temperature 10 C 50 C Dimensions L5...

Page 21: ...www veho world com...

Reviews: