background image

4

  Replacing the Display Door Assembly (P/N 330020-625)

1.

Switch Off power to the console.

2.

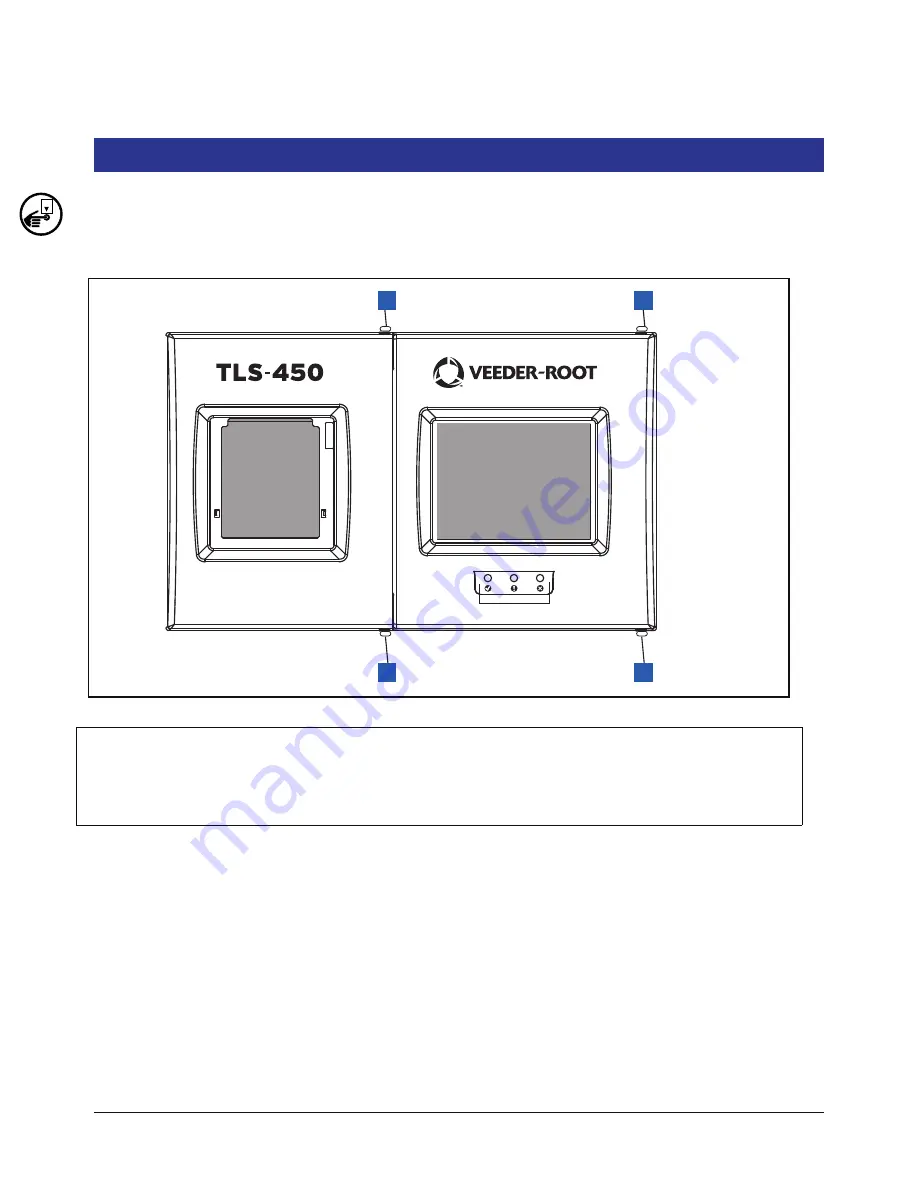
Open the two front doors of the console as shown in Figure 2

Figure 2.   Front doors

Legend for numbered boxes in Figure 2

3.

Disconnect grounding braid from the saddle clamp on the inside of the Display door.

4.

Disconnect the three cables from the Display door attached to the CPU board touchscreen connector, the 
display data connector and the LED/Display connector (see Figure 3).

5.

Remove the top and bottom #8 taptite screws in the Display door hinge and remove the door.

6.

Get the replacement Display door and line up the holes in the two door hinges with the top and bottom holes 
in the console housing and screw in the top and bottom #8 taptite screws. Tighten the two hinge screws.

7.

Reconnect the grounding braid to the saddle clamp on the inside of the Display door.

OFF

1

2

1

2

956-1.eps

1.

Remove top and bottom #8 taptite screws on right side of left 
(Printer) door and swing door to left.

2.

Remove top and bottom #8 taptite screws on right side of left 
(Display) door and swing door to left.

Summary of Contents for TLS-4 Series

Page 1: ...TLS 4xx Series Consoles Manual No 577013 956 Revision B Console Hardware Replacement...

Page 2: ...r Terms and Conditions VEEDER ROOT S PREFERRED CARRIER 1 Contact Veeder Root Customer Service at 800 873 3313 with the specific part numbers and quantities that were missing or received damaged 2 Fax...

Page 3: ...g the Printer Door Assembly P N 330020 626 6 Replacing the Power Supply P N 330020 623 8 Figures Figure 1 USB Ethernet board V R thumb drive port 3 Figure 2 Front doors 4 Figure 3 Display door cables...

Page 4: ...are approved to perform installation checkout startup programming and operations training troubleshooting and servicing for all Veeder Root TLS 300 or TLS 350 Series Tank Monitoring Systems including...

Page 5: ...ce and associated accesso ries when servicing the unit INJURY Careless or improper handling of tools can cause bodily injury STATIC SENSITIVE COMPONENTS Wear grounded anti static wrist strap before ha...

Page 6: ...t strap included in your component replacement kit 9 The antistatic caution icon shown to the left appears in several places in this manual to remind you to wear an antistatic wrist strap Part No 5760...

Page 7: ...play connector see Figure 3 5 Remove the top and bottom 8 taptite screws in the Display door hinge and remove the door 6 Get the replacement Display door and line up the holes in the two door hinges w...

Page 8: ...he CPU board see Figure 3 9 Close the Display door and insert the right side top and bottom 8 taptite screws Tighten the two screws 10 Close the Printer door and insert the right side top and bottom 8...

Page 9: ...hown in Figure 2 3 Disconnect grounding braid from the saddle clamp on the inside of the Printer door see Figure 4 Figure 4 Printer door cables Legend for numbered boxes in Figure 4 OFF 1 2 3 4 956 3...

Page 10: ...hinges and remove the door 6 Get the replacement Printer door and line up the holes in the two door hinges with the top and bottom holes in the console housing and screw in the top and bottom 8 taptit...

Page 11: ...onsole 2 Open the left front door of the console as shown in Figure 2 3 Disconnect the USB connector and remove the CF card from the CPU board see Figure 5 Figure 5 Remove USB cable and CF card Legend...

Page 12: ...ning Off Power 9 4 Remove the two 8 taptite screws from the AC Channel cover and put the cover and screws aside see Figure 6 Figure 6 Remove AC Channel cover Legend for numbered boxes in Figure 6 956...

Page 13: ...t from the console item 2 in Figure 7 7 Grasp the AC Input module handle see item 3 in Figure 7 and slowly pull up and away from the power supply until the AC Input module disconnects from the power s...

Page 14: ...er power cable from the Power Supply board 11 Lift the board out of the console by its edges since there is still undischarged high voltage in the big capacitors Figure 8 Removing Power Supply Legend...

Page 15: ...t module against the left side of the console housing line up the two AC Input module bottom connectors over the two female connectors items 2 and 3 in Figure 8 on the Power Supply board and push down...

Page 16: ...For technical support sales or other assistance please visit www veeder com...

Reviews: