Special facilities in the vicinity of the current car position
You may also set a destination address by selecting a special facility in the vicinity of
the current vehicle location.
☞
Press the
POI
button,
or:
☞
select “
Info on car pos.
“ in the destination input menu.
:
A list of categories of special facilities is shown.
☞
Select the desired category.
:
A list of facilities pertaining to the selected
category, located in the vicinity of the current
vehicle location, appears. Additionally, distance
and direction to the facilities are shown.
☞
Proceed as described on the previous page.
Note:
You will always see a list of facilities from “
Info on car pos.
“, even if there is no
facility from the selected category directly at the car position.
The facilities list is sorted by distance to the car position, i. e. the facility closest to the
car position will be first in the list.
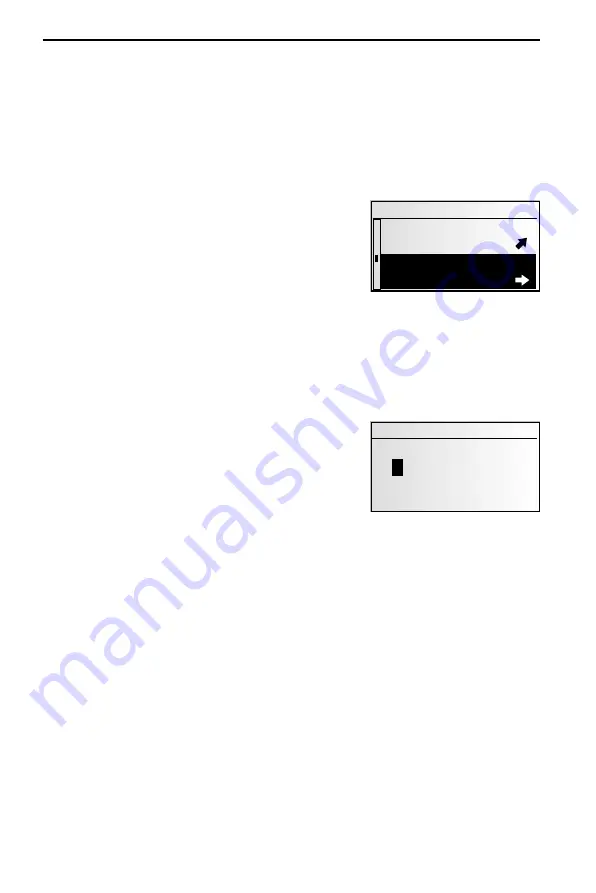
Destination input via GPS co-ordinates
If you know the GPS co-ordinates of a destination,
you may enter them directly.
☞
In the main menu, select “
Destination input
“
☞
In the “
Destination input
“ menu, select “
GPS
co-ordinates
“.
:
The GPS co-ordinates input menu appears.
☞
Mark the desired co-ordinate using the cursor.
Then confirm by pressing the
PUSH – TURN
button.
☞
Next, set the desired values for degrees, minutes and seconds. Confirm the destination
input with “
OK
“.
:
The navigation system compares the GPS co-ordinates you entered with the data on
the current map CD and plans the route.
Notes:
If the destination is beyond the digitised roads, the system will guide you along digi-
tised roads as far as possible. The system will then display the linear direction and the
distance to the destination.
If the GPS co-ordinates you entered should be outside the limits of the current map
CD, the system will display an error message.
NAVIGATION
46
Railway station
BAHNHOF WILHELMSDO
24 km
BAHNHOF USINGEN
26km
Destination input
OK
Return
GPS co-ordinates
5
0°34'06" North
08°30'18" East
Summary of Contents for MS 4100 -
Page 2: ......
Page 3: ...B B B A F A B F A A 12V RR RR FR FR FL FL RL RL 30 10 SDVC ...
Page 13: ...INSTALLATION INSTRUCTIONS 14 ...


