244
Self-help, vehicle care
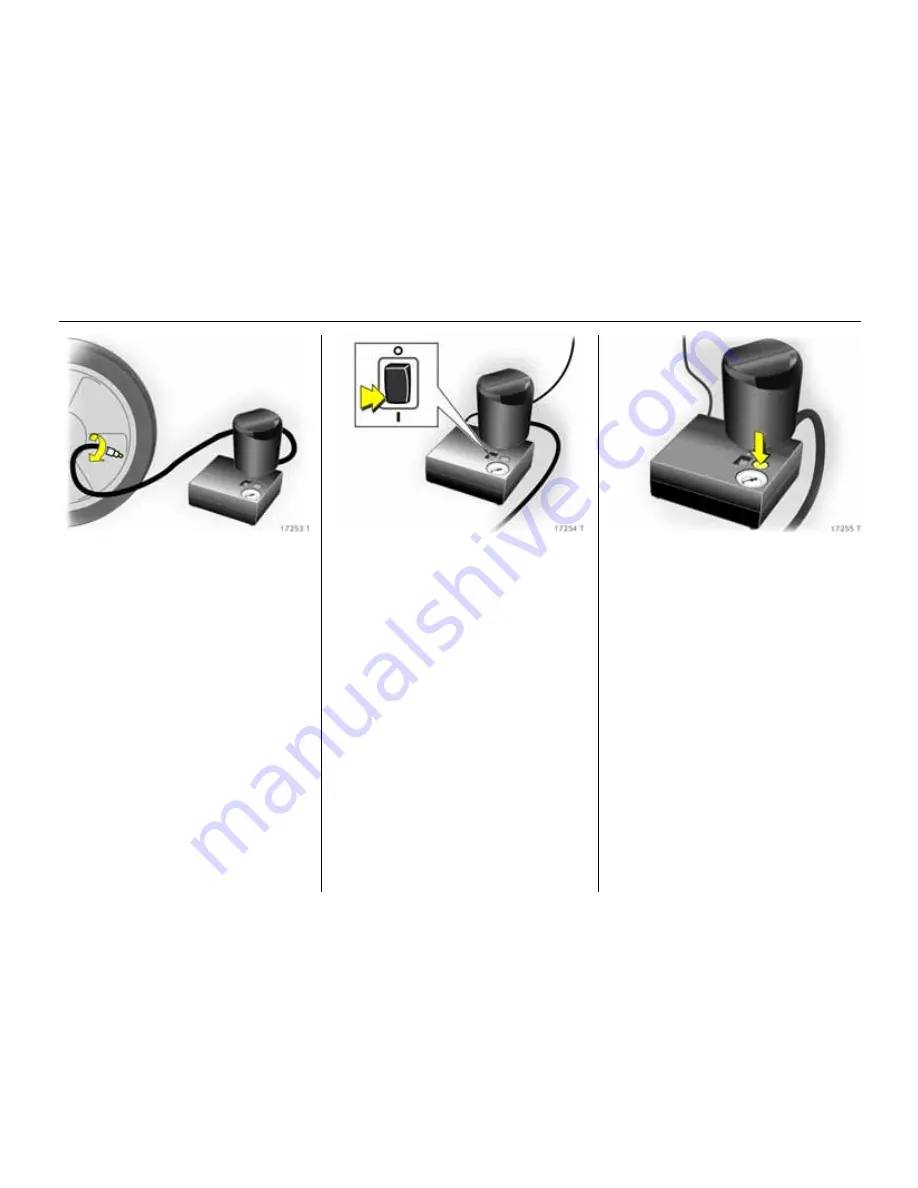
7. Screw the filler hose to the tyre valv e.
8. The switch on the comp ressor must be
set to
§
.
9. Connect the compressor plug to the
accessory socket or cigarette lighter
sock et. Accessory socket – see pag e 93.
10. Switch on ignition.
To prev ent battery discharge, we
recomm end that you leave the engine
running.
11.Set the rocker switch on the compressor
to
I
. The tyre is filled with sealant.
12.While the sealant bottle drains (approx.
30 seconds) the pressure indicator on
the compressor briefly p oints to 6 bar
(87 psi). Pressure then sinks aga in.
13.All of the sealant is pumped into the
tyre. Afterw ards, the tyre is filled w ith
air.
14.The prescribed tyre pressure –
see pag e 299 should be reached within
10 minutes. Sw itc h off the compressor
when the correc t pressure is obtained.
If the specified tyre pressure is not
reac hed within 10 m inutes, remove the
tyre repair kit. Move the v ehicle through
one tyre rotation, approx. 2 metres, in
either direction. Reconnect the tyre
repa ir kit and continue the filling
process for 10 minutes. If the specified
tyre pressure is still not reached, the tyre
is too bad ly damag ed. Park the vehicle
and contact a workshop.
Summary of Contents for Vectra
Page 1: ...VECTRA Operation Safety and Maintenance Owner s Manual...
Page 2: ...VAUXHALL Vectra Operation Safety Maintenance...
Page 5: ......
Page 13: ...8 In brief...
Page 318: ...313 Technical data...
Page 329: ...324 Index...


