


Display Mode
Turning the monitor on
1.
Correctly insert the power cord into monitor and into the power outlet.
2.
Ensure the AC switch is set to “—“.
3.
Press the power button on the remote or side control panel.
Turning the monitor off
With the power on, press the power button on the remote or side control panel to put the monitor in a standby mode. To
turn off power completely, turn the AC switch to “O” or disconnect the AC power cord from the power outlet.
Note:
If there is no signal input for a period of time, the monitor will automatically go to standby mode.
Adjusting the Volume
1. Using the remote, press the
VOLUME-
or
to increase or decrease the volume.
2. Press the
MUTE
button to temporarily turn off all sound. To restore the sound, press the
MUTE
button again.
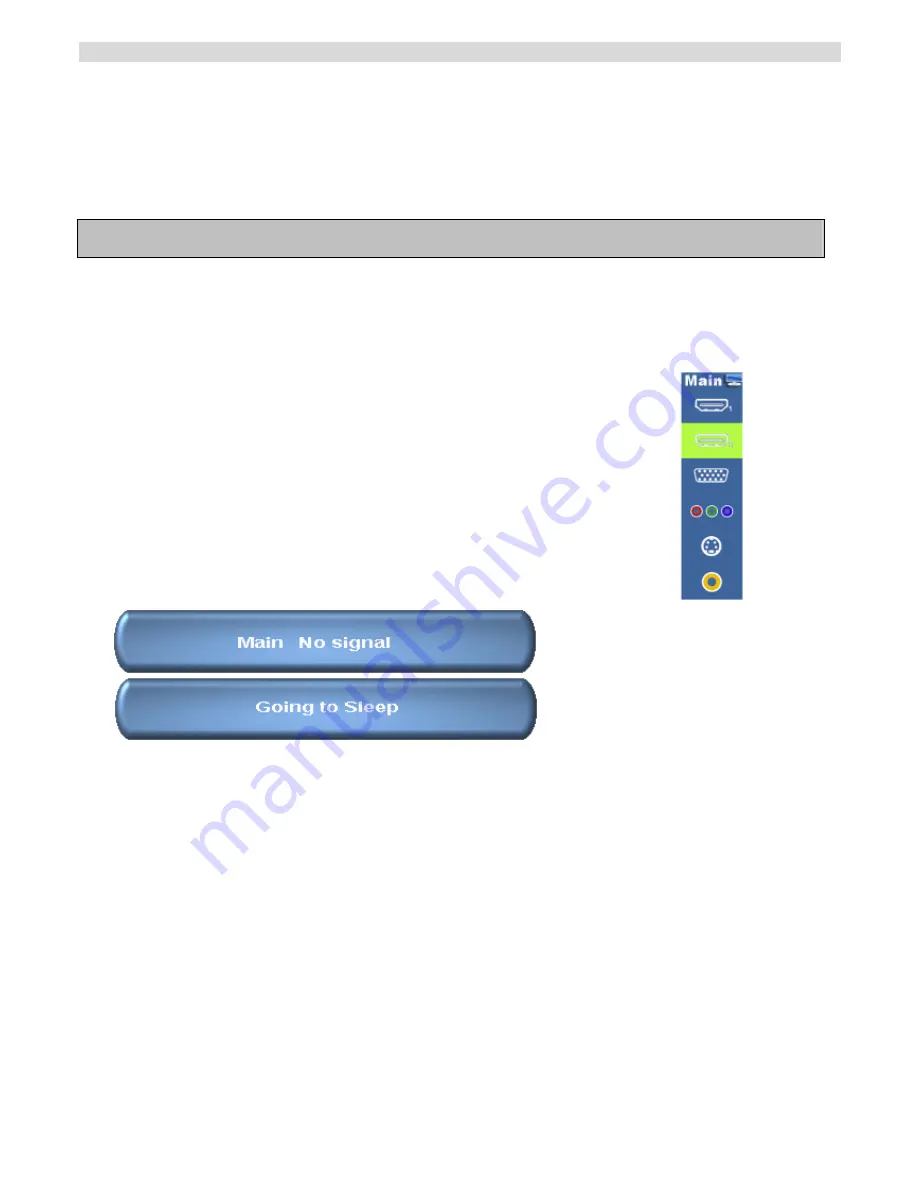
Selecting the input source
1.
Using the remote, press the desired source button (VGA, HDMI1,
HDMI2, COMP, VIDEO or S-V)
2.
Or press
SOURCE
on the monitor keypad, use the arrow buttons
(
) to navigate to the desired input source, and press
ENTER
:
HDMI 1
HDMI 2
VGA
Component (Advanced ver.)
S-Video (Advanced ver.)
Composite Video (Advanced ver.)
DVI (Advanced ver.)
HD-SDI (Advanced ver. option)
3.
When the monitor cannot find a source, a “No signal” message will
appear.
VT550 Series
18
www.vartechsystems.com


