VALLEY FORGE & BOLT MANUFACTURING COMPANY
Phone: (602) 269 - 5748
4410 W. Jefferson St.
•
•
•
•
Phoenix, AZ 85043
•
•
•
•
USA
Fax:
(602) 269 - 7851
SPC4
TM
SYSTEM
•
•
•
•
MODEL 600A
•
•
•
•
USER'S MANUAL
Rev. 1.1
- Page 19 of 27 -
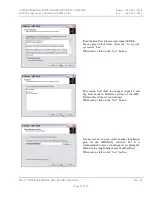
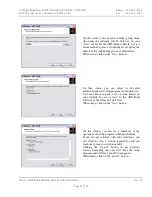
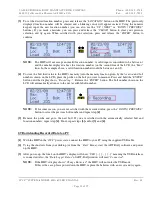
This screen will be shown after a short time (when
the setup program finishes performing the required
operations - this time will be given by the
specifications of your PC).
If you don’t want to automatically launch ABT-
DAQ when you click the “
Finish
” button, uncheck
the “
Launch ABT-DAQ
” check-box.
NOTE:
If you encounter problems when trying to run ABT-DAQ, you may not have all the Microsoft updates.
On the install CD there are two folders with some of the current updates - “
VB Common Controls
” and
“
VB SP6 Run-Time Redistribution Pack
”. Install both
*.exe
files found in those folders, restart your
computer and try again to run ABT-DAQ.
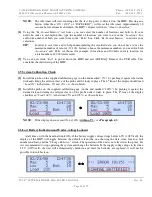
2.4 Hand-held Unit (HHU) Setup
[1]
With the HHU in the “
OFF
” power state, connect the HHU to your PC using the supplied USB cable.
[2]
Start ABT-DAQ (Data Transfer Program) using the shortcuts created by the setup program and then press
and release the “
ON/OFF
” button on the HHU.
[3]
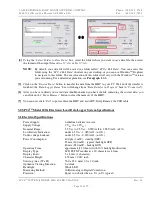
After power-up, the line 4 on the HHU's display will show “
USB […] […] […]
” meaning the USB interface
is connected. Also, the “
Data Logger Status
” of ABT-DAQ window will read “
Connected
”.
⌦
⌦
⌦
⌦
NOTE:
If the HHU's display shows "
Change Batteries!
" the HHU will not enter the USB mode.
If this is the case, please power down the HHU, replace the batteries with a new set and try again.
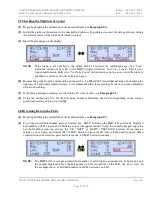
[4]
Click on the “
Set Clock
” button on the ABT-DAQ window to synchronize the Real Time Clock (RTC) of the
HHU with the clock of your computer (the date/time information of your computer will be sent to the HHU).
[5]
The idle timer will automatically power the HHU down after the selected time to conserve batteries (this is
applicable only if the HHU is NOT connected to the PC - in USB mode, the HHU will not power down
automatically). The default setting is 5 minutes. To change this value, make your selection and click on the
“
Set Timer
” button.


