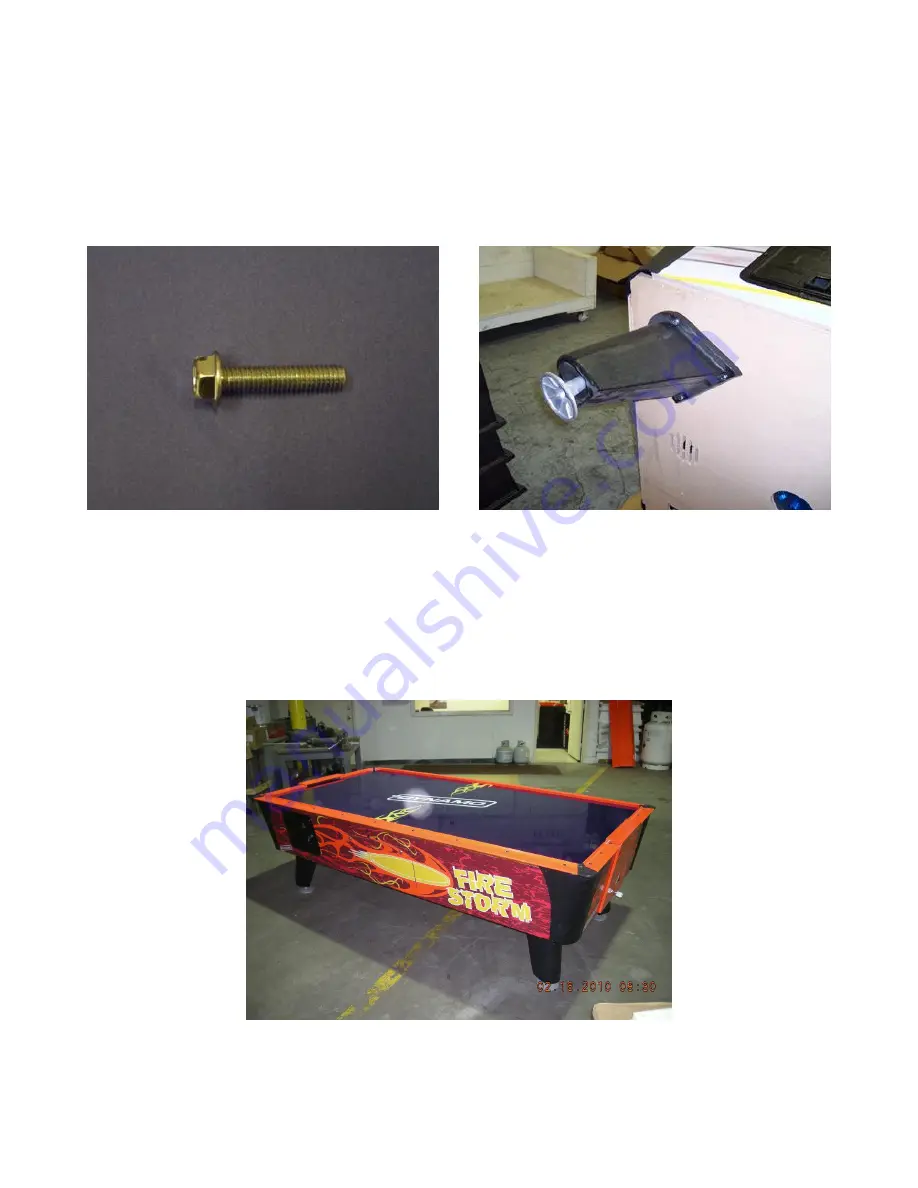
Locate the ½” bolt used to hold the legs in place during shipment. Using a ½” Socket or Wrench,
remove the bolt and shipping block that secures the legs.
1. Pull one leg from the left side out of the trap door opening at a time. Once the two left legs
have been removed, remove both right legs.
2.
Replace the shipping block and ½” for future use.
3. Replace the Trap Door and lock it.
4.
Using a ½” Socket or Wrench assemble the Legs to the bottom of the table using (4) 5/16-18 x
1 ½” Hexhead bolts, which are shipped inside the Parts Kit.
Make certain that the Leg Leveler is completely screwed into the Leg.
Using two or more people to carefully set the table down onto its Legs.
Position the table and level, using an adjustable wrench.
For removal and shipping, please reverse the above steps.
Your Air Hockey
table should now look like this.


