


XM Radio controls
Display Settings
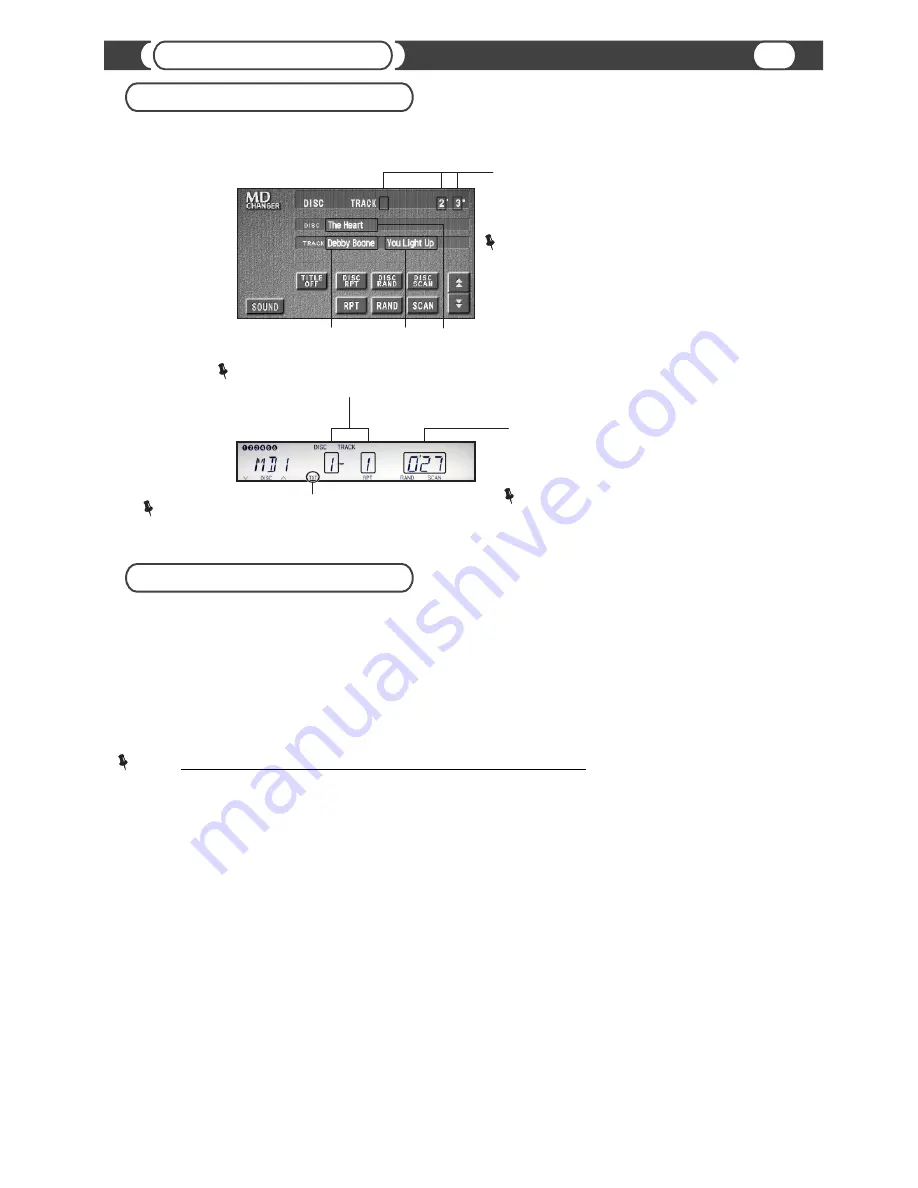
Track number, Minutes
,
and Seconds
are
used to display the selected satellite
channel number.
NOTE:
For cars with the Radio integrated
into the Navigation System, “DISC” number
MUST BE “invisible” or “12” in order to
have all ten numbers
available
for “Direct entry”.
Artist Name
Song Title
Channel Name
NOTE:
On some Radios both DISC number and TRACK number
must be different from “0” or “invisible in order for TEXT to be displayed properly.
Minutes and Seconds
are
used to display selected satellite
channel number.
NOTE:
Please check channel 081, 092
and 123 to make sure those channel
numbers are displayed properly.
NOTE:
Present if MD-TEXT is supported by the Radio
Receiver (may differ on Head units model and year)
Displaying Channel Information
XM Sound Level Adjustment
NOTE:
Remember, a high sound level may result in noticeable sound distortion.
@
Enter into “XM Radio Input Settings” Mode ( See “XM Radio Input Settings” for details).
@
Select the desired satellite channel.
@
Activate the “SCAN” function on your head unit.
@
Set the desired volume at your head unit.
@
While
“SCAN”
is active use
[SCROLL UP]
to increase volume and
[SCROLL DOWN]
to decrease volume.
@
Sound level [01..31] will be displayed as Seconds on you head unit.
@
Deactivate “SCAN” function.
@
Exit “XM Radio Input Settings” Mode ( See “XM Radio Input Settings” for details).
13


