background image

Installation

This section covers

n

Selecting the location for the camera

n

Preparing the ceiling

n

Connecting the camera

n

Completing the installation

Don’t Void Your Warranty!

Caution

This product is for indoor use. Do not install it outdoors or in a humid environment without the appropriate
protective enclosure. Do not allow it to come into contact with any liquid.

Use the power supply, power injector, or camera extension device included with or recommended for use
with this product.

For products with power supplies, using the wrong power supply will void the warranty, and could create
unsafe operating conditions or damage the product. Note that power supplies for different products may
look nearly identical – always check the label for the output voltage.

Do not install or operate this product if it has been dropped, damaged, or exposed to liquids. If any of these
things happen, return it to Vaddio for safety and functional testing.

Cabling Notes

Use Cat-5e or better cable and standard RJ-45 connectors (568B termination). We recommend using high-
quality connectors and a high-quality crimping tool.

Caution

Check Cat-5 cables for continuity before using them. Using the wrong pin-out may damage the camera
system and void the warranty.

Note

Use standard RJ-45 connectors and a good crimping tool. Do not use pass-through RJ-45 connectors.
Poorly crimped connectors can damage the connectors on the product, cause intermittent connections,
and degrade signal quality. Test cable pin-outs and continuity before connecting them.

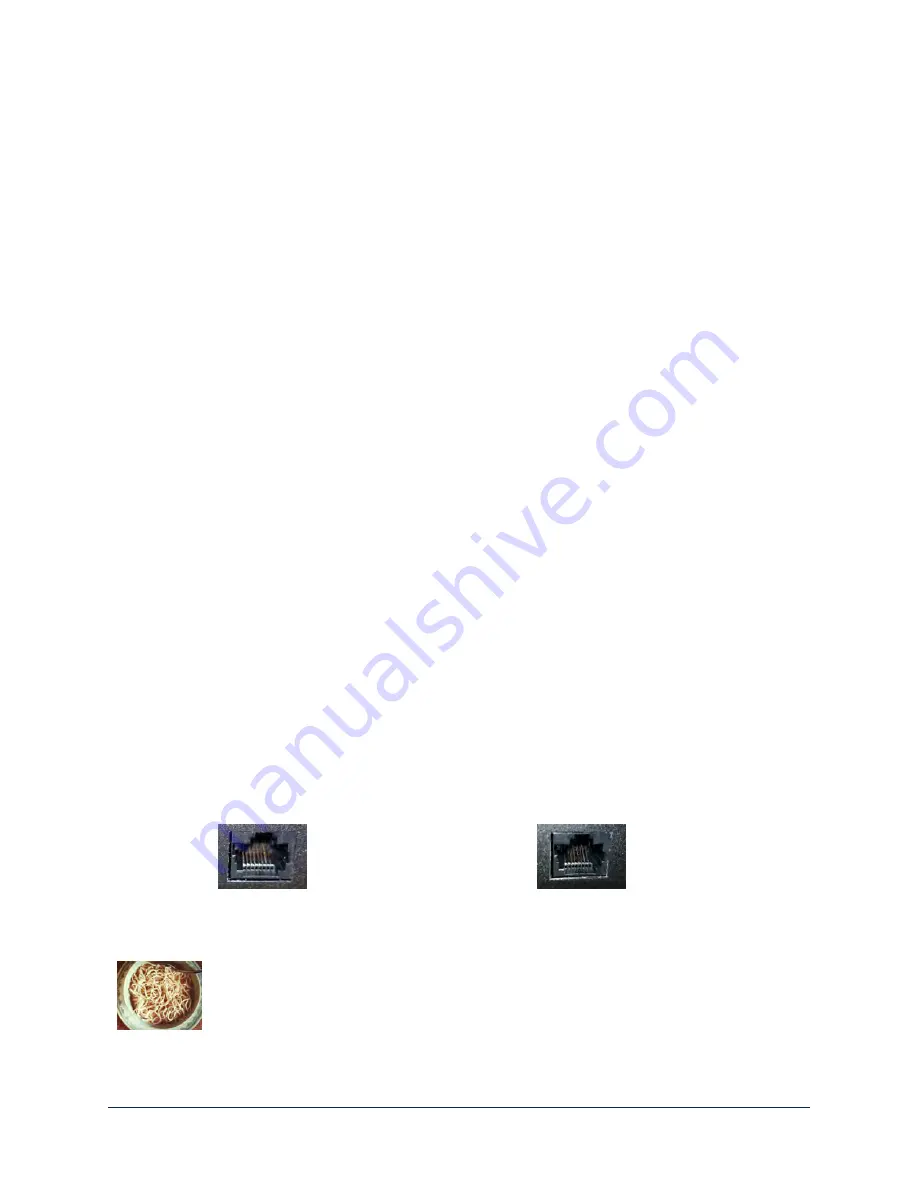
Intact

– Contact fingers will make reliable

contact with the cable connector

Damaged

– Some contact fingers are bent

and will NOT make reliable contact with the

cable connector

Pro Tip

To prevent tragic mishaps, label both ends of every cable.

6

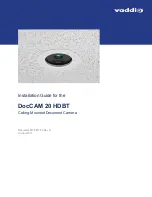
Installation Guide for the DocCAM 20 HDBT Ceiling-Mounted Document Camera

Summary of Contents for DocCAM 20 HDBT

Page 1: ...Installation Guide for the DocCAM 20 HDBT Ceiling Mounted Document Camera Document 411 0017 31 Rev A October 2017...

Page 2: ...6 Things You Will Need 7 Selecting the Installation Area 7 Preparing the Installation Area 7 Preparing a Tile Ceiling 7 Preparing a Solid Ceiling 7 Basic Connection Diagram 8 Options for Power and Ot...

Page 3: ...ed Document Camera Download manuals dimensional drawings and other information from www vaddio com support Features n Exmor 1 2 8 type high speed low noise image sensor for 2 38 megapixels total full...

Page 4: ...VDC power supply and AC cord set for North America n Trim ring with mounting screws n Tile support brace n IR remote DocCAM 20 HDBT with OneLINK HDMI Europe UK 999 9968 201 n DocCAM 20 HDBT camera an...

Page 5: ...nix type connectors qty 4 n USB 3 0 cable type A to type B 6 ft 1 8 m n Trim ring with mounting screws n Tile support brace n IR remote Note The mounting hardware that ships with the camera is designe...

Page 6: ...NK device for power and all connectivity When installed the connector side points in the direction that the top of the document or other camera subject will face n Fasteners for conduit box For instal...

Page 7: ...s of Interest During Operation n Camera lens 20x optical zoom lens for crisp detail n Laser pointer Shows where the camera image is centered Use the remote to turn on the laser pointer n IR window Sen...

Page 8: ...ped damaged or exposed to liquids If any of these things happen return it to Vaddio for safety and functional testing Cabling Notes Use Cat 5e or better cable and standard RJ 45 connectors 568B termin...

Page 9: ...ed n Minimum 5 6 inches of clear space above the camera opening to maneuver the camera into place Preparing the Installation Area The DocCAM 20 HDBT can be installed in a dropped acoustic tile ceiling...

Page 10: ...for Power and Other Connections Connect the camera to a OneLINK HDMI or a OneLINK Bridge AV Interface a single Cat 5e or better cable provides power to the camera along with HDBaseT network and video...

Page 11: ...ng in the opening 4 Rotate the camera so that the cable connector is facing the same direction as the top of the document or other photographic subject 5 Secure the trim ring to the camera bezel ring...

Page 12: ...atus Light The light in the camera s face indicates its current state Caution This product contains a 5 mw 650 nm red laser which produces visible laser radiation Avoid direct eye exposure Do not look...

Page 13: ...ful interference to radio communications Operation of this equipment in a residential area is likely to cause harmful interference in which case the user will be required to correct the interference a...

Page 14: ...Corrigendum 2006 Electrical Fast Transients EN 61000 4 5 2006 Surge Immunity EN 61000 4 6 2009 Conducted Immunity EN 61000 4 8 2010 Power Frequency Magnetic Field EN 61000 4 11 2004 Voltage Dips Inter...

Page 15: ...and or replacement Vaddio Technical Support can be contacted by email at support vaddio com or by phone at one of the phone numbers listed on support vaddio com Return Material Authorization RMA numb...

Page 16: ...ator light 4 10 installation requirements 7 installation typical 8 9 L location of connector 4 5 O OneLINK 8 P packing lists 2 PoE power 8 power on power off 10 power options 8 product capabilities 1...

Page 17: ...Bonus blank page...

Page 18: ...io RoboSHOT and OneLINK are trademarks or registered trademarks of Milestone AV Technologies HDBaseT and the HDBaseT Alliance logo are trademarks of the HDBaseT Alliance Exmor is a trademark of Sony C...

Reviews: