1
2
3
4
5
6
7
8
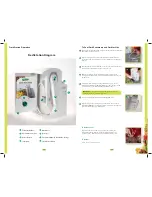
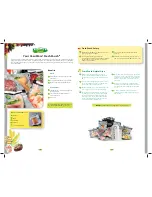
FreshStation Door
1
Vacuum Control Port
2
LED lights
4
Power Button
3
Wand Hose
5
Reservoir
6
FreshJarLid & Quick Start Guide Storage
7
FreshStation Wand
8
FreshStation Diagram
2
3
5
7
1
4
6
13
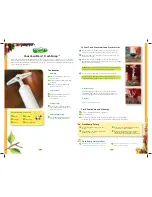
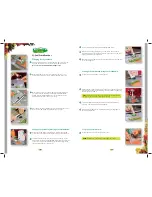
To Seal FreshContainers and FreshJarLids
Pull length of cord needed from storage at the back of your FreshStation
unit (cord extends to 3 ½ feet.)
Plug the FreshStation into a GFCI (Ground Fault Circuit Interrupter)
outlet, away from any area where it could be splashed by or submerged
in water.
Place the appropriate VacuWare lid on chosen container or jar; if using a
FreshContainer, handles must align to achieve a seal.
Remove the wand from your FreshStation; fit the green vacuum
control port of the wand over the corresponding green button on your
VacuWare lid.
To begin vacuum sealing, press the green button on top of your
FreshStation (“Ready/On” LED light illuminates) and cover the vacuum
control port on top of the wand with your thumb or finger.
IMPORTANT
: It is important to keep your finger over the Vacuum
Control Port during the entire sealing process.
Seal is complete when “Fresh Sealed” LED light illuminates.
Turn the power off by pressing the green button on the top of your
FreshStation
before
uncovering the vacuum control port on the wand,
and return the wand to your FreshStation.
To Release Seal
Press and hold the green button on your FreshContainer lid or
FreshJarLid until the “whoosh” sound (air rushing back into the
container) stops. Remove desired content from container or jar.
To Reseal
Follow “To Seal” instructions 1-7.
12
FreshStation Operation
1
4
6

