page 66 of 76
➨
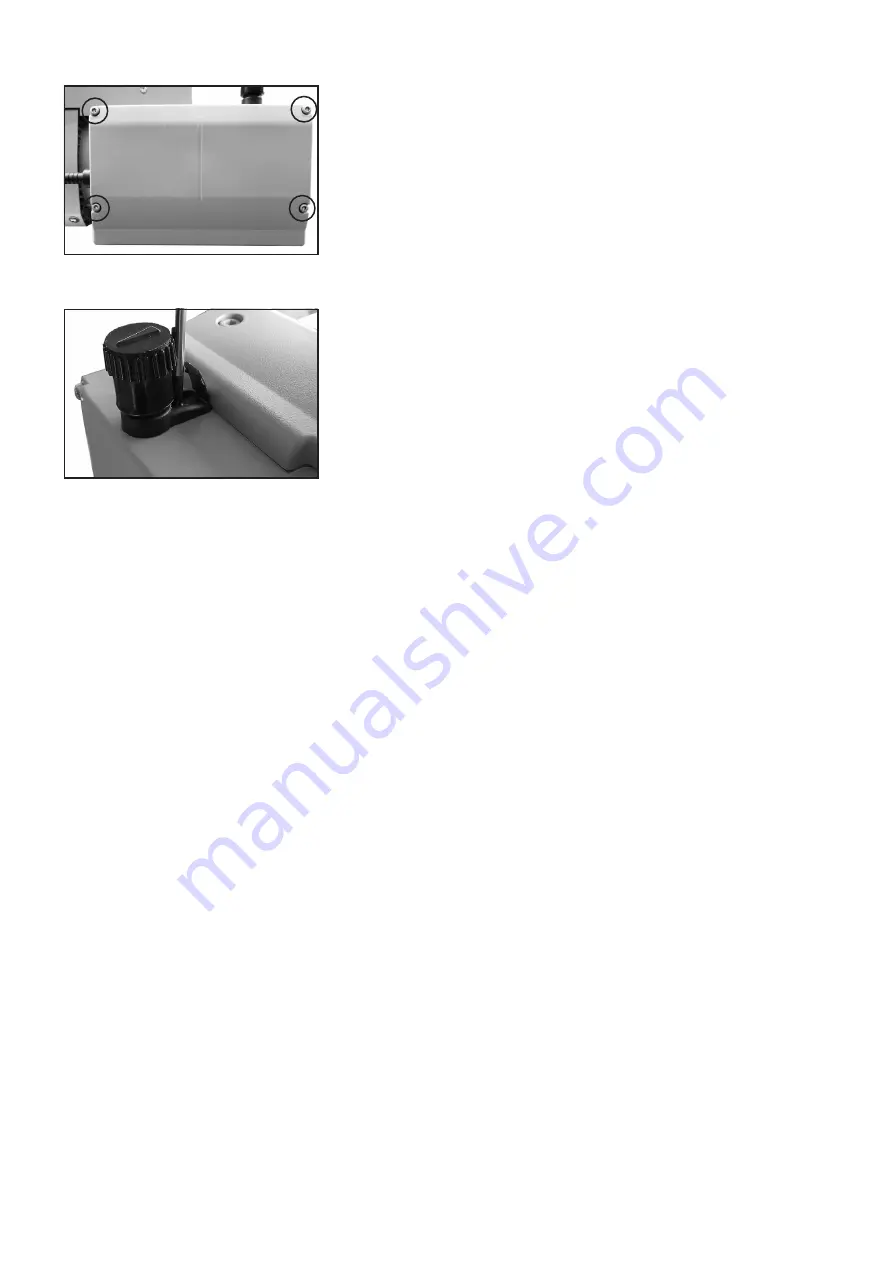
Put head cover cowling on.
➨
Slide the head cover cowling in the grooves
of the caps (I) and under the connection
fasteners (Q).
➨
Install the washers. Use a Torx driver T20 to
attach the 4 screws holding the head cover
cowling.
➨
Tighten the fillister head screws (L) of the
connection fasteners (Q) with a Torx driver
T20.
➨
Close the hinged covers.
Replace diaphragms and valves of the opposite side of
the pump in the same way.
If the pump does not achieve the ultimate vacuum:
- Whenever the diaphragms and valves have been replaced, a break-in
period of several hours is required before the pump achieves its ulti-
mate vacuum.
- In case of an unusual noise, switch off pump immediately and check
clamping disc positions.
If the specified ultimate vacuum is not achieved, and if this does not
change after the break-in period:
Check hose connectors at pump heads for leaks. If necessary recheck
valve seats and pump chambers.
Checking the ultimate vacuum
➨
After any intervention at the equipment (e.g., repair / maintenance)
the ultimate vacuum of the pump has to be checked. Only if the pump
achieves its specified ultimate vacuum, the pump’s leak rate is low
enough to ensure that no explosive atmospheres will occur in the inte-
rior of the equipment.
After any intervention at the vacuum sensor the leak rate of the equip-
ment has to be checked.


