V7 L185V User Manual Download Page 7

Short Cuts Function from the button(s)
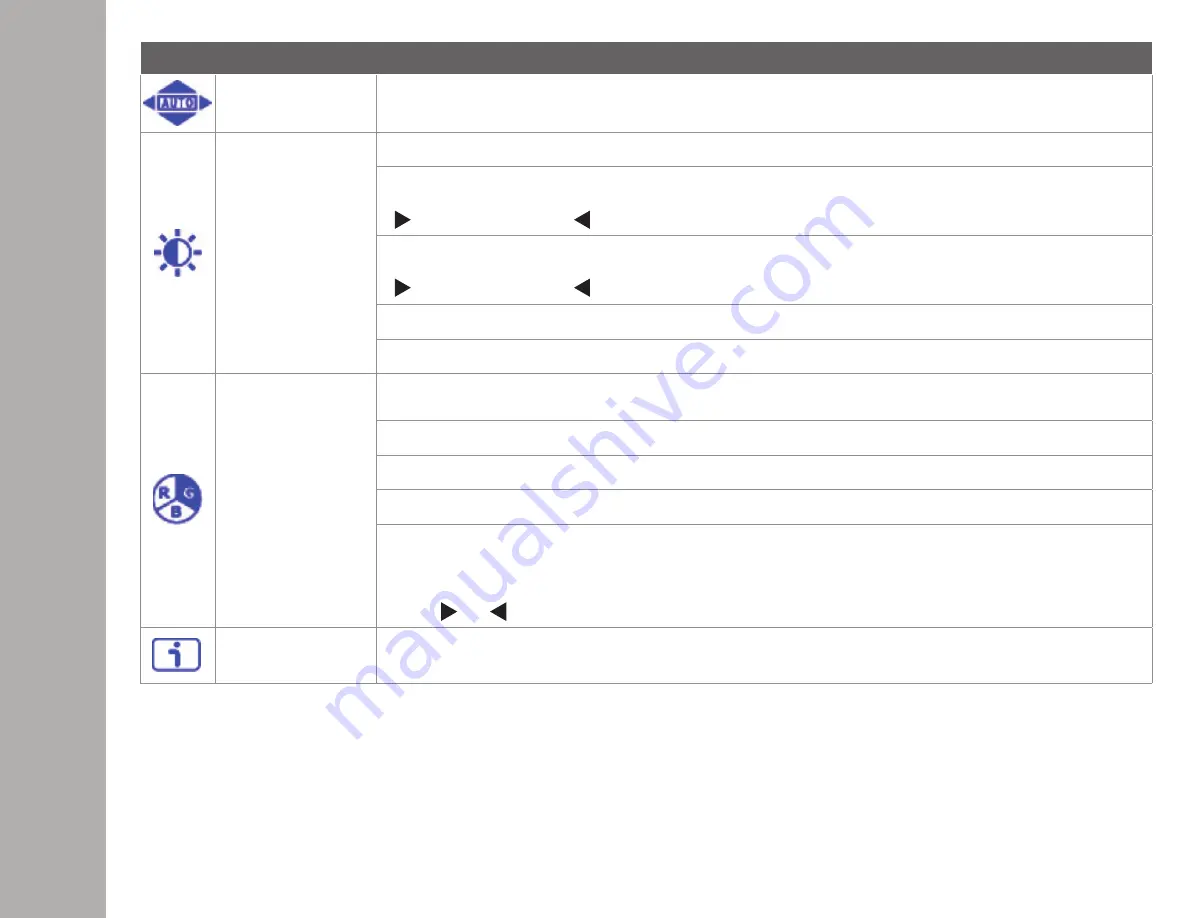
Auto Image Adjust

To auto adjust Horizontal Position, Vertical Position, Phase (Fine Tune) and Clock (H. Size) of the screen

Contrast/Brightness

To manually adjust the CONTRAST, BRIGHTNESS, DCR and ECO of screen image

CONTRAST

: To adjust the foreground white level of screen image

          increase contrast              decrease contrast

BRIGHTNESS

: To adjust the luminance of the video

          increase contrast              decrease contrast

DCR

: To detect the distribution of the visual signals inputs, and create an optimized contrast

ECO

: Allows the user to change the ECO mode. Brightness adjustment will be disabled when ECO is active

Color Adjust

To select the color for improving brightness and color saturation between COOL, NORMAL, WARM, 

USER COLOR

COOL

: Adds blue to screen image for cooler white

NORMAL

: Adds red to screen image for warmer white and richer red

WARM

: Adds green to screen image for a darker color

USER COLOR

: Individual adjustments for red (R), green (G), Blue (B)

1. Press MENU button to select the desired color

2. Press        or         button to adjust selected color


Information

To display the information, regarding the current input signal coming from the graphic card in your computer.

Note:  

See your graphic card user guide for more information about changing the resolution and refresh rate. 

ON

 SCREEN

 DISPL

AY

Summary of Contents for L185V

Page 1: ...USER MANUALL185V 18 Class Slim HD Widescreen Monitor...

Page 2: ...kage Includes Installation 2 Front Panel Back Panel Front Panel Back Panel 3 On Screen Display 4 Technical Specs 5 Care Maintenance 6 Troubleshooting No Power Power on but no screen image Wrong or Abn...

Page 3: ...1GETTING STARTED Package Includes AC Power Cord VGA Cable Quick Start Guide AC Power Cord VGA Cable...

Page 4: ...GETTING STARTED Installation 1 Insert post into base 2 Slide Post into monitor slot 3 Connect Video Cable Connect Power Cord 4 Power on Computer and Monitor...

Page 5: ...CONTROL PANEL BACK PANEL Auto Menu Control Panel Back Panel VGA AC Power VESA 2...

Page 6: ...When not in OSD menu directly enters COLOR VISION MODE Select the desired item when in OSD menu When not in OSD menu directly enters CONTRAST BRIGHTNESS Recall both of Contrast and Brightness when no...

Page 7: ...nge the ECO mode Brightness adjustment will be disabled when ECO is active Color Adjust To select the color for improving brightness and color saturation between COOL NORMAL WARM USER COLOR COOL Adds...

Page 8: ...user selectable presets Standard is for general windows environment and monitor default setting Game optimized for PC game environment Video optimized for movie and video environment Landscape optimi...

Page 9: ...5 W Displayable Resolution 1366 x 768 max Vertical Frequency 60Hz max Pixel Dimension 0 3 x 0 3 mm LED Display Color 16 7M Tilt 3 18 2 Active Display Area 409 8 mm x 230 4 mm Temperature Operating 0 C...

Page 10: ...ure free area Keep your monitor away from magnets motors transformers speakers and TV sets Safety Tips If smoke abnormal noise or odor came out from your monitor caution you should remove the power co...

Page 11: ...ll signal cables are installed Power on but no screen image Make sure the video cable supplied with the monitor is tightly secured to the video output port on back of the computer If not tightly secur...

Page 12: ...evice Note If necessary shielded interface cables and AC power cord must be used to meet the emission level limits WARNINGS This monitor should be operated only at the correct power sources indicated...

Reviews: