background image

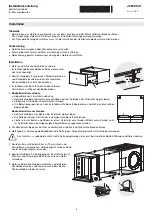
Installation instructions

Convenient storage drawer
for washing machines

J265.050-1

23.3.11  ZES

12

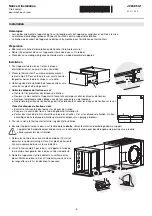
Tools: Combi spanner 19 mm 

7

 (supplied) and spirit level 

8

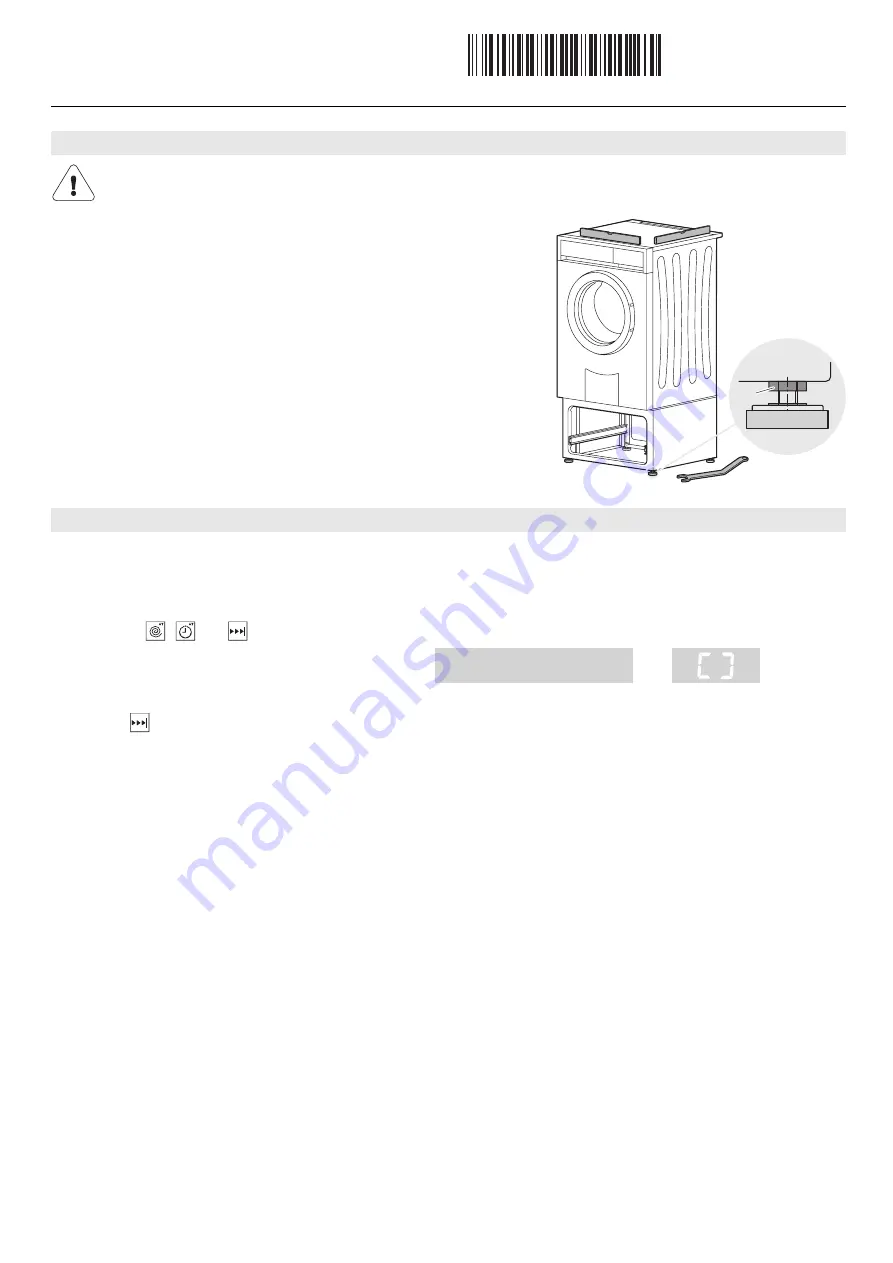
Rear adjuster feet

Loosen lock nuts 

9

.

Align convenient storage drawer vertically by turning the foot by hand.

Tighten the lock nuts firmly.

Front adjuster feet

Place the appliance in the floor mounting plate.

Loosen lock nuts 

9

.

Align convenient storage drawer vertically by turning the foot by hand.
– Convenient storage drawer and appliance must be absolutely stable.

Tighten the lock nuts.

Plug the appliance in at the mains or turn the wall switch on.
– The appliance switches on.

If there are any items in the drum, remove them and then close the appliance door.

Turn the water tap on.

Depress the 

 and 

 buttons simultaneously for 3 seconds.

– The spinning sequence is carried out.
– After about 2 minutes the following appears in the display: 

 resp. 

.

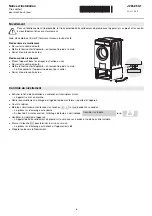
Check the stability of the appliance.
– The appliance must stand perfectly vertically with all 4 feet firmly on the floor and must not wobble.

Press the 

 button to complete the initial set-up of the appliance.

– The spinning sequence is finished. The appliance is then drained.

If necessary, repeat 

Levelling

.

Levelling

For fault-free operation the convenient storage drawer must stand perpendicular to the appliance with all feet firmly on the 
ground and the lock nuts 

9

 must be firmly tightened.

Levelling check

9

7

8

Check stability

Summary of Contents for 266

Page 1: ...Hinweise Eine einwandfreie Reparatur kann nur gew hrleistet werden wenn jederzeit eine zerst rungsfreie Deinstallation des kompletten Ger tes m glich ist Mitgeliefertes Installationszubeh r Bezeichnun...

Page 2: ...ben der Fixierteller wegschieben Klebestelle mit Reinbenzin oder Aceton reinigen Die Befestigungsposition von der Installationsschablone 3 bernehmen und die Fixierteller auf den Boden kleben Bodenfixi...

Page 3: ...schalter einschalten Ger t schaltet ein Evtl Beladung aus Trommel entnehmen und Ger tet r schliessen Wasserhahn ffnen Tasten und gleichzeitig w hrend 3 Sekunden gedr ckt halten Schleuderablauf wird au...

Page 4: ...rales Une r paration impeccable ne pourra tre effectu e que si l appareil complet peut tre d mont non destructif tout moment Accessoires d installation fournis D signation Unit Disques de fixation au...

Page 5: ...ues de fixation Nettoyer l emplacement de collage avec de l essence pure ou de l ac tone Reprendre la position de fixation du gabarit d installation 3 et coller les disques de fixation sur le sol Viss...

Page 6: ...L appareil se met en marche Retirer ventuellement la charge de linge du tambour et fermer la porte de l appareil Ouvrir le robinet Maintenir simultan ment enfonc es les touches et pendant 3 secondes L...

Page 7: ...potr essere effettuata soltanto se l apparecchio completo pu essere smontato non distruttivo in qualsiasi momento Accessori d installazione inclusi nella fornitura Denominazione Quantit Piatto di fiss...

Page 8: ...to comfort e l apparecchio dal davanti e spostarlo per permettere l incollaggio dei piatti di fissaggio Pulire il posto d incollaggio con benzina bianca o con acetone Riprendere la posizione di fissag...

Page 9: ...endere l interruttore a parete L apparecchio si accende Prelevare un eventuale carica dal tamburo e chiudere la porta dell apparecchio Aprire il rubinetto dell acqua Tenere premuti i tasti e contempor...

Page 10: ...ull repair can only be guaranteed providing the non destructive deinstallation of the complete appliance is possible at any time Supplied installation accessories Designation Number of items Floor mou...

Page 11: ...ront and move it aside in order to stick the mounting plates in position Clean the adhesive zone with pure benzine or acetone Taking the fixing position from the installation template 3 stick the moun...

Page 12: ...e appliance switches on If there are any items in the drum remove them and then close the appliance door Turn the water tap on Depress the and buttons simultaneously for 3 seconds The spinning sequenc...

Reviews: