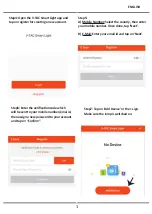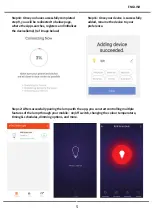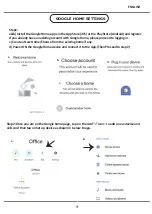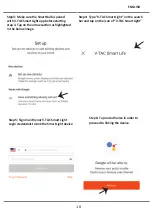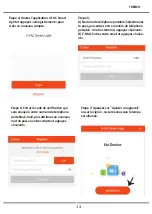
Step10: Once you have successfully completed
step 9, you will be redirected to below page,
where the App searches, registers and ini�alizes
the device(lamp) (ref image below)
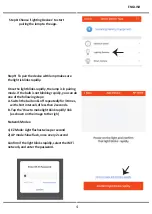
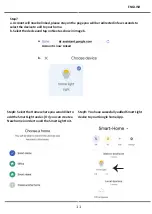
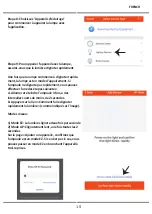
Step11: Once your device is successfully
added, rename the device to your
preference.
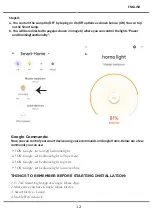
Step12: A�er successfully pairing the lamp with the app, you can start controlling mul�ple
features of the lamp through your mobile– on/off switch, changing the colour temperature,
�ming & schedules, dimming op�ons, and more.
ENGLISH
5
Summary of Contents for SMART LIGHT Series
Page 37: ...4 V TAC Smart Light Register 5 A Next B Next 6 Con rm BULGARIAN 36 7...
Page 38: ...BULGARIAN 37 9 A 3 2 B 1 EZ 2 AP 2 EZ EZ WiFi 8...
Page 39: ...10 9 12 BULGARIAN 38 11...
Page 41: ...40 6 V TAC Smart Light Link Now 7 Link Now Authorize 8 5 BULGARIAN...
Page 45: ...7 a b b 8 9 Google Home Account is now Linked a b BULGARIAN 44...
Page 103: ...4 V TAC Smart Light Register account 5 A Next B Next 6 account Con rm 7 GREEK 102...
Page 104: ...8 9 3 2 1 EZ 2 AP 2 Wi Fi GREEK 103...
Page 105: ...10 9 11 12 OFF dimming GREEK 104...
Page 107: ...5 6 V TAC Smart Light Link Now 7 Link Now Authorize 8 account GREEK 106...
Page 111: ...Account is now Linked a b GREEK 7 a b b 8 9 Google Home 110...


