


© 2013 UTC RETAIL
5
11823040 Rev A
Reverse previous steps to close the chassis cover. Lift the chassis cover out of the locking slots,
reconnect the power cable, lay the cover flat on the main chassis and slide it forward the half inch
required to seat the pivot barrels into their mating slots.
Attaching the RCD Head
Install the rear cover back onto the 3170. Do not
install the rear cover screws and plugs at this
time. Remove the RCD head from the box
and feed the RCD head's cable through
installed adapter and behind the handle on
the chassis cover. Continue to install the
head onto the adapter, locking the adapter’s
nub into the middle of the 5 holes in the RCD
pole adapter.
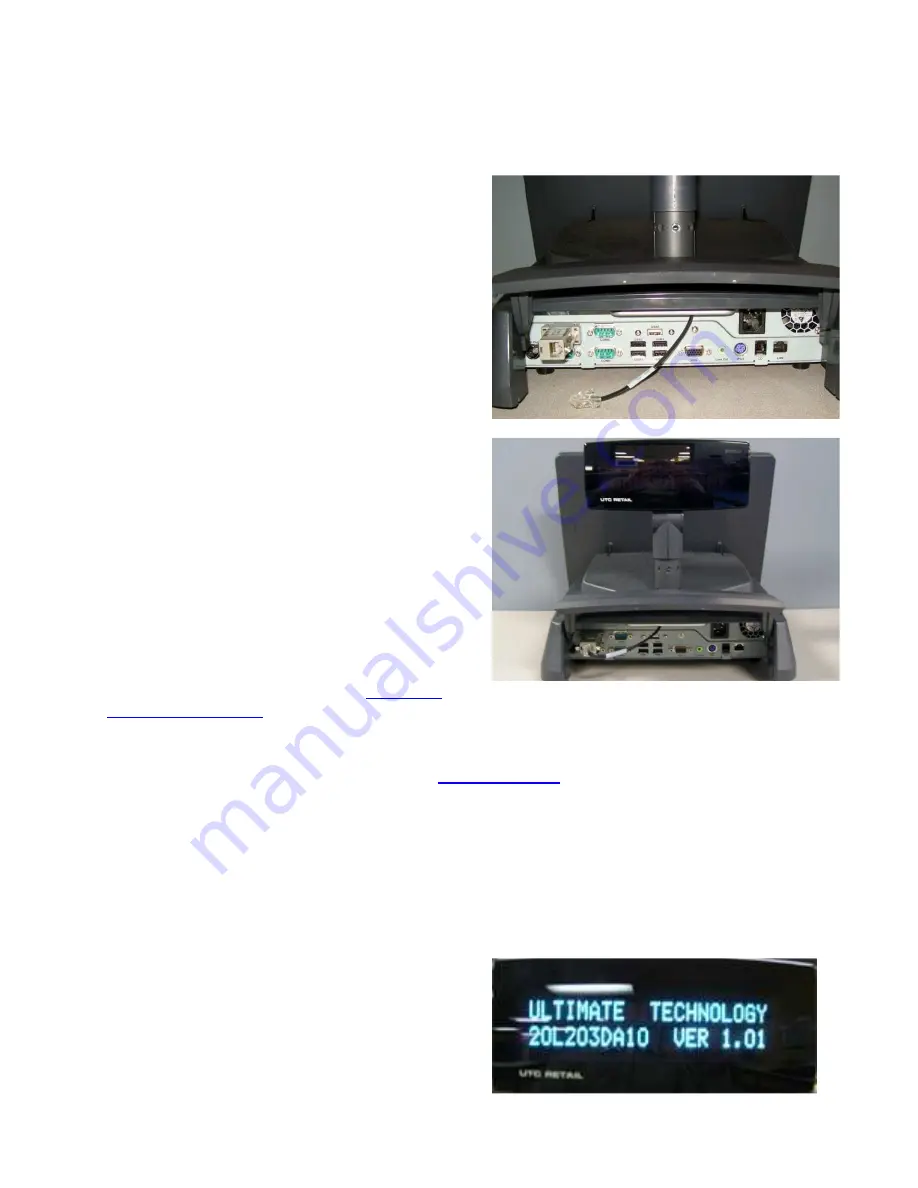
Connect to the COM Port
Lift up the rear door of 3170. Plug the DB9-RJ45
adapter into the COM port matching the port
selected in the “Configuring the COM Ports”
section. The photo to the right shows the
connection to the COM2 jack. Secure the
assembly to the chassis using the two
attached locking screws. Insert the plug from
the RCD head into the DB9-RJ45 adapter; it
will lock into place.
Reattach all the cables disconnected at
Preparing
the 3170 Workstation
.
Configure COM3 / COM4
If using COM3/COM4, continue here. If not, go to
Testing the RCD
.
1. Power on the system, and press the <DEL> key when the system is booting up to enter the
BIOS Setup utility.
2. Select the Advanced tab.
3. Select Power Configuration COM/VGA/CD Ports and press <Enter> to go to display the
available options.
4. To enable the power, select COM3 Power Setting or COM4 Power setting and press
<Enter>. Select Power and press <Enter>. Save the change by pressing F10.
Testing the RCD
Turn on the 3170. A bootup message (shown at
right) will appear on the RCD for about 2
seconds.


