DS1093-029
40
2.1.1.10 Preview
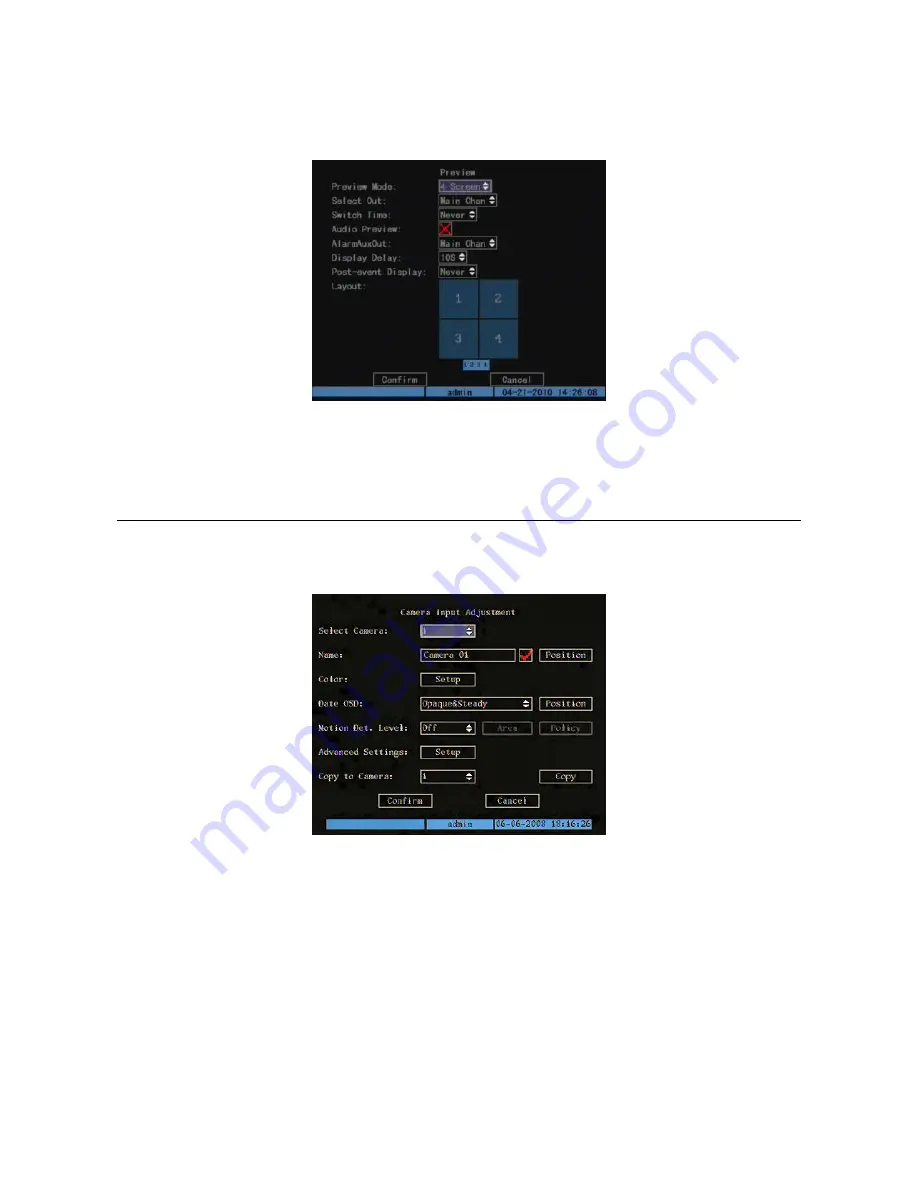
This menu is used to set camera display mode after the device is switched on, i.e. in
LIVE
mode (display, switching time, audio
presence and channel arrangement).
Position the “Active Frame” on the “
Preview
” icon and press “
ENTER
”.
Figura 26: preview menu
2.1.1.11
Post event display
It is now possible to set for how long the event channel (Motion Detection, Alarm, Video Loss, Tampering) will be displayed in
full screen on the alarm monitor even after the event has stopped (post event display). It is possible to define the duration in the
range 0s - 30s.
2.2 CAMERA
MENU
Description
This menu is used to edit the display and configuration settings of each video signal.
Position the “Active Frame” on the “
CAMERA
” icon and press “
ENTER
”.
The following window will appear.
Figure 27: cameras menu (basic settings)
This page contains the basic menu settings.
Select “
ADVANCED SETTINGS
” and press “
ENTER
” to access advanced settings.
The selected item is highlighted.
Press arrows “
◄►▲▼
” to point the cursor to the various menu items.
Point the cursor to the required item and press “
ENTER
” to edit it. Use buttons “
▲▼
” to change the available options for the
selected menu item.
Select “
CONFIRM
” and press “
ENTER
” to make the changes effective.
Select “
CANCEL
” and press “
ENTER
” to cancel the changes.
Press “
ESC
” to go back by one step.
Press “
ESC
” several times until the configuration window closes to quit the configuration menu.
2.2.1
CAMERAS MENU BASIC SETTINGS
2.2.1.1 Select
camera
This menu is used to select the camera (video input) were to edit the display and configuration settings. Use “
▲▼
” to select.


