A
s
s
e
m
b
ly
I
n
s
tr
u
c
ti
o
n
s
R
o
u
n
d
-T
o
p
W
a
lk
-I
n
C
o
o
p
V
-M
J
u
ly
2
0
1
9
C
o
p
y
ri
g
h
t
®
U
rb
a
n
C
o
o
p
C
o
m
p
a
n
y
a
ll
r
ig
h
ts
r
e
s
e
rv
e
d
.
S
te
p
3
E
-
B
2
A
tt
a
c
h
&
O
p
ti
o
n
a
l
W
a
te
re
r
/
F
e
e
d
e
r
Page
38
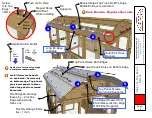
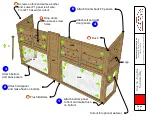
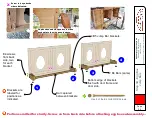
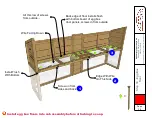
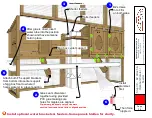
Install optional water brackets & feeders. Some panels hidden for clarity.
Glue seam of waterer
together using provided
PVC glue making sure
holes for nipples are aligned.
Tip: smear glue evenly only on the male
section, insert and turn a little to aligned position.
2
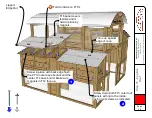
Taller feeders.
Shorter feeders.
3
Insert feeders...
After glue is dried, insert
water tube into the position
shown and have someone
hold in place.
4
Egg box center support
Attach both F5 support brackets
from bottom into center support
of egg box floor to where it
hangs waterer in a level position.
5
6
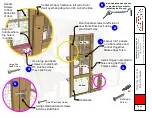
Install
grommet
first.
Then force
nipple in.
B2
B2 screws
in to F6's
on both sides.
1

