


4. Press and release the Item button again to
change the day setting. While the day field is
flashing, use the up or down arrow buttons to
set the proper day.
Setting the Schedule (511s and 512 Only)
A schedule allows the controller to automatically change between several
preset temperatures based on the time of day. The schedule divides the day
into either two or four events. For each event, a different temperature can
be set. This allows the room and floor to remain warm during the day and
cooler during the evening and night.
Note:
Refer to the Setting the Time and Day procedure mentioned
previously to set the time of day for each event to begin.
1. Press and release the Menu button until the Schedule (SCHD)
menu displays.
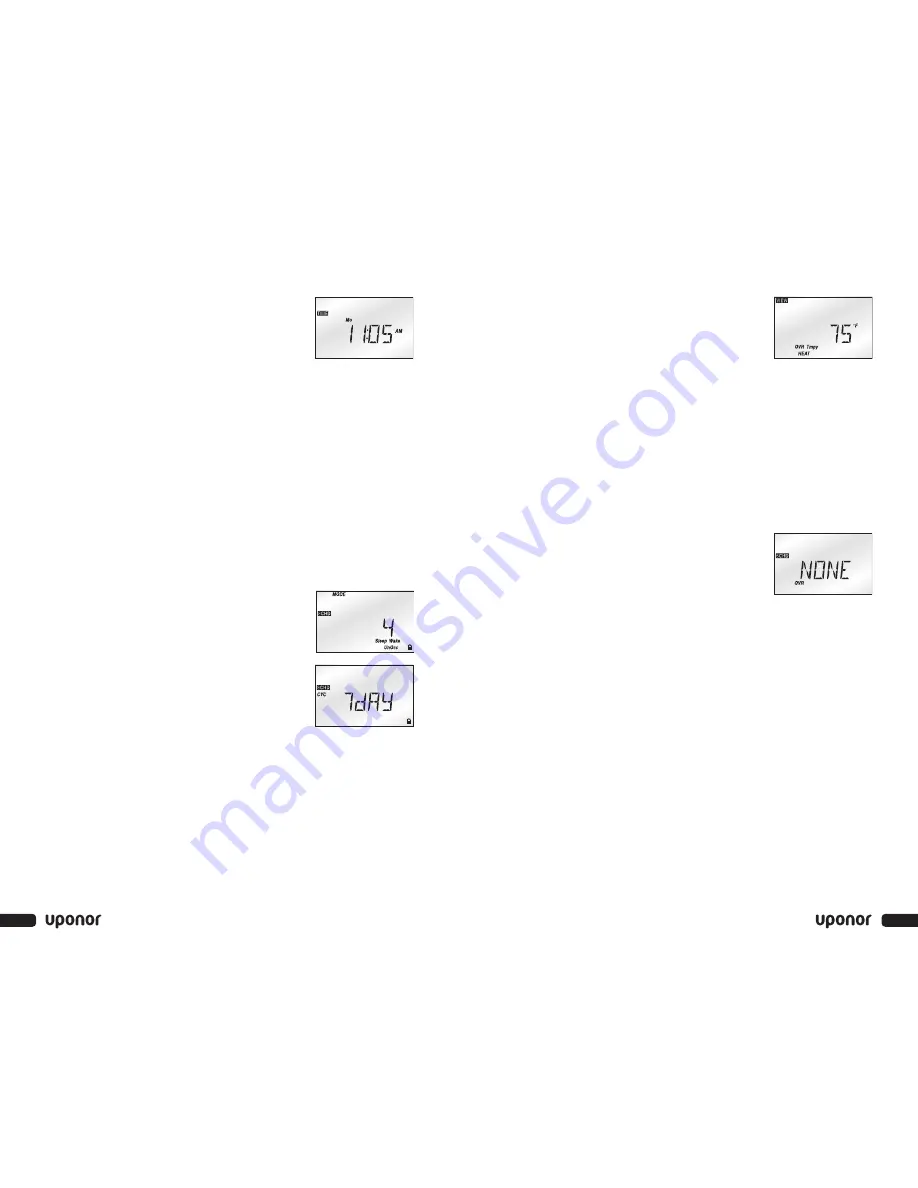
2. Press and release the Item button. Use the up or down arrow buttons
to select the desired schedule mode. (None = one temperature per day;
2 = two temperatures per day; 4 = four temperatures per day)
3. Press and release the Item button again to set
the schedule cycle. Use the up or down arrow
buttons to select either 7 day or 24 hour.
4. Press and release the Item button again. Use
the up or down arrow buttons to set the event's
beginning time. If the event does not have a
time, select the “--:--” time. This time is found
between 11:50 p.m. and 12:00 a.m. Record
the event time in the schedule tables found on
pages 8
and
9
for future reference.
Repeat step 4 until all events are programmed.
Overriding the Schedule
Temporary Override (511s and 512 Only)
Follow the steps below to temporarily override the schedule.
Note:
A temporary override lasts for three hours and does not permanently
change the existing schedule.
1. Press and release the Menu button until the View menu displays.
2. Press and release the Item button until the Room temperature displays.
3. Press and release either the up or down
arrow buttons once.
4. Use the Item button to select between
the heating temperature and the cooling
temperature (512 only).
5. Press the up arrow button to increase the temperature to the desired
setting and use the down arrow to decrease the temperature to the
desired setting.
A three-hour temporary override is now in effect.
Canceling a Temporary Override
To cancel a temporary override, press the Menu button once or twice if the
backlight is not lit.
Permanent Override (511s and 512 Only)
Follow the steps below to permanently override the schedule.
Note:
A permanent override stays in effect until a
new override is selected. A permanent over-
ride does not change the existing schedule.
1. Press and release the Menu button until the
Schedule (SCHD) menu displays.
2. Use the up or down arrow buttons to select the desired
permanent override.
Canceling a Permanent Override
Follow the steps below to cancel a permanent override.
1. Press and release the Menu button until the Schedule (SCHD)
menu displays.
2. Use the up or down arrow buttons to select the None setting.
Away Override (501s, 511s and 512 Only)
An away override is a quick override that does not change the existing
temperature settings. Use the away override during long periods of
absence. When the away override is selected, the heating temperature is
automatically set to 62°F (16.5°C) and the cooling temperature (for the
512 in Heat/Cool mode only) is set to 82°F (28°C). If a slab or floor sensor
is used with the controller, the minimum slab or floor temperature is also
ignored. This operation continues as long as the away override is selected.
5
4
SetPoint 500 Series Controllers User Manual
Summary of Contents for SETPOINT 500 SERIES
Page 8: ...Notes 10...


