UAD‑2 Live Rack Manual
Chapter 4: Live Rack Application
95
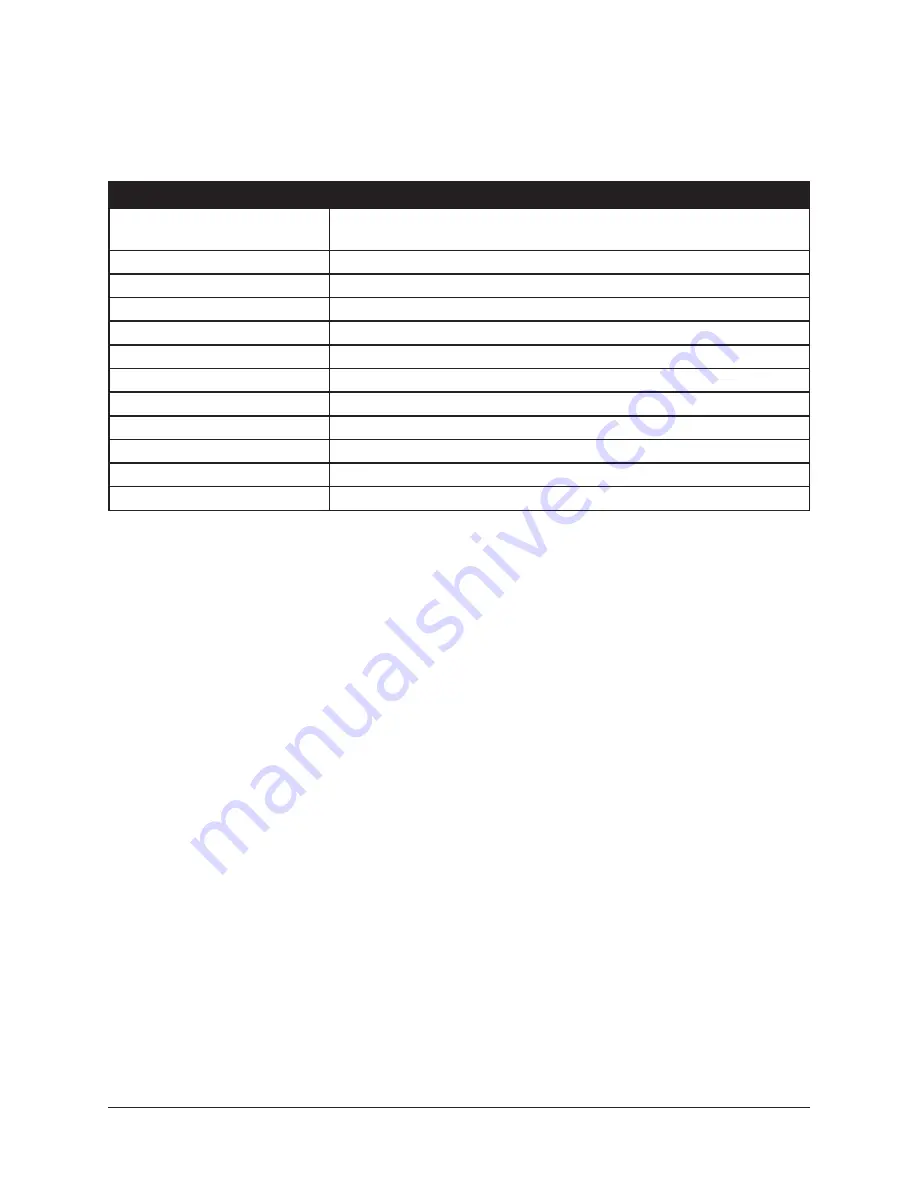
Plug-In Categories
Available plug‑in categories are listed in the table below.
Note: Some plug-ins are in multiple categories (when applicable).
CATEGORY
CONTENTS
NONE
Indicates that no plug‑in is assigned. If a plug‑in is already assigned,
the button can be used to unload the plug‑in.
DELAY
Delay and echo plug‑ins
DYNAMICS
Compressor and limiter plug‑ins
EQUALIZATION
EQ plug‑ins
GUITAR & BASS
Guitar and bass amplifiers, pedals, and tuner plug‑ins
HARMONIC & TAPE
Filter, saturation, distortion, and analog tape plug‑ins
MASTERING
Mastering plug‑ins
MICROPHONE
Plug‑ins for Townsend Labs Sphere L22 Microphone Modeling System
MODULATION
Chorus, modulation, phaser, and doubler plug‑ins
PREAMP & CHANNEL STRIP
Preamps and plug‑ins featuring multiple modules
REVERB & ROOM
Digital reverb, analog reverb, and room emulation plug‑ins
SPECIAL PROCESSING
Tape machines, enhancers, transient designers, phase tools
How To Assign Inserts
Follow these instructions to assign (load), reassign (change), and de‑assign (remove)
plug‑ins from any insert in Channel View.
Note: These operations can only be performed in EDIT mode.
Assign Insert
1. Single‑click any empty insert button in any View screen to switch into Channel
view and select the insert. The ASSIGN tab and the CATEGORY buttons are
displayed, with NONE as the currently selected category.
2. Single‑click any CATEGORY button to select it. The plug‑ins within the category
are displayed in the PLUG‑IN column. Use the vertical scroll bar to view all the
plug‑ins if necessary.
3. Single‑click any plug‑in the PLUG‑IN column to assign it to the insert. The plug‑in
is loaded with its default preset, it begins processing audio on the channel, and
the PRESETS column (and SUB‑FOLDER column, if any) are displayed.
4. If desired, single‑click any preset in the PRESETS or SUB‑FOLDER columns to
load a different preset. Use the vertical scroll bar to view all the presets and/or
sub‑folders if necessary.
Done. Exit assign mode by pressing enter or clicking a different element. Click the
PLUG‑IN tab to view the plug‑in’s interface and edit its parameters.


