English
- 27 -
Changing Channels and Volume
You can change the channel and adjust the volume
by using the
/-
and
Programme
+/-
buttons
on the remote.
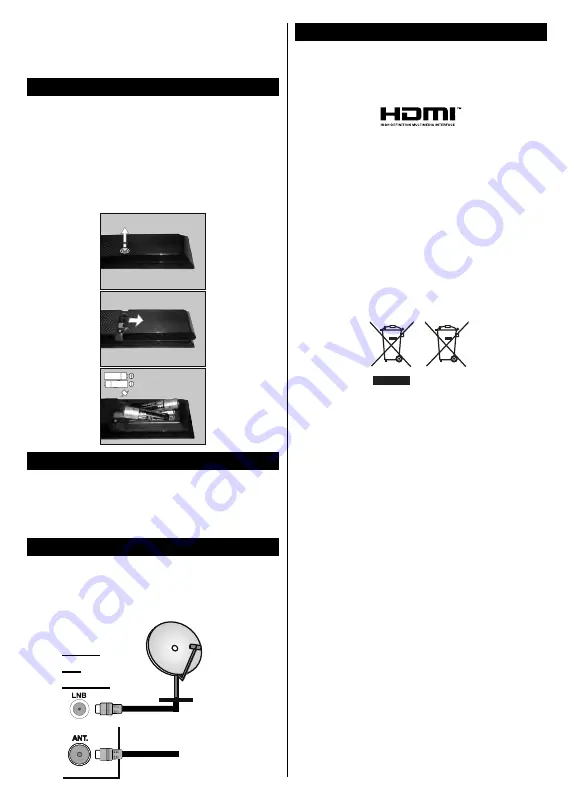
Inserting the Batteries into the Remote
Remove the screw that secure the battery compartment
cover on the back side of the remote control first
Press and slide the cover to open. Insert two size
AAA
batteries. Make sure the (+) and (-) signs match
(observe correct polarity). Do not mix old and new
batteries. Replace only with same or equivalent type.
Place the cover back on. Then screw the cover back
on again.
Connect Power
IMPORTANT
: The TV set is designed to operate on
220-240V AC, 50 Hz
socket. After unpacking, allow the
TV set to reach the ambient room temperature before
you connect the set to the mains. Plug the power cable
to the mains socket outlet.
Antenna Connection
Connect the aerial or cable TV plug to the AERIAL
INPUT (ANT) socket or satellite plug to the SATELLITE
INPUT (LNB) socket located on the back of the TV.
satellite
REAR
OF
THE TV
aerial
or
cable
License Notificatio
The terms HDMI and HDMI High-Definition Multimedia
Interface, and the HDMI Logo are trademarks or
registered trademarks of HDMI Licensing Administrator,
Inc. in the United States and other countries.
Manufactured under license from Dolby Laboratories.
Dolby, Dolby Audio and the double-D symbol are
trademarks of Dolby Laboratories.
Information for Users on Disposal of Old Equipment
and Batteries
[European Union only]
Equipment bearing these symbols should not be
disposed as general household waste.
You should look for appropriate recycling facilities and
systems for the disposal of these products.
Notice:
The sign Pb below the symbol for batteries indicates
that this battery contains lead.
Products
Battery
Summary of Contents for UN3249S2
Page 1: ...UN3249S2 E XP MH TH EOPA H COLOUR TELEVISION...
Page 3: ...2 2000 5 cm II II...
Page 4: ...3 1 1 2 i CLASS 1 LASER PRODUCT...
Page 6: ...5 OK 1 2 3 Menu OK Return Back Menu Source AAA 220 240 V AC 50 Hz...
Page 14: ...13 TV 5 5 RGB RGB HDMI HDMI PC VGA PC VGA PC PC VGA...
Page 15: ...14 AVL Surround Surround...
Page 17: ...16 DVB DVB SatcoDX SatcoDX...
Page 18: ...17 OK TV OK OK PIN PIN 18 PIN PIN PIN CICAM CI CI PIN CI CAM PIN 0000 1234 PIN PIN EPG Epg 3...
Page 19: ...18 OK SOURCE USB OK USB OK USB OK OK EPG OK OK Text...
Page 20: ...19 OK OK 3 3 00 LED AV USB USB USB USB USB USB...


