U N I Q U E 2 4
&
3 0
16
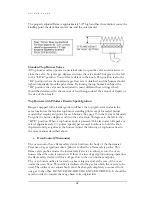
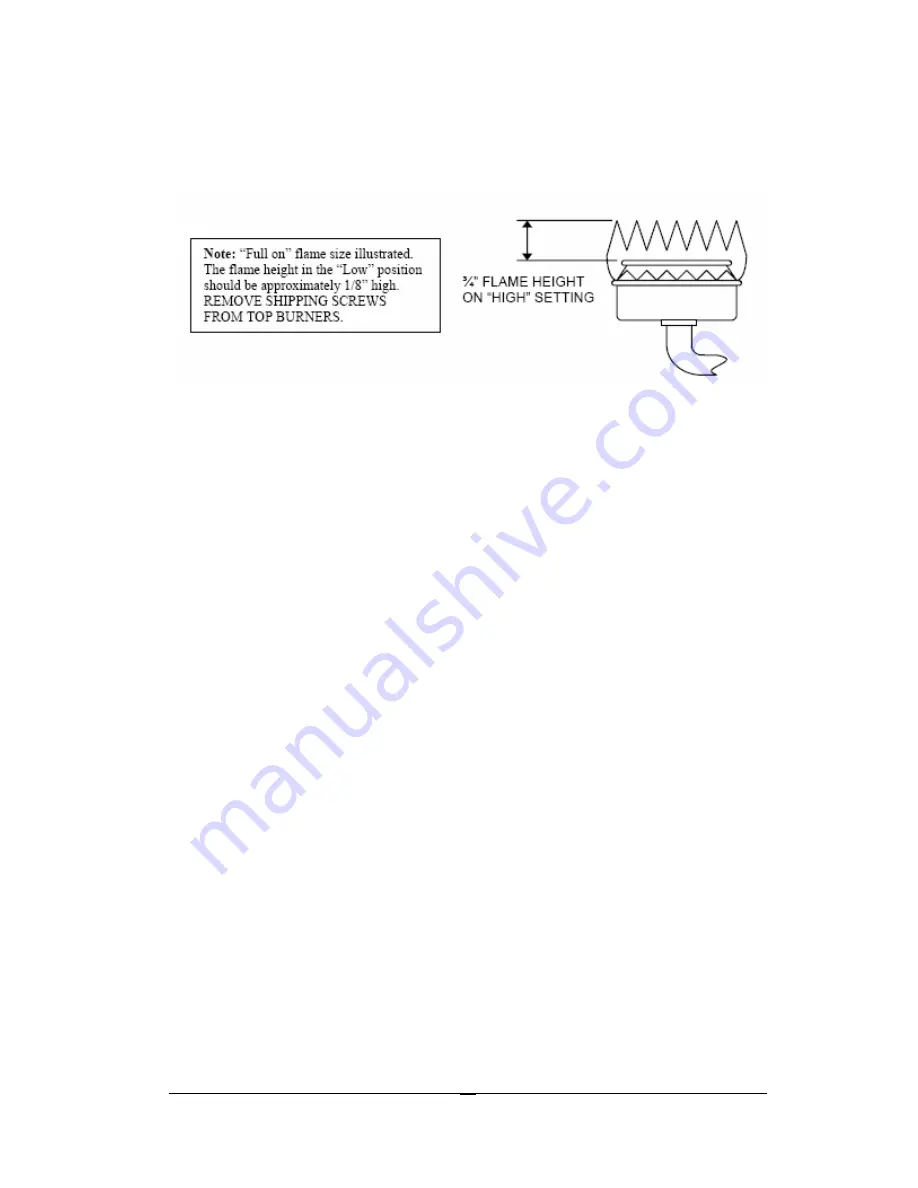
The properly adjusted flame is approximately 3/4" high and has three distinct cones; the
kindling point, the dark blue center cone, and the outer mantel.
Standard Top Burner Valves
All top burner valves operate counterclockwise to open the valve and clockwise to
close the valve. To ignite gas, depress and turn the valve knob 90 degrees to the left
to the “LITE” position. You will feel a detent in the knob. This position is also the
“HI” position where the maximum gas flow rate is obtained, and the burner should
light automatically from the pilot flame. By turning the top burner knob past the
“HI” position, the valve can be adjusted to many different heat settings which
should be determined by the amount of food being cooked, the amount of liquid, or
the size of the utensil.
Top Burners with Pilotless Electric Spark Ignition
Ranges equipped with electric ignition will have the top ignitor electrodes in the
same location as the familiar top burner standing pilots except for sealed burner
models that employ an ignitor for each burner. (See page 13 in the Owner’s Manual.)
To ignite the burner, depress and turn the valve knob 90 degrees to the left to the
“LITE” position. When a top burner knob is pressed, ALL electrodes will spark at a
rate of approximately 2 ½ pulses (sparks) per second. Continue to hold the knob
depressed until gas ignites at the burner. Adjust the intensity of top burner heat in
the same manner described above.
4.
Oven Control (Thermostat)
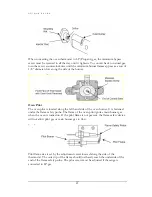
The oven control has a flame safety device built into the body of the thermostat.
Presence of a gas ignition source (pilot) is verified by a flame safety probe. This
flame safety probe actuates the internal safety device to allow gas into the oven
burner when the oven is turned on. If there is a loss of gas ignition during operation,
the flame safety device will close off gas flow to the oven burner and pilot.
The oven burner orifice is located on a brass injector stud at the rear of the oven
under the oven floor. This orifice is dedicated to the gas for which the oven is to be
used. The orifice is not adjustable. It must be changed completely to convert from
one gas to the other. DO NOT DISCARD THE UNUSED ORIFICE. It should be
saved in order to convert the range back to its original fuel
Summary of Contents for 20
Page 12: ...U N I Q U E 2 4 3 0 9 ...
Page 33: ...U N I Q U E 2 4 3 0 30 ...
Page 34: ...U N I Q U E 2 4 3 0 31 ...

