


5. TROUBLE SHOOTING
Service information Phyaction 190 / 190i - Page 16
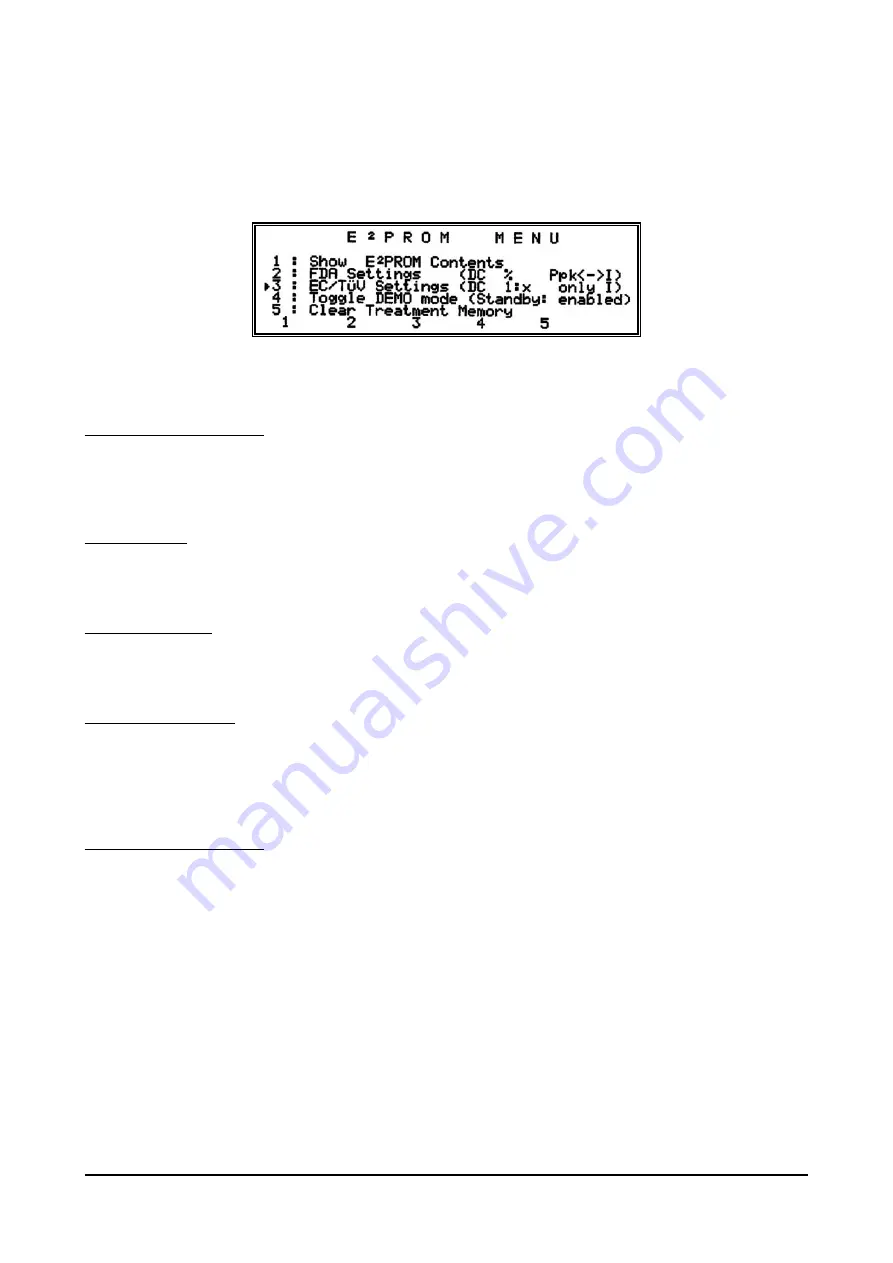
4.3.4 E²PROM menu, FDA/EC/Standby toggle
If you choose item 4 of the service menu,
E²PROM menu, FDA/EC/Standby toggle
, you will get another menu,
the E
2
PROM MENU, see figure 4.3.
In this menu you have several choices to display and alter the contents of the I²C E²PROM.
1. Show E²PROM Contents
If you choose this item the contents of the memory is displayed on the LCD. It starts with the head parameters
with the measured Vusi, then the contrast is shown and the default setting (TÜV / FDA). On the last line of this
screen treatment memory use is shown. If one of the black keys
¿
or
À
is pressed, you can scroll through a
hexadecimal display of the memory contents.
2. FDA Settings
With the blue function key F2 you can set the appliance in the FDA (American) settings. An arrow head will
appear before the FDA settings line. In FDA mode the duty cycle will be displayed in a percentage instead of a
ratio (example 25% instead of 1:4) and you can toggle between intensity and peak power setting.
3. EU/TÜV Settings
With the blue function key F3 you can set the appliance in the European or TÜV settings. These settings are
also the default settings when an E²PROM is initialised. An arrow head will appear before the EU/TÜV settings
line.
4. Toggle DEMO mode
If the appliance is not generating ultrasound, it will show a screen saver after 5 minutes of non activity. After
approximately 5 minutes the screen saver disappears and the LCD backlight is switched off. To prevent the
appliance to go in screen saver mode (e.g. for demonstrations) you can press the blue function key F4. An
arrow head will appear before this line to indicate that the screen saver is disabled. Pressing F4 again will
enable the screen saver.
5. Clear Treatment memory
The treatment memory can be cleared one location at a time in the memory menu. However if you want to clear
the complete treatment memory (e.g. after filling it with test values) you can use this function.
4.3.5 Flip (mirror) screen
When servicing the appliance it is very easy to put it on its rear side. In this position you can unscrew the
bottom plate and open it towards you. In this position it is possible to turn on the appliance while it is opened, so
you can measure signals for trouble shooting purposes. If you still want to be able to see the information on the
LCD, it is very convenient to put a mirror behind the appliance. Flipping the screen with this menu item enables
you to read the information on the LCD, even though it is in a mirror.
4.4 Error
messages
Every error is internally represented by a number. If an error is encountered, this number is shown on the LCD
display (if possible) and sent to the serial port (if possible). Should the microcontroller not be able to show the
number on the display, an acoustic signal is given. The list is in Appendix 3.
Figure 4.3, E²PROM menu


