UNiKA DI-USB User Guide
5
USB Connection
Before connecting, make sure all of the audio levels are turned down or
system is turned off; this helps to prevent clicks and pops from damaging
more sensitive equipment when connecting and powering up.
Turn on your computer; once initiated, connect a USB cable from your
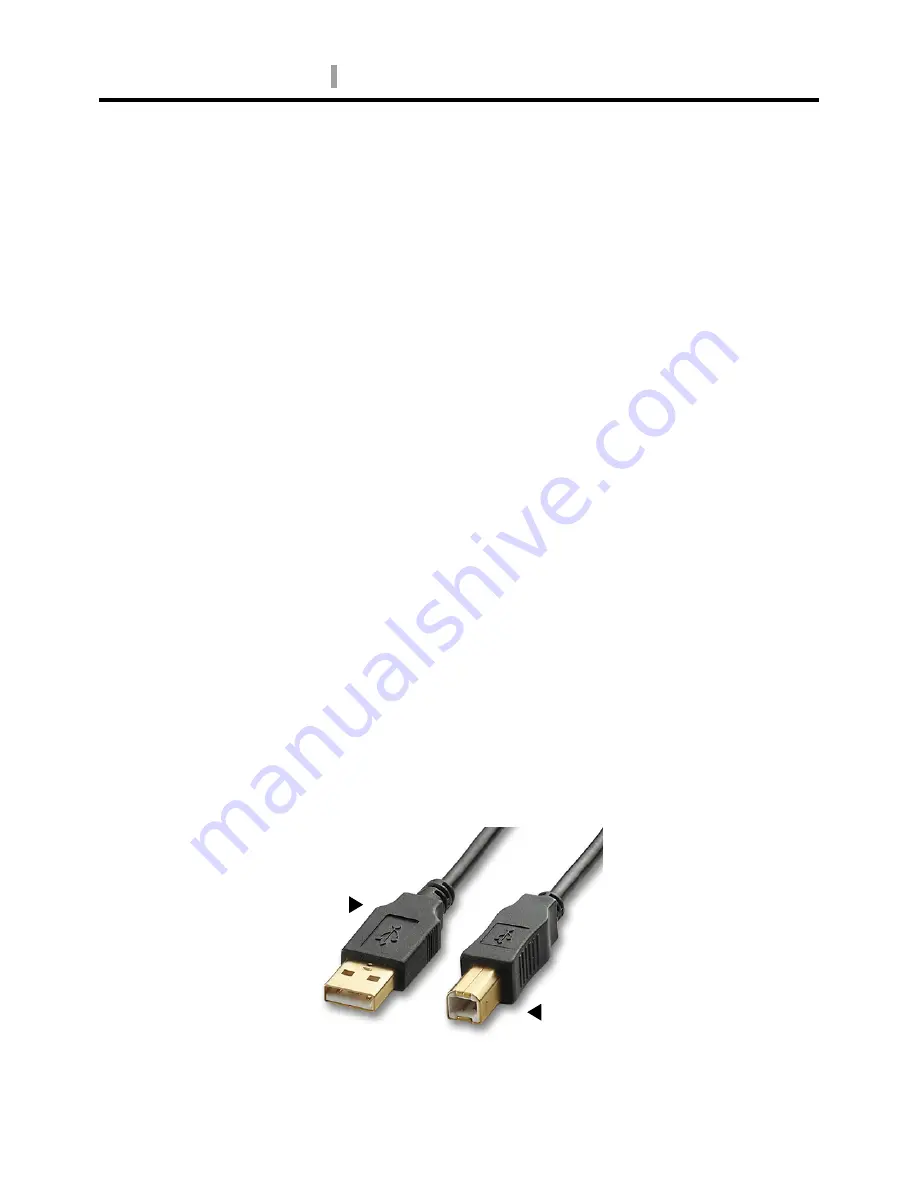
computer to the DI-USB Box. Note that the DI-USB employs a USB
type-B connector which is standard for devices that are upstream from the
computer ; once connected, your computer will automatically recognize the
UNIKA DI-USB.
The generic drivers are compatible with most operating systems,
including
Mac OSX, Windows 10 and Windows 7/8.
The DI-USB Box’s USB LED will illuminate to let you know it is connected.
Go to your system settings/control panel and select the UNIKA DI-USB in
the Audio/Sound settings. Close and save your system preferences, and
open the audio playback program of your choice, select and play an audio
file. To check the audio, plug in a set of headphones or ear buds and listen.
So set the level control to 7 o'clock (fully-counter-clockwise) and then
increase slowly.
The DI-USB is designed to be plug and play for easy use. The following
describes basic set-up procedures and connections.
USB type A connect to laptop
USB type B connect to DI-USB
Summary of Contents for DI-USB
Page 12: ......


