NVR Quick Start Manual
第
15
页 共
22
页
Upgrade include:firmware upgrade,boot screen image upgrade,patch upgrade.
Except USB memory upgrade, it also support upgrade by network.
Note:
when the NVR is upgrading,don’t perform any other operations or power off, otherwise NVR will
fail to enter the system ,and have to send back to factory for repairing.
After upgrading,the device need to be rebooted.
7.3.5 System Maintenance
System maintenance is devided into everyday, every week, once. After enable, users can choose
detailed maintenance time. It’s recommended to enable system maintenance to clear system cache to
ensure system fluency.
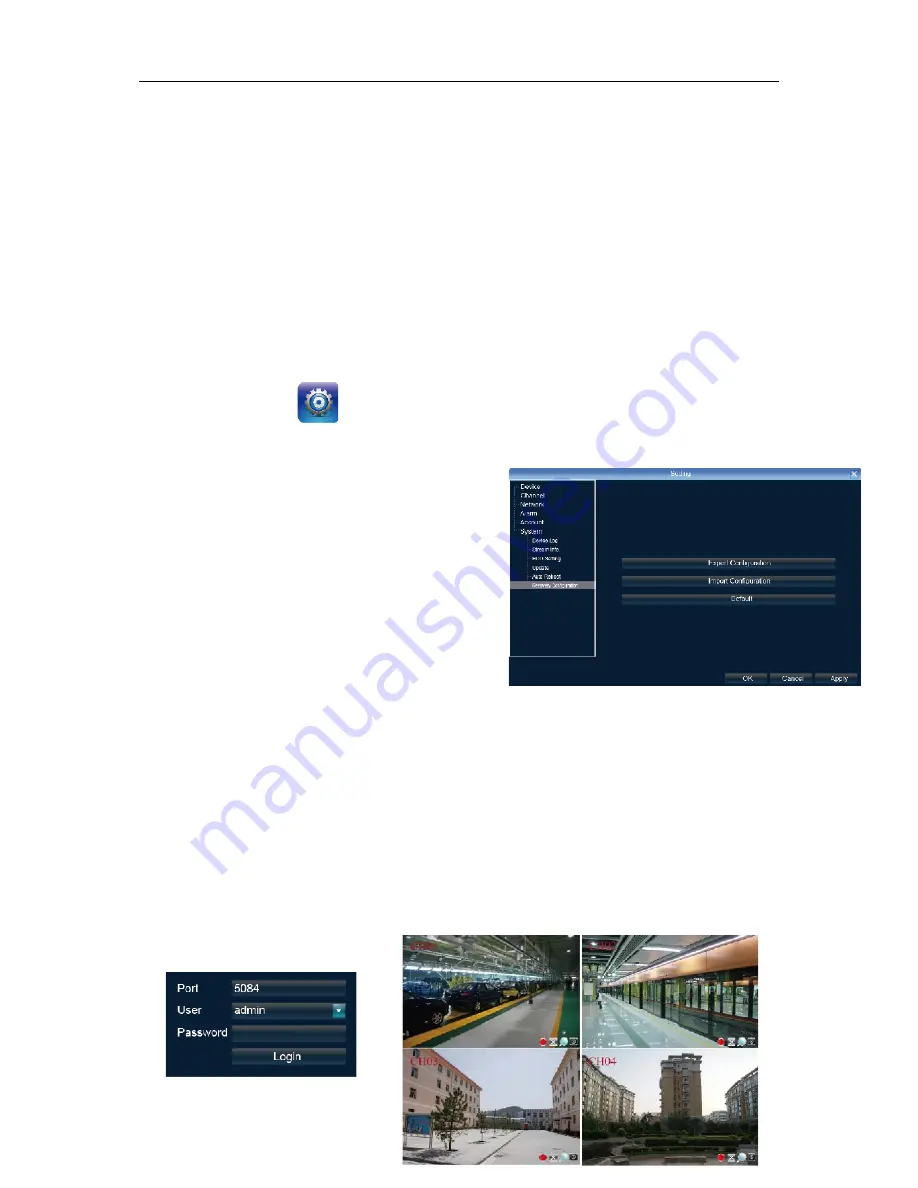
7.3.6 Import-Export Configuration
Right click mouse
,
click
【
Setting
】
System
Recovery Configuration
。
The following two situations can use the Import and Export configuration:
1. NVR firmware upgrade or restore the default settings;
2. Several NVRs’ configuration are same but connect
different IP cameras in order to save the configuration
time
【
E
xport Configuration
】
: Export equipment parameters ,
and save it in the assigned place of U disc;
【
Import configuration
】
: Open the menu in the NVRs
that need the same configuration,import data of U disc
to copy the NVR conf iguration.
8.1 IE Viewing.
1.1.1
User Log In
1.
Enter the colon+Http port . or enter the static IP +colon +http port . For example, NVR’s IP
address is 192.168.1.189, HTTP port is 32, then type in the address bar: http://192.168.1.189:32.
Download the activex and close the IE browser before installation. After sucessfully installed, again
open the browser and type the IP address or domain name. Log in window appears and then type in
device port, username, password to connect sucessfully.


