


39
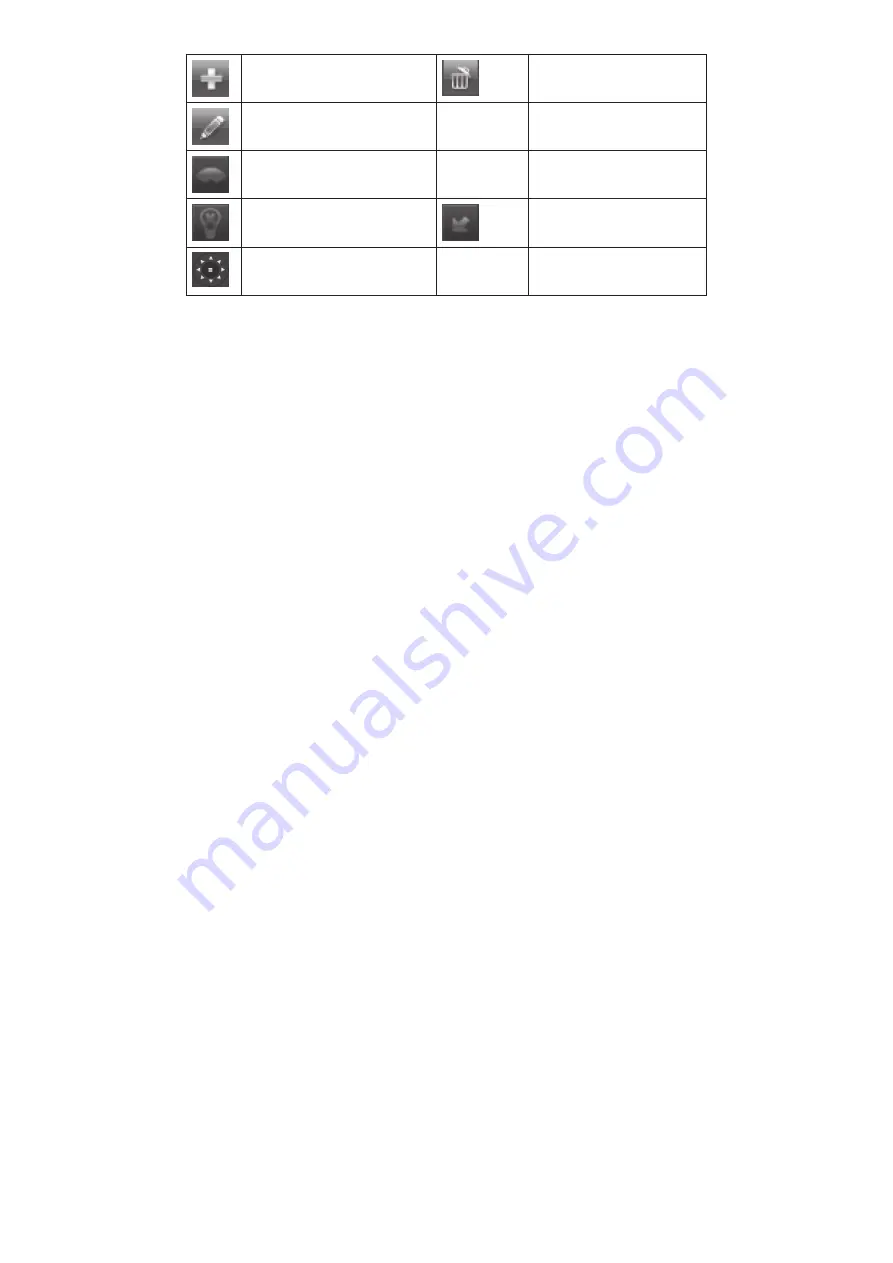
Add preset point
Delete the preset
point
Modify the selected
preset point
Start
Recording
Controls PTZ recording
tracks.
Wiper Control
Start Track Execute the recorded
tracks.
Control external IR
devices
Hide function
Adjust PRZ direction
Cruise Preset Popup
1. Select a preset number, a speed at which it executes, and how long you want it to execute (up
to 60 seconds).
2. Select the check mark. The popup goes away and the selections display in the Cruise Preset
screen.
Advanced Icon
Select the Advanced icon; the
Advanced Setup
screen displays 3 icons:
• Reset. Return all settings to factory defaults.
•
Import/Export. Export system configuration to other devices, eliminating the need to configure
devices separately.
• Exit. Returns to
Setup
screen.
Import/Export Icon
If you have to return your DVR to factory settings, all your current settings will
be lost. Select the Import/Export icon to copy your current system configuration to a USB drive to
reload after your DVR has been reset.
To Export DVR Configuration to USB Drive
1. Insert a USB drive in the middle USB slot on the BACK of the unit.
2. Go to
Main Menu/Setup/Advanced/Import/Export
. Select
Refresh
. The screen displays the
contents of the USB drive.
3. Select
Export
to copy the DVR configuration onto the USB drive. The configuration file should
be named similar to: DVR-XXXXX-Config-YYYY-MM-DD-HH-MM-SS.config.
4. Select
Exit
and remove the USB drive.
To Import DVR Configuration from USB Drive
1. Disconnect power to the DVR.
2.
Insert the USB drive with the saved configuration file.
3.
Reconnect power. The DVR reboots with the saved configuration.
SEARCH ICON
Select the Search icon and the
Search
screen displays with 4 tabs:
•
Time Search. Select this tab to search all channels for files recorded during a specified time
period.
•
Event Search. Select this tab to search specific channels for recorded events during specific start
and end times.
•
File Management. Once you have located files for a specific time period, you can select those
files for deletion or lock them to prevent them being deleted.


