


G E T T I N G S TA R T E D [ 23 ]
Setting the Anykey Answer
1) Enter the “
Any Answer
” submenu of the “
Handset
Setup
” menu (see page 20).
2) Press
▲
or
▼
to change the selection, “
On
” or “
Off
”.
3) Press the
OK
soft key and you will hear a
confirmation tone.
Setting the Banner
1) Enter the “
Banner
” submenu of the “
Handset Setup
”
menu (see page 20).
2) Use the number keypad (
0
-
9
),
/tone/
t
,
#/
s
,
or the
DELETE
soft key to enter the name.
3) Press the
OK
soft key and you will hear a
confirmation tone.
To delete the current banner, press the
DELETE
soft key and then press the
OK
soft key.
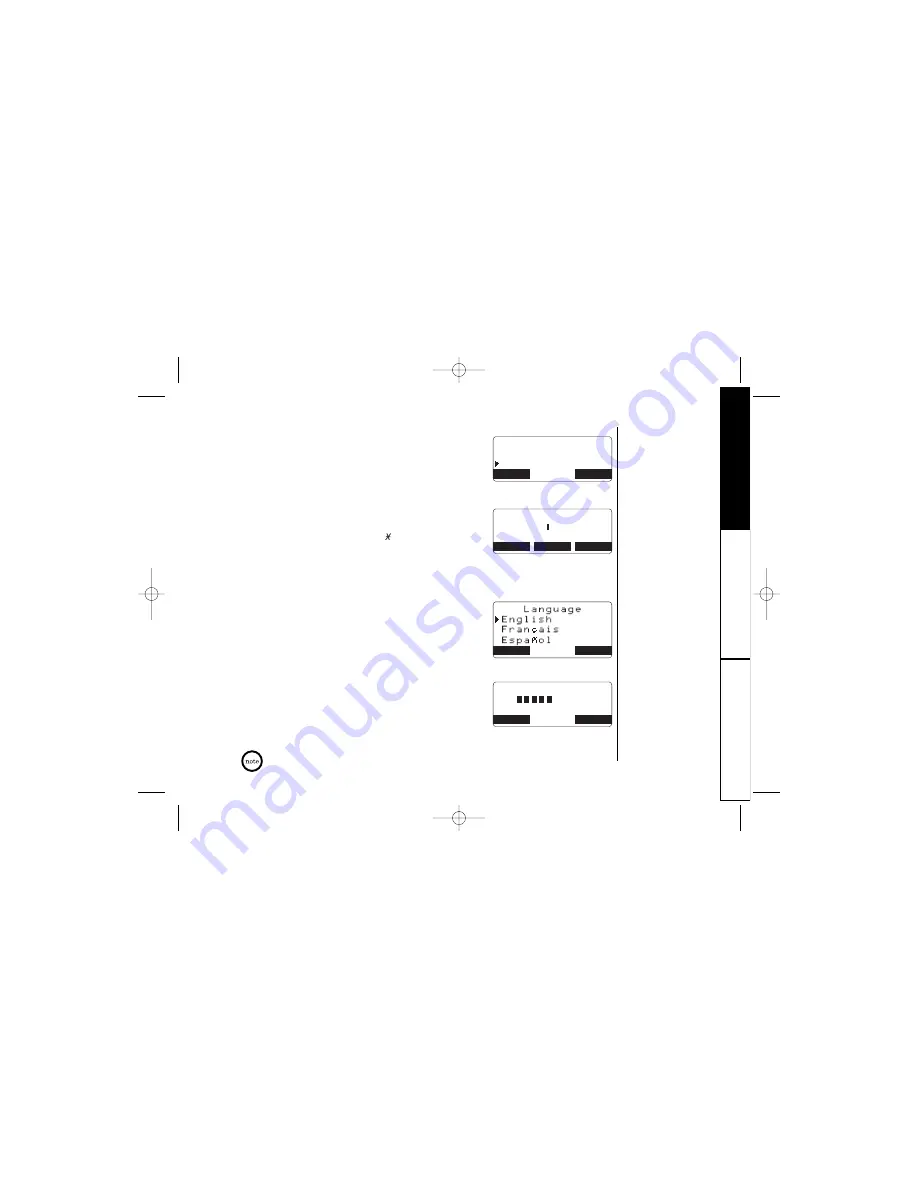
Selecting a Language
1) Enter the “
Language
” submenu of the “
Handset
Setup
” menu (see page 20).
2) Press
▲
or
▼
to choose English, French (Français),
or Spanish (Español).
3) Press the
OK
soft key and you will hear a
confirmation tone.
Setting the LCD Contrast Setting
1) Enter the “
Contrast
” submenu of the “
Handset
Setup
” menu (see page 20).
2) Press
▲
or
▼
to adjust the contrast of the LCD
(10 levels).
3) Press the
OK
soft key and you will hear a
confirmation tone.
GETTING ST
ARTED
If you press
▲
in the highest volume level or
▼
in the lowest volume level,
you will hear a beep.
A n y k e y A n s w e r
O n
O f f
BACK
BACK
OK
B a n n e r
H a n d s e t
BACK
DELETE
OK
OK
BACK
C o n t r a s t
- +
BACK
BACK
OK
DCT5260_OM 10/1/02 5:30 PM Page 23


