5
INSTALLATION
OVERVIEW
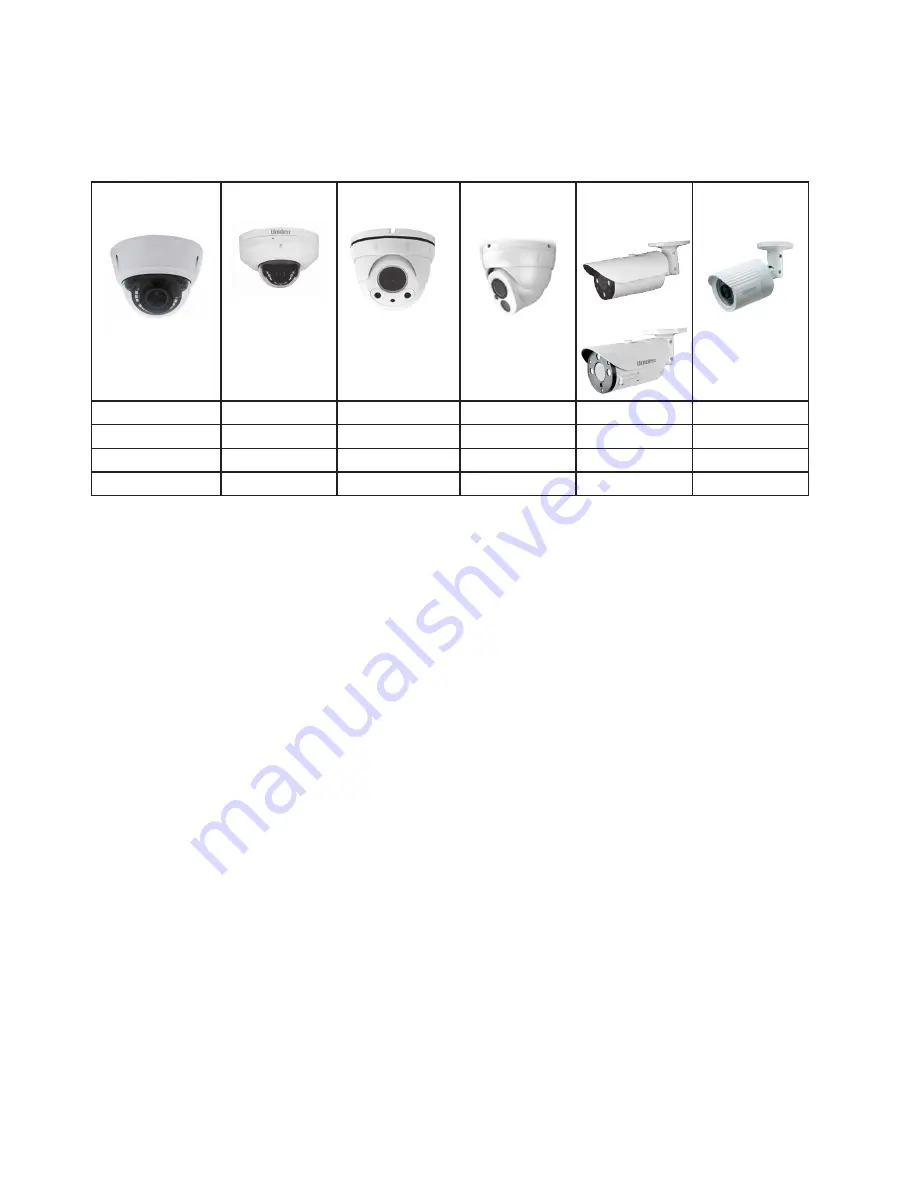
Uniden’s IP cameras can be installed in either Uniden’s NVR or XVR surveillance systems.
TAMPER-
PROOF DOME
MINI DOME
EYEBALL
DOME
TURRET
DOME
LARGE
BULLET
SMALL
BULLET
4KTPD-MVF
4MMD-2.8
4MED-3.6
2MTD-2.8
4KB-MVF
4MB-3.6
4MTPD-MVF
2MMD-2.8
2MED-3.6
4MB-MVF
2MB-3.6
4MTPD-2.8
2MB-VF
2MTPD-VF
WHAT’S INCLUDED
• IP camera
• Mounting template sticker
• Star-tipped Allen wrench
• 2-wire to 2.1mm barrell plug for optional 12V DC power input
• Installation screws and anchors
Network cable and power source are not included. SD cards are not included. If you
plan on using the Automatic Network Restoration feature in the NVR, you will need to
purchase an SD card.
INSTALL CAMERAS
INSTALLATION TIPS
• When selecting an outside location for your cameras, keep in mind that most cameras
are designed to operate between 14°F to 122°F (-10°C to 50°C) with a relative humidity
of up to 95%. Avoid installing cameras in direct sunlight, and consider wind chill and other
environmental factors, too.
• Mount the camera in an area that is visible, but out of reach. Route the wiring so it does not
interfere with power or telephone/cable lines and it should not be where it could be easily cut.
Create a plan for camera wire routing and for camera angle.
•
Adjust the camera angle so that it covers an area with high traffic as needed. In “high-
risk” locations, have more than one camera cover the same area. This provides camera
redundancy if a vandal attempts to damage a camera.
• If you position cameras indoors, avoid pointing the camera at a glass window to see outside.
This may result in a bright white ring in the night vision image because the light from the night
vision LEDs may reflect off the window glass.
Take the following placement suggestions under consideration:


