background image

4

Ultra Aire XT105H / XT155H / XT205H Installation Instructions

Ultra-Aire.com | (800) 533-7533

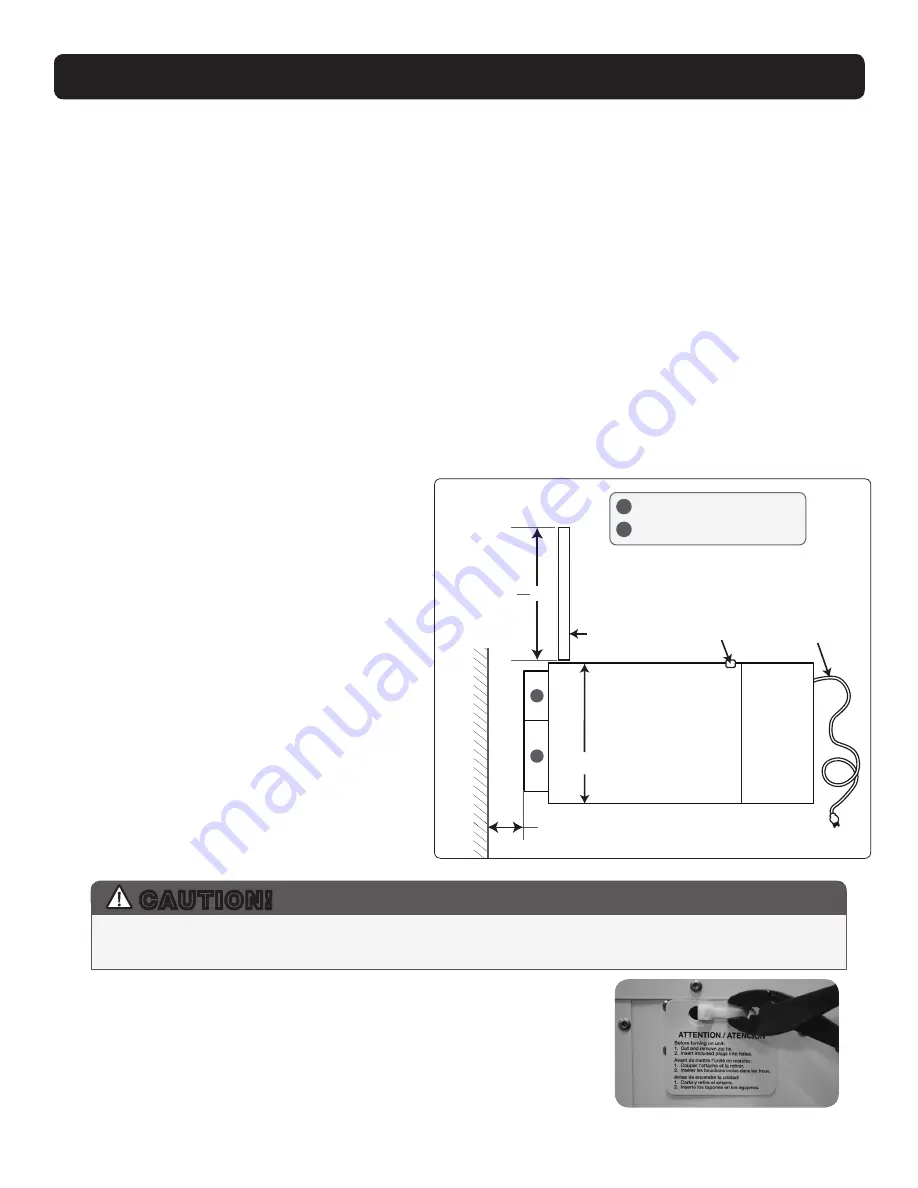
Removal of Compressor Shipping Support

The Ultra Aire Dehumidifier uses a compressor to power the refrigeration 

system. To protect the compressor and refrigeration system during 

shipping, a plastic tie wrap secures it to the unit’s frame. Remove the tie 

wrap by cutting the tie wrap and pulling from the unit as shown. After 

removing tie wrap, insert plastic plugs provided into the holes.


CAUTION!

REMOVE COMPRESSOR SHIPPING TIE FROM THE UNIT. FAILURE TO REMOVE SHIPPING TIE 

WILL CAUSE EXCESS VIBRATION TO BE TRANSMITTED TO THE FRAME.


Important Precautions

•  The device is designed to be installed indoors in a space that is protected from rain and flooding. 

• Install the unit with enough space to access one of the side panels for maintenance and service.

• Avoid directing the discharge air at people. 

•  If used near a water source, be certain there is no chance the unit could fall into the water or get splashed and 

that it is plugged into a dedicated circuit and Ground Fault Circuit Interrupter (GFCI) protected outlet. 

• DO NOT use the dehumidifier as a bench or table. 

•  DO NOT place the dehumidifier directly on structural building members without vibration absorbers or unwanted 

noise may result. Place the Ultra Aire Dehumidifier on supports to raise the base of the unit.

•  A drain pan with a float switch MUST be placed under the dehumidifier if installed above a living area or above 

an area where water leakage could cause damage.

Location Considerations

•  Allow sufficient clearance to handle the unit’s overall dimensions as well as the necessary return and supply 

ductwork to the unit. 

• Allow sufficient clearance for filter removal and to prevent airflow obstruction.

•  Electrical service access will require the removal of a side panel. Allow sufficient clearance on a side of the unit.

•  Locate the dehumidifier in an area where the cord’s length (9') easily reaches a 115 VAC electrical outlet with a 

minimum of a 15 Amp circuit capacity. The Ultra Aire XT205H requires a dedicated 20 Amp circuit.

•  Locate the dehumidifier in an area where field 

wiring the control (low voltage) to the unit will 

be possible.

•  It is recommended that a backdraft damper 

be used in the discharge duct of the Ultra 

Aire Dehumidifier, especially when connecting 

to the supply ducting system. The backdraft 

damper prevents supply air from counter  

flowing through the Ultra Aire Dehumidifier 

when it is not operating. The dehumidifier’s 

location should be chosen to allow installation 

of this accessory if necessary.

•  The Ultra Aire Dehumidifier may be  

suspended from structural members with  

steel hanger straps or a suitable alternative, 

ensuring the assembly supports the  

dehumidifier’s base in its entirety. DO  

NOT hang the Ultra Aire Dehumidifier  

from its cabinet.

•  Allow for proper routing and drainage of 

needed drain pipes.

Electrical Service Access

(Either Side)

Filter

9' Power Cord

Top View

Minimum

Clearance

For Filter

(Either Side)

15" 

6" Fresh Air Intake (Optional)
10" Return Air Duct
10" Supply Air Duct

A

B

C

32 3/8"

With Collars Installed

26"

Without Collars Installed

B

C

Drain Port

A

Top View

41 1/2"

With Collars Installed

37 3/4"

Without Collars Installed

Drain Port

9' Power Cord

Filter

Minimum

Clearance

For Filter

(Either Side)

20" 

6" Fresh Air Intake (Optional)

10" Return Air Duct

A

B

6” Fresh Air 

Intake (Optional)

10” Return Air Duct

Electrical Service Access

(Either Side)

A

B

The 10” Supply Air Duct (not pictured) is 

below the Fresh Air Intake and the Return

Air Duct. The same amount of clearance 

is needed for the 10” Supply Air Duct.

6" Minimum Clearance

For Proper Airflow

DEHUMIDIFIER SET UP

Summary of Contents for XT105H

Page 1: ...5H XT155H XT205H Ultra Aire com 800 533 7533 The Ultra Aire XT Dehumidifiers are ventilating dehumidifiers that integrate into the heating and cooling system to provide the ultimate in comfort health...

Page 2: ...Air Ventilation 10 Determine Ventilation Requirements 11 Controls 12 Air Filtration 13 MERV Rating Chart 14 Service 15 Warranty 17 TABLE OF CONTENTS Ultra Aire is committed to manufacturing quality p...

Page 3: ...LING SHEET METAL IMPROPER INSTALLATION MAY CAUSE PROPERTY DAMAGE OR INJURY INSTALLATION SERVICE AND MAINTENANCE MUST BE PERFORMED BY A QUALIFIED SERVICE TECHNICIAN DEHUMIDIFIER IS HEAVY HANDLE WITH CA...

Page 4: ...handle the unit s overall dimensions as well as the necessary return and supply ductwork to the unit Allow sufficient clearance for filter removal and to prevent airflow obstruction Electrical servic...

Page 5: ...eter duct to the unit using the screws provided The 6 duct should be capped if fresh air is not desired If setting up the unit to provide fresh air ventilation see page 10 Return Air Inlet Attach 10 d...

Page 6: ...w voltage 18 22 gauge thermostat wire ELECTRICAL REQUIREMENTS CAUTION DO NOT ALLOW THE WIRE FROM THE 24V TERMINAL TO MAKE CONTACT WITH THE WIRE FROM THE COM TERMINAL OR DAMAGE TO THE TRANSFORMER WILL...

Page 7: ...nsate Condensate is automatically pumped to a remote location when the water level in the pump s reservoir rises to close the float switch The pump also contains a safety float switch The white leads...

Page 8: ...A short piece of flexible ducting on all Ultra Aire Dehumidifier duct connections is recommended to reduce noise and vibration transmitted to rigid ductwork in the structure Use a minimum 10 diameter...

Page 9: ...m Utilize the optional fresh air ventilation duct to provide outside air Install a dedicated air return for the Ultra Aire Dehumidifier from a central area of the structure Install an insulated duct f...

Page 10: ...can be impacted by inside and outside air conditions When a 6 motorized damper is used a digital control is required It may be necessary to use 8 duct work if additional fresh air is required In cold...

Page 11: ...s 2500 X 0 03 5 X 7 5 112 5 CFM Record the required CFM ____________ FRESH AIR VENTILATION Determine Ventilation Requirements The MINIMUM ventilation requirement is calculated using ASHRAE 62 2 2016 U...

Page 12: ...The reset button for the circuit breaker can be found on the back of the unit Control Connections The control and the Ultra Aire Dehumidifier are labeled to prevent confusion Depending on the control...

Page 13: ...RE CHANGING THE FILTER Step 1 The filter door is attached to the cabinet by three hinges Release the latch from the cabinet by pulling it towards the front of the unit The filter door will swing open...

Page 14: ...tial Bag Filter Nonsupported Legionella microfine fiberglass or 11 60 65 95 Humidifier Dust Better Commercial Buildings synthetic media 12 36 in deep 6 12 pockets Lead Dust 10 50 55 95 Milled Flour Bo...

Page 15: ...together the fan only should run Disconnect when complete 8 Jumper a wire from the 24V and DEHU terminal fan and compressor should run Disconnect when complete 9 If this test works then the field cont...

Page 16: ...PERFORMED BY A QUALIFIED SERVICE PERSON Fan is not running Dehumidification or fan is being called for 1 Loose connection in fan circuit 2 Obstruction prevents fan impeller rotation 3 Defective fan 4...

Page 17: ...ver any costs related to changes to a Product or Component that may be required by any codes laws or regulations that may become effective after initial purchase of the Product by Customer Customer Re...

Page 18: ...18 Ultra Aire XT105H XT155H XT205H Installation Instructions Ultra Aire com 800 533 7533...

Page 19: ...19 Ultra Aire com 800 533 7533 Ultra Aire XT105H XT155H XT205H Installation Instructions...

Page 20: ...800 533 7533 www Ultra Aire com...

Reviews: