background image


S9600-30DX Hardware Installation Guide | 29 


13


Cautions and Regulatory Compliance Statements 


Cautions and Regulatory Compliances 


Safety Notices 
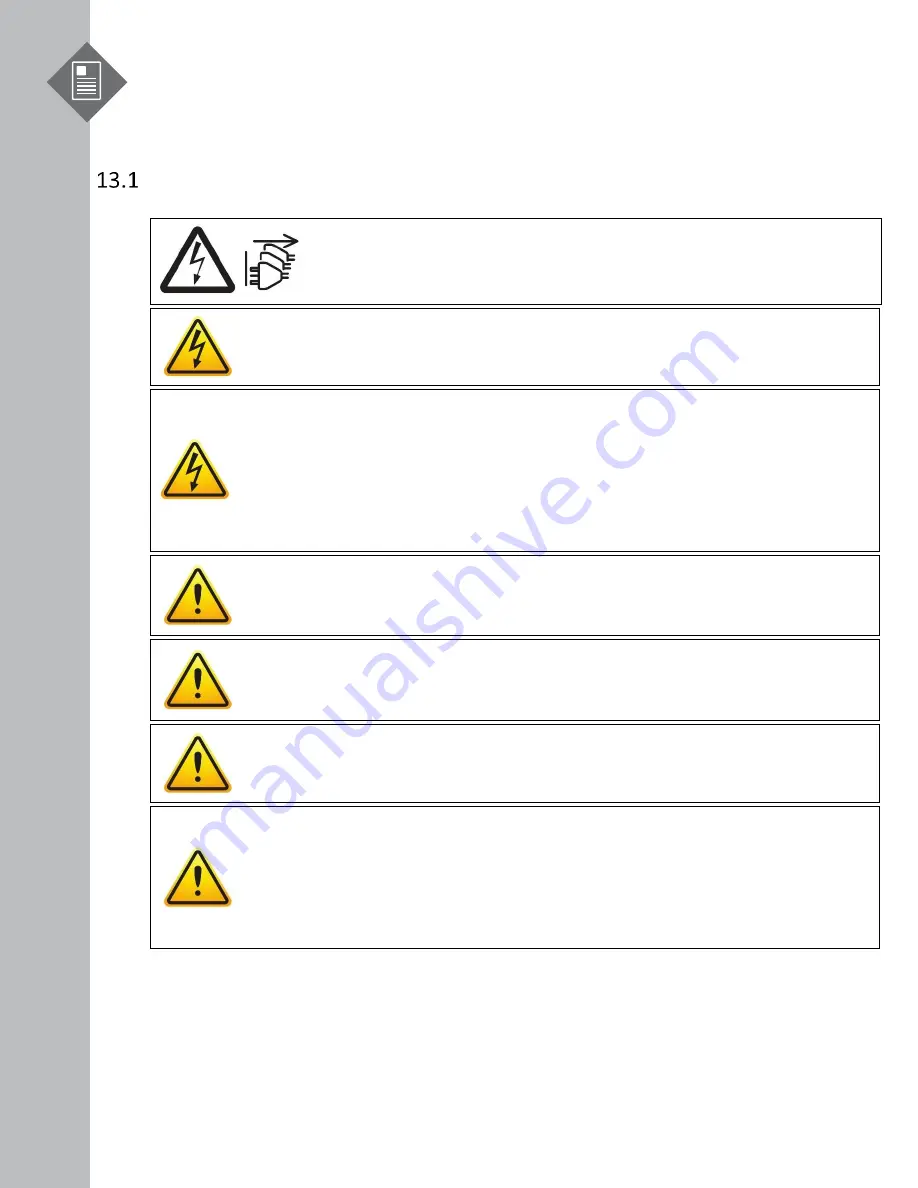
Caution! Shock hazard! 

TO DISCONNECT POWER, REMOVE ALL POWER CORDS FROM UNIT.


Electrical Hazard:

 Only qualified personnel should perform installation procedures. 

Risques d’électrocution:

 Seul un personnel qualifié doit effectuer les procedures 

d’installation.


Warning:

 Network Switch power supplies do not have switches for turning the unit on and 

off. Before servicing, disconnect all power cords to remove power from the device. Make 
sure that these connections are easily accessible. 
 

Avertissement:

 Network Switch alimentations ne sont pas des interrupteurs pour allumer 

l’appareil et en dehors. Avant l’entretien, débranchez tous les cordons


d’alimentation pour 

couper l’alimentation de l’appareil. Assurez

-vous que ces connexions sont facilement 

accessibles.


Caution:

 Before mounting the device, ensure that the rack can support it without 

compromising stability. Otherwise, personal injury and/or equipment damage may result.


Caution

: This unit must be installed indoors. The unit, AC power supplies, DC power 

supplies, and its cables are not designed for outdoor use.


Caution

: Use of controls or adjustments or performance of procedures other than those 

specified herein may result in hazardous radiation exposure.


Warning

: Do not use optical instruments to view the laser output. The use of optical 

instruments to view laser output increases eye hazard. Use only UL/CSA, IEC/EN60825-1/-2 
recognized pluggable modules. 
 

Avertissement

: Ne pas utiliser d’instruments optiques pour voir la sortie du laser.


L’utilisation de instruments optiques pour afficher la sortie laser augmente les

 risques 

oculaires. Utilisez uniquement UL/CSA, IEC/EN60825-1 /-2 reconnu modules enfichables.


Summary of Contents for S9600-30DX

Page 1: ...Hardware Installation Guide S9600 30DX Open Aggregation Router R1 0 ...

Page 2: ... 7 Installing Power Supply Units 14 8 Grounding the Router 16 9 Connecting Power 18 DC Version 18 AC Version 20 10 Verifying System Operation 22 Front Panel LED 22 PSU FRU LED 23 Fan FRU LED 23 11 Initial System Setup 24 12 Cable Connections 25 Connecting the USB Extender Cable 25 Connecting a Cable to the ToD Interface 26 Connecting a cable to the BITS Interface 26 Connecting the GNSS Interface 2...

Page 3: ...ed in different parts of the network to perform aggregation such as in the backhaul to aggregate BBU pooling or even as a Broadband Network Gateway BNG within the central office The S9600 30DX also has 100G 400G QSFP DD OpenZR support on selected ports which can help simplify the DWDM network by replacing the transponder in certain applications With the hardware fully supporting IEEE 1588v2 and Sy...

Page 4: ...low wire for grounding Crimping tool Wire stripping tool All illustrations within this document are for reference purposes only Actual objects may differ PC with terminal emulation software Refer to the Initial System Setup section for details Baud rate 115200 bps Data bits 8 Parity None Stop bits 1 Flow control None ...

Page 5: ...d with a rack mount brackets suitable for 19 inch 48 3cm wide racks The depth of the S9600 30DX chassis is 30 inches 76 2cm without the field replaceable units FRUs and comes with adjustable check mounting rails suitable for rack depths of 22 inches 55 9cm to 33 inches 83 8cm The handle for the fan units will extend outwards by 1 15 inch 2 9cm and the handle for the power supplies will extend outw...

Page 6: ...2 ampere maximum Installation spacing requirement S9600 30DX is 2RU 3 45 8 8cm in height 19 48 3cm in width and need a minimum reserve depth of 36 inches 91 4cm Thermal requirement S9600 30DX working temperature is 0 to 45 C 32 F to 113 F airflow direction is front to back Installation tools required 2 Philips Screwdriver 6 AWG yellow and green wire stripper and crimping tool Accessories required ...

Page 7: ...ew Kit for Grounding Lug 2x Screws M4 L8 0mm 1 set DC Only 0 011lbs 2 6g 1 set 3 Micro USB Cable 3 28 1m 1 pcs 0 05lbs 24 4g 1 pcs 4 RJ45 to DB9 Female Cable 8 2 438m 1 pcs 0 23lbs 105g 1 pcs 5 USB3 0 7 8 20cm 1pcs 0 03lbs 16g 1 pcs 6 Adjustable Mounting Rail for 4 post 24 7 x 1 7 x 0 8 626 3 x 43 8 x 20 8mm 21 35 rack depth 2 pcs 6 79lbs 3 2kg 2pcs 3 39lbs 1 54kg 1pcs 7 Screw Kit for Rack Mount B...

Page 8: ...DC PSU 2 2lbs 1 0kg AC PSU 2 6lbs 1 2kg Fan module 1 1lbs 498g Ground lug 0 146lbs 66 2g Adjustable mounting rail 6 79lbs 3 08kg Micro USB cable 0 05lbs 24 4g RJ45 to DB9 female cable 0 27lbs 123 9g AC power cord AC version only 0 7lbs 318g Dimension S9600 30DX W x D x H 17 16 x 30 x 3 45 436 x 762 x 87 6mm PSU W x D x H 1 99 x 12 64 x 1 58 50 5 x 321 x 40 2mm Fan W x D x H 3 15 x 4 8 x 3 15 80 x ...

Page 9: ... 30DX Hardware Installation Guide 7 4 Identifying Your System S9600 30DX Overview Figure 4 PSU Overview Power supply unit PSU with 1 1 Redundancy Hot swappable field replaceable unit FRU AC Version Figure 5 ...

Page 10: ...S9600 30DX Hardware Installation Guide 8 DC Version Figure 6 Fan Overview 3 1 Redundant hot swappable field replaceable unit FRU Figure 7 ...

Page 11: ...ation Guide 9 Port Overview Port ID Form Factor Maximum Support Distance Support Speed 0 15 QSFP28 Up to 6 2mi 10km 40GE 100GE 16 23 QSFP DD Up to 279 61mi 450km 40GE 100GE 24 29 QSFP DD Up to 279 61mi 450km 100GE 400GE Figure 8 ...

Page 12: ...rail from the outer rail The white tab is located on the inner rail 1 3 Once the inner rail is separated push the tab located on the outer rail to unlock and slide the middle rail back Figure 9 2 Install the inner rails onto the chassis 2 1 The inner rail has key shaped holes where attachment pins on the chassis can be aligned The chassis has 5 attachment pins on each side for a total of 10 pins F...

Page 13: ... be heard when the bracket is secured onto the rack Figure 11 4 Insert the Chassis to complete the installation 4 1 Pull the middle rail fully extended into lock position an audible click can be heard when the middle rail is fully extended and locked into position 4 2 Insert the chassis by lining up the inner rails into the slot of the middle rail 4 3 Slide the chassis into the middle rail until i...

Page 14: ...S9600 30DX Hardware Installation Guide 12 Figure 12 ...

Page 15: ...fan module Then press and hold the release tab to unlock the fan module Figure 13 2 While holding down the release tab grip the fan handle and gently pull the fan module out of the fan bay Figure 14 3 Align the new fan module with the fan bay ensuring that the fan module s power connector is in the correct position 4 Carefully slide the new fan module into the fan bay and gently push until it is f...

Page 16: ...d the following are instructions on how to install a new PSU Safety Notices Caution Shock hazard TO DISCONNECT POWER REMOVE ALL POWER CORDS FROM UNIT DC AC Figure 16 1 Locate the red release tab on the PSU Then press and hold down the release tab to unlock the PSU 2 While holding down the red release tab grip the PSU s handle and firmly pull it out of the power bay DC Version AC Version Figure 17 ...

Page 17: ...S9600 30DX Hardware Installation Guide 15 5 An audible click will be heard when the PSU is installed correctly The PSU will not go in all the way if it is in the wrong direction Figure 18 ...

Page 18: ... grounding the equipment If there is any uncertainty about the integrity of the equipment s grounding please contact the electrical inspection authority or a certified electrician The following instructions are for installing the grounding lug onto the case 1 Before grounding the router ensure that the rack is properly grounded and in compliance with local regulatory guidelines Ensure that there i...

Page 19: ...lation Guide 17 the router and remove the protective label Figure 20 6 Using 2 M4 screws and 4 washers provided with the package contents firmly lock the grounding lug to the designated grounding location on the router Figure 21 ...

Page 20: ...lug before connecting to the PSU The following instructions are for connecting the DC Power Cable to the lug 2 1 Strip the insulation from a DC Power Cable leaving 0 5 0 02 12 7mm 0 5mm of exposed cable 2 2 Insert the exposed DC power cable into the heat shrink tubing the length of heat shrink tubing should not less than 38 5mm 2 3 Insert the exposed DC power cable all the way into the hollow tube...

Page 21: ... with insulation material as below Figure 24 3 Attach the power cable Locate the DC power screw type terminal block located on the PSU Remove the plastic cover that is protecting the terminal block by pushing from the top or bottom of the cover and flipping open the cover outwards Top picture Secure the one hole lugs with the DC power cable attached to the terminal block Middle picture Put plastic...

Page 22: ...with a 48V DC power source The PSU has a built in 60A fast acting fuse based on the PSU maximum capacity which will act as a second tier system protection in case the power distribution unit s fuse is not functioning 6 Verify that the power supply is operating If connected correctly when turned on the LED on the PSU will light up with a Green color designating normal operation AC Version 1 Ensure ...

Page 23: ...sed on the PSU maximum capacity which will act as a second tier system protection in case the power distribution unit s fuse is not functioning 4 Verify that the power supply is operating If connected correctly when turned on the LED on the PSU will light up with a solid Green color designating normal operation If only a single 110VAC power source is available the S9600 30DX can still be powered u...

Page 24: ...ronization to external reference GNSS 1PPS PTP etc Solid Amber System timing clock synchronization is in free run or holdover mode SYS OFF No power Solid Green Host CPU BMC is up Blinking Green Reserved Solid Amber Power is up but Host CPU BMC is not up Blinking Amber Reserved FAN OFF No FAN modules present or FAN modules are not initialized Solid Green All FAN modules are working well Blinking Gr...

Page 25: ...shutdown failure overcurrent short circuit over voltage fan failure and or over temperature Blinking Green 1 sec PSU standby state input power present Only 5VSB on Blinking Red 1 sec Input power cord unplugged or input power lost with a second power supply in parallel still with AC input power Blinking between Greenand Red Power supply warning events where the power supply continues to operate hig...

Page 26: ...he console can be connected either with the IOIO port or the micro USB port If connecting with USB drivers will need to be installed To connect the console using the IOIO port locate the port labelled IOIO then plug a serial cable into the console port and connect the other end to the PC or laptop Cable types may vary depending on the router model Figure 27 To connect the console using the micro U...

Page 27: ...ows environment other operating systems may vary Baud rate 115200 bps Data bits 8 Parity None Stop bits 1 Flow control None 4 Login to the device After the connection is established a prompt for the username and password displays Enter the username and password to access the CLI The username and password should be provided by the Network Operating System NOS vendor 12 Cable Connections Connecting ...

Page 28: ...her end of the straight through Ethernet cable to the port marked TOD located on the front panel of the router Figure 30 Connecting a cable to the BITS Interface 1 Connect one end of a straight through Ethernet cable to the GNSS unit 2 Connect the other end of the straight through Ethernet cable to the port marked BITS located on the front panel of the router Figure 31 ...

Page 29: ...ace Connect an external GNSS antenna with an impedance of 50 ohms to the port marked GNSS ANT located on the front panel of the router Figure 32 Connecting the 1PPS Interface Connect an external 1PPS cable with an impedance of 50 ohms to the port labelled 1PPS Figure 33 ...

Page 30: ...c cable and record its respective connection Maintain a clear line of sight to the port LEDs by routing the cables away from the LEDs Before connecting anything cables transceivers etc to the router please ensure to discharge any static electricity that may have built up during handling It is also recommended the cabling be done by a professional who is grounded such as by wearing an ESD wrist str...

Page 31: ...r couper l alimentation de l appareil Assurez vous que ces connexions sont facilement accessibles Caution Before mounting the device ensure that the rack can support it without compromising stability Otherwise personal injury and or equipment damage may result Caution This unit must be installed indoors The unit AC power supplies DC power supplies and its cables are not designed for outdoor use Ca...

Page 32: ...ed Do not defeat the ground conductor or operate the equipment without correctly grounding the equipment If there is any uncertainty about the integrity of the equipment s grounding please contact the electrical inspection authority or a certified electrician Industry Canada Notice CAN ICES 003 A NMB 003 A This digital apparatus does not exceed the class A limits for radio noise emissions from dig...

Page 33: ...www ufispace com www ufispace com ...

Reviews: