8
TO USE THE STETHOSCOPE MODULE
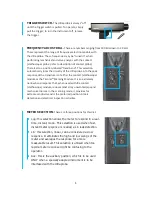
Align the pins located at the rear of the module with the three jacks in the front end of the
Metered Pistol Housing (MPH) and plug in.
For detecting leaks in valves, steam traps, etc., position the meter selection dial to LOG. If
performing mechanical analysis, select the LIN mode on the meter selection dial.
For general use, position the frequency selection dial to "Fixed-Band". For problem solving,
i.e. finding a problem sound (refer to section on Mechanical Analysis).
Touch test area. 5. As with the scanning module, go from the "gross" to the "fine". Start a
maximum sensitivity on the Sensitivity Selection dial and proceed to reduce the sensitivity
until a satisfactory sound and meter level is achieved.
At times, it may be necessary to utilize the stethoscope probe with the sensitivity level at
or near maximum. Occasionally when in this situation stray ultrasound may interfere with
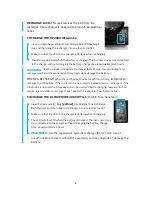
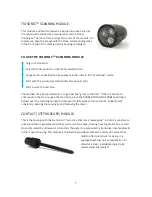
clear reception and be confusing. If this occurs, place the RUBBER FOCUSING PROBE
over the Stethoscope probe to insulate against the stray ultrasound.
STETHOSCOPE EXTENSION KIT
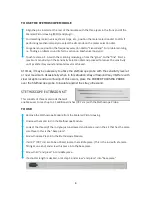
This consists of three metal rods that will
enable a user to reach up to 31 additional inches (78.7 cm) with the Stethoscope Probe.
TO USE:
Remove the Stethoscope Module from the Metered Pistol Housing.
Unscrew the metal rod in the Stethoscope Module.
Look at the thread of the rod you just unscrewed and locate a rod in the kit that has the same
size thread - this is the "base piece".
Screw the Base Piece into the Stethoscope Module.
If all 31" (78.7 cm) are to be utilized, locate the middle piece. (This is the rod with a female
fitting at one end) and screw this piece into the base piece.
Screw third "end piece" into middle piece.
If a shorter length is desired, omit step 5 and screw "end piece" into "base piece".

