PAGE 1 OF 9
1020 IH-5784
H-5784
FLOOR SAFE
1-800-295-5510
uline.com
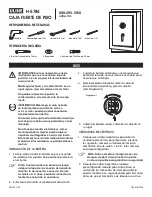
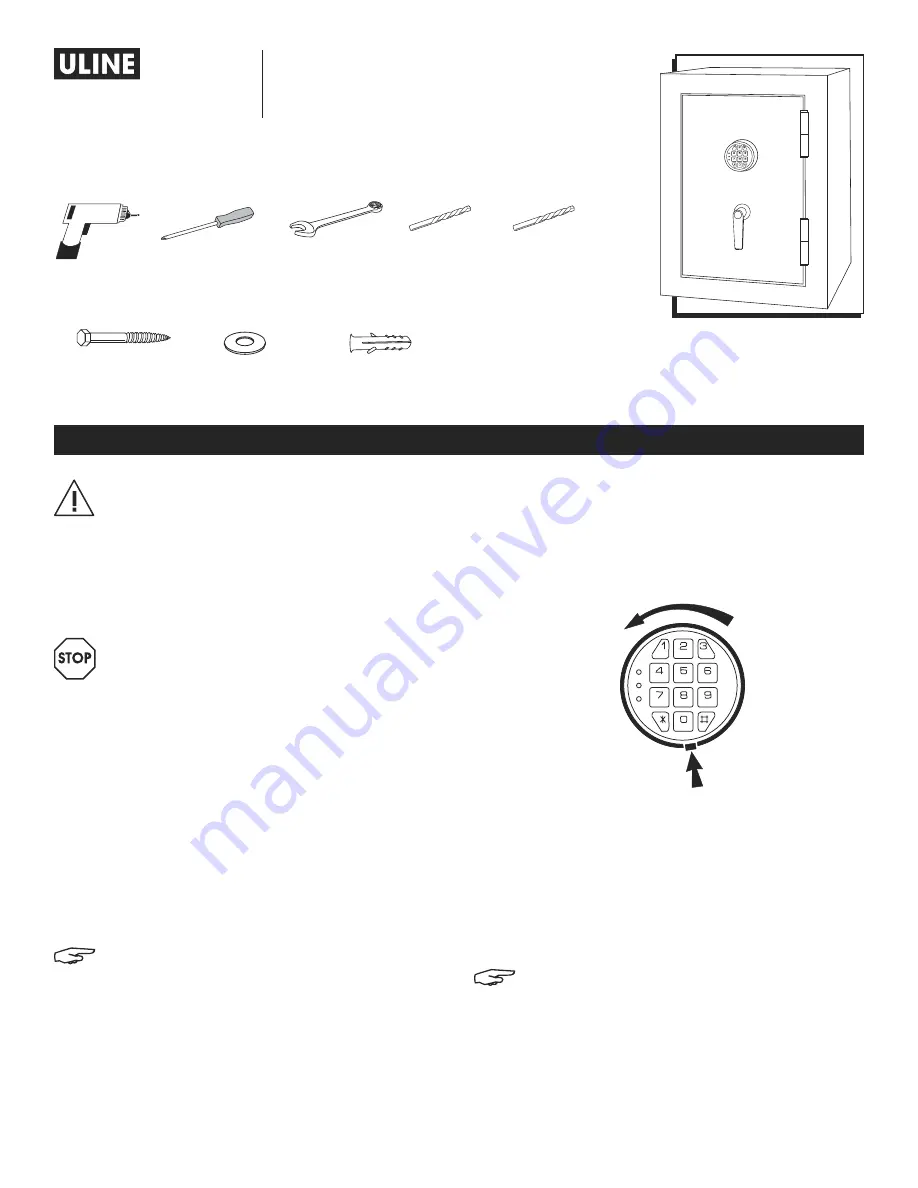
TOOLS NEEDED
HARDWARE INCLUDED
Drill
70 mm Lag Screw x 2
Washer x 2
40 mm Plastic Anchor x 2
7/16" Drill Bit
3/8" Drill Bit
Phillips Screwdriver
17 mm Wrench
USAGE
IMPORTANT! Record the serial number from the
tag on the back of the safe or from the tag on
the front bottom corner of the safe.
Keep keys and combination in a secure place,
away from children.
Do not store the backup key, combination or
this document in the safe.
WARNING! Keep safe closed and locked at
all times when not in use. Children could
accidentally be locked inside the safe.
Do not move this safe using its handle. The
handle should only be used for opening and
closing the door of the safe.
Do not store electronic media, computer disks,
audio-visual media or photographic negatives
in this safe. This material will not survive the
rated internal temperature of the safe. This
material may be damaged or destroyed.
BATTERY INSTALLATION
1. User must first install the battery, which is located in
the front protective styrofoam.
NOTE: When changing the battery, always
hold the battery connecting cap while
disconnecting or attaching the battery. Do not
pull on the wires. Doing this could cause the
power supply to become disconnected from
the lock.
2. This safe uses one 9V alkaline battery.
3. When the battery is low and button is pressed on the
keypad, a red light will come on warning that the
battery is low.
4. To replace the battery, remove the cover by pressing
the tab and turning the cover. (See Figure 1)
5. Replace the old battery and screw the cover back
in place.
ELECTRONIC LOCK
1. After installing the battery, to open an electronic
lock the first time, press the following numbers/
symbols on the electronic keypad in this order:
1-5-9-#. These numbers are preset.
NOTE: Change the entry code as soon as
possible after opening the safe to ensure
proper security.
2. After entering the factory code, turn the handle
clockwise to open the door. User will have five
seconds to turn the handle before the locking
mechanism is reactivated.
Figure 1
Para Español, vea páginas 4-6.
Pour le français, consulter les pages 7-9.


