


‐
6
‐
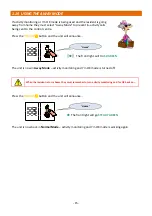
DO NOT
UNPLUG
OR
SWITCH OFF
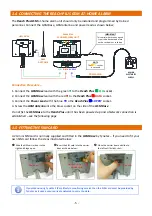
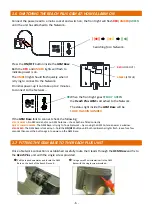
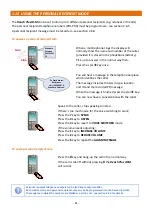
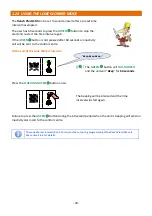
1.6
SWITCHING
THE
REACH
PLUS GSM
AT
‐
HOME
ALARM
ON
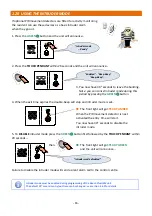
Connect
the
power
lead
to
a
mains
socket
and
switch
on;
the
front
light
will
flash
RED
/
AMBER
/
GREEN
until
the
unit
has
attached
to
the
Network…
Press
the
ON/OFF
button
inside
the
GSM
Base
Both
the
RED
and
AMBER
lights
will
flash
to
indicate
power
is
on.
The
AMBER
light
should
flash
quickly
when
it
is
trying
to
connect
to
the
Network.
On
initial
power
‐
up
it
can
take
up
to
2
minutes
to
connect
to
the
Network…
When
the
front
light
goes
STEADY
GREEN
the
Reach
Plus
GSM
is
attached
to
the
Network.
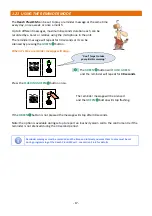
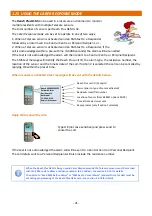
The
status
light
inside
the
GSM
Base
will
be
SLOW
FLASHING
AMBER
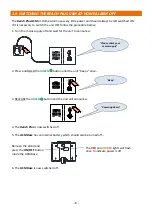
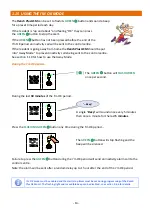
If
the
GSM
Base
fails
to
connect
check
the
following;
STEADY
AMBER:
No
SIM
card
and/or
no
GSM
Antenna
–
check
both
are
fitted
correctly.
QUICK
FLASHING
AMBER:
The
GSM
Base
is
trying
to
find
a
Network
–
try
moving
the
GSM
Antenna
nearer
a
window.
STEADY
RED:
The
GSM
Base
is
locked
‐
out
–
hold
the
ON/OFF
button
until
both
red
&
amber
lights
flash,
leave
for
a
few
seconds
then
press
the
button
again
to
power
‐
up
the
GSM
Base.
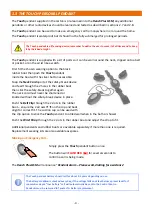
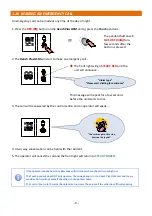
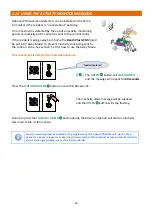
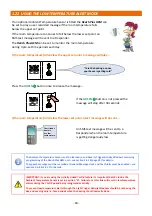
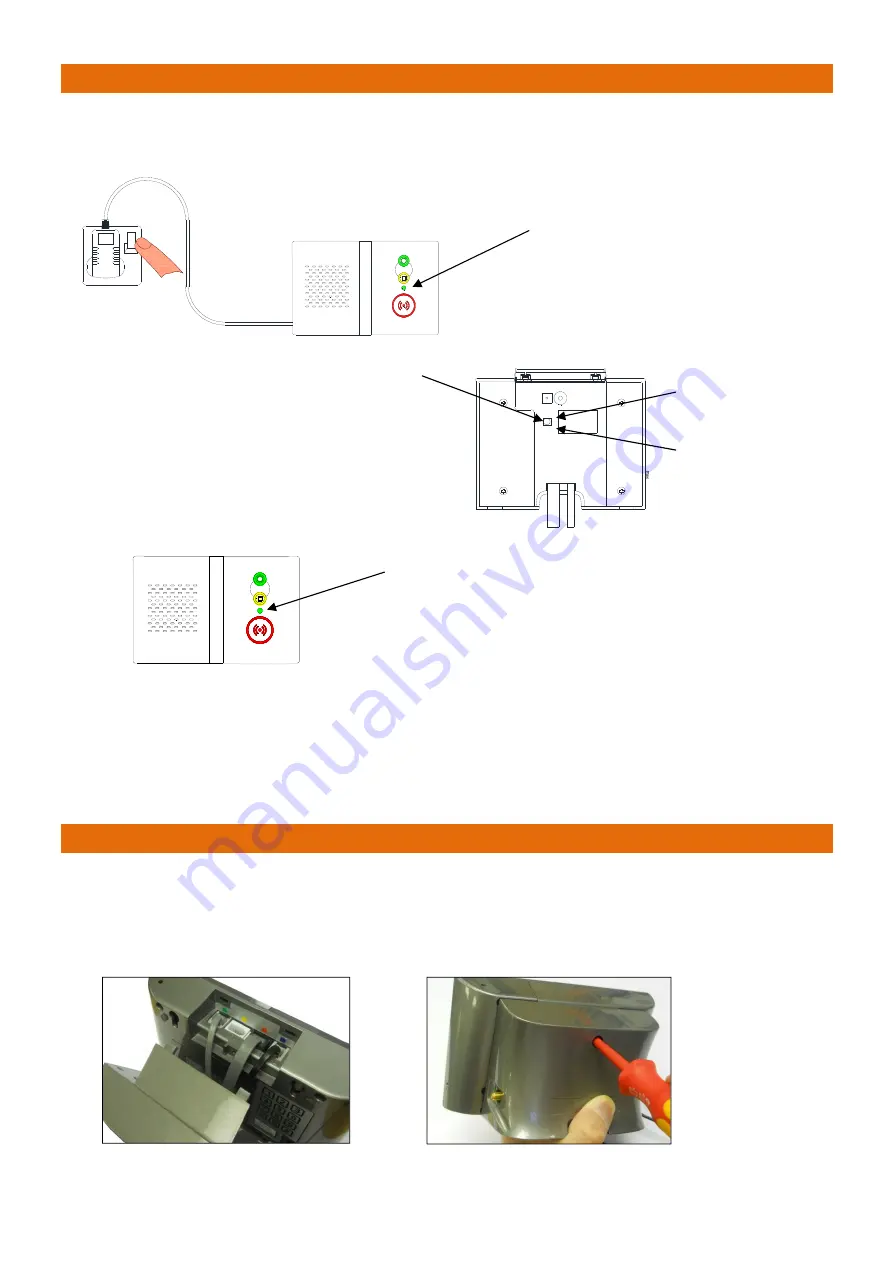
1.7
FITTING
THE
GSM
BASE
TO
THE
REACH
PLUS
UNIT
Once
a
Network
connection
is
established
carefully
route
the
3
leads
through
the
GSM
Base
and
fix
to
the
Reach
Plus
unit
with
the
single
screw
provided.
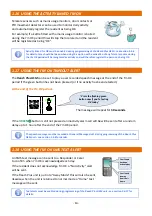
((
))
((
))
((
))
RED
(LOCK
‐
OUT)
AMBER
(STATUS)
Pull
the
leads
downwards
and
locate
the
GSM
Base
on
the
back
of
the
Reach
Plus
unit…
Using
a
small
Pozi
screwdriver
fix
the
GSM
Base
with
the
single
screw
provided…
Searching
for
a
Network…
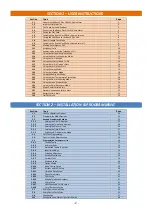
Summary of Contents for Reach plus GSM
Page 46: ...46 NOTES...


