


Doc
No.
FM0600
issue
E
Page
8
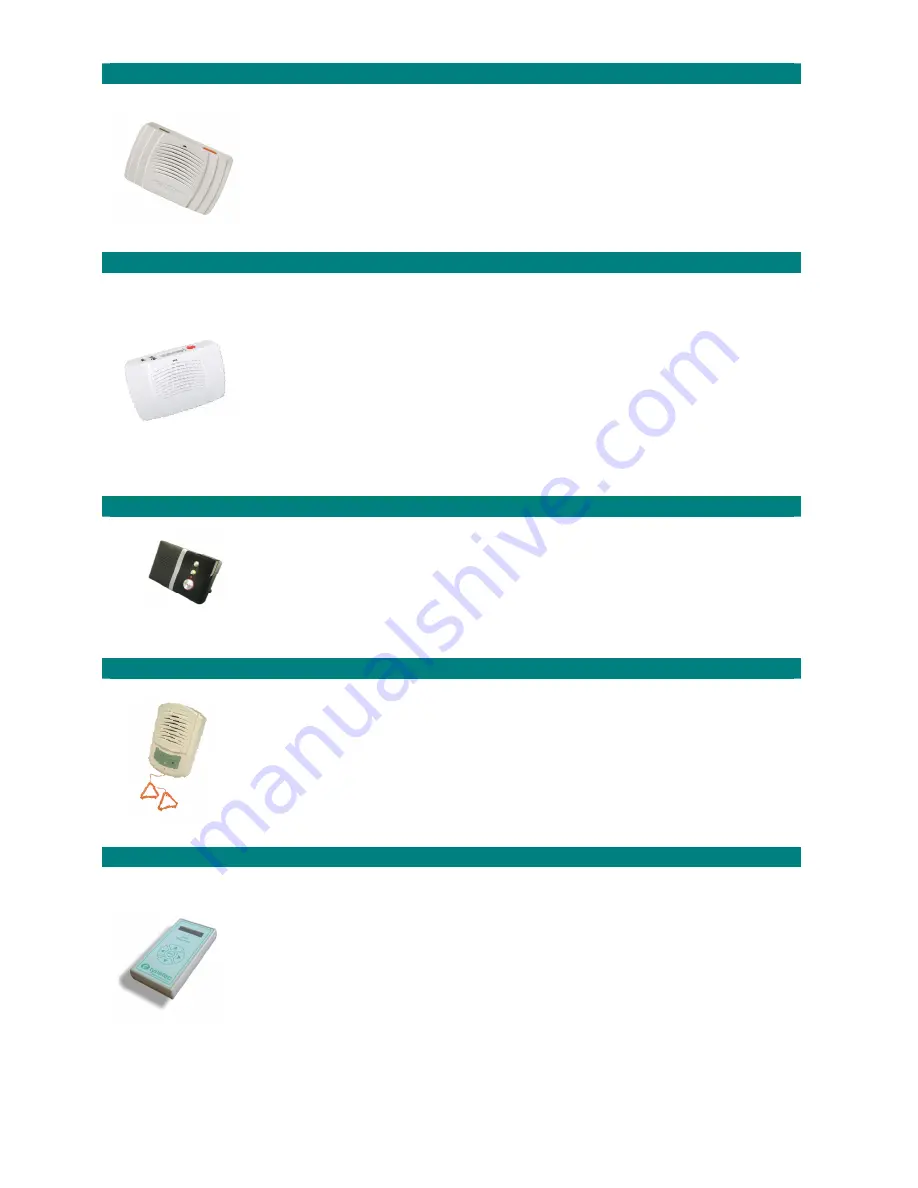
12.
LEARNING
THE
SENSOR
CONTROLLER
ONTO
A
SAYPHONE
V2
1.
Turn
the
SayPhone
V2
off,
re
‐
apply
power
and
the
front
light
will
flash
RED
/
AMBER
/
GREEN
.
2.
When
the
light
is
flashing
press
the
RED
button
once
–
the
SayPhone
V2
will
announce
“
Trigger
Radio
Device
”
and
the
front
light
will
go
steady
AMBER
.
3.
Press
the
CARER
CALL
button
–
the
SayPhone
V2
will
announce
the
“
Sensor
Type
”.
4.
Press
the
GREEN
button
on
the
SayPhone
V2
and
wait
for
about
12
seconds
until
the
front
light
goes
steady
GREEN
.
5.
Check
with
the
Control
Centre
that
it
is
convenient
to
perform
a
test
call,
press
the
CARER
CALL
button
again
and
confirm
they
receive
the
correct
call
type.
6.
See
the
SayPhone
V2
installation
&
programming
guide
(Tynetec
Doc
No.
FM0546)
for
more
information.
13.
LEARNING
THE
SENSOR
CONTROLLER
ONTO
A
SAYPHONE
21
1.
Turn
the
SayPhone
21
off,
re
‐
apply
power
and
the
front
light
will
flash
RED
/
AMBER
/
GREEN
.
2.
When
the
light
is
flashing
press
the
GREEN
z
and
GREY
T
buttons
together,
the
display
will
show
Learn
Trigger
–
Radio
Learn
.
Press
the
RED
z
button
to
confirm.
3.
Press
the
CARER
CALL
button
–
the
SayPhone
21
will
announce
the
“
Sensor
Type
”
and
the
display
will
prompt
you
for
a
Device
Location
.
4.
Use
the
GREY
ST
buttons
to
select
the
appropriate
2
digit
device
location
code
(listed
in
the
SayPhone
21
installation
manual)
then
press
the
RED
z
button
to
confirm.
5.
The
display
will
change
to
show
Trigger
Message
–
press
the
RED
z
button
several
times
to
exit
this
mode.
6.
Press
the
GREEN
z
button
on
the
SayPhone
21
and
wait
for
about
12
seconds
until
the
front
light
goes
steady
GREEN
.
7.
Check
with
the
Control
Centre
that
it
is
convenient
to
perform
a
test
call,
press
the
CARER
CALL
button
again
and
confirm
they
receive
the
correct
call
type.
8.
See
the
SayPhone
21
installation
&
programming
guide
(Tynetec
Doc
No.
FM0450)
for
more
information.
14.
LEARNING
THE
SENSOR
CONTROLLER
ONTO
A
REACH
1.
Press
and
hold
the
GREEN
|
button
until
the
Reach
announces
“
Trigger
Radio
Device
”
and
the
front
light
starts
flashing
GREEN
.
2.
Press
the
CARER
CALL
button
–
the
Reach
will
announce
the
“
Sensor
Type
”.
3.
Press
the
GREEN
|
button
to
exit
the
learn
mode.
4.
Check
with
the
Control
Centre
that
it
is
convenient
to
perform
a
test
call,
press
the
CARER
CALL
button
again
and
confirm
they
receive
the
correct
call
type.
5.
See
the
Reach
installation
&
programming
guide
(Tynetec
Doc
No.
FM0621)
for
more
information.
15.
LEARNING
THE
SENSOR
CONTROLLER
ONTO
AN
ADVENT
xt
1.
Press
the
LINE
key
on
the
Managers
DECT
telephone
and
wait
for
the
“
Ready
”
prompt.
2.
Enter
5
0
0
0
followed
by
the
key.
3.
Enter
the
flat
number
the
sensor
controller
is
being
installed
in
followed
by
the
key.
4.
Press
the
CARER
CALL
button
and
wait
for
the
“
Enter
Location
Code
”
prompt.
5.
Enter
the
appropriate
2
digit
location
code
(listed
in
the
Advent
xt
user
guide)
or
press
#
and
wait
for
the
“
Pendant
Enabled
–
Enter
Flat
”
prompt.
6.
Press
the
#
key
to
exit
the
mode
followed
by
the
LINE
key
to
clear
the
connection.
7.
Press
the
CARER
CALL
button
again
and
check
the
correct
call
type
is
reported.
8.
See
the
Advent
xt
user
guide
(Tynetec
Doc
No.
FM0420)
for
more
information.
16.
LEARNING
THE
SENSOR
CONTROLLER
ONTO
AN
ALTEC
RESPONSE
1.
From
the
main
menu
display
select
Radio
Devices
and
press
the
ENTER
key.
2.
Press
ENTER
again
and
the
display
will
prompt
you
to
“
Trigger
the
Sensor
”.
3.
Press
the
CARER
CALL
button
–
the
display
will
show
the
device
type
and
its
8
digit
ID
number.
4.
Press
the
T
key
to
select
Accept
then
press
ENTER
.
5.
The
display
will
show
Flat
,
use
the
W
&
X
keys
to
choose
the
dwelling
type
from
the
list.
6.
Press
the
T
key
to
select
No:
000000
then
press
the
ENTER
key.
Use
the
S
&
T
keys
to
select
each
digit
of
the
flat
number
and
the
W
&
X
keys
to
move
between
digits
then
press
the
ENTER
key.
7.
Press
the
T
key
and
the
display
will
show
No
Location
,
use
the
W
&
X
keys
to
choose
the
device
location
from
the
list.
8.
Press
the
T
key
several
times
to
select
Exit
then
press
the
ENTER
key.
9.
Press
the
CARER
CALL
button
again
and
check
the
correct
call
type
is
reported.
10.
See
the
Altec
Response
user
guide
(Tynetec
Doc
No.
FM0548)
for
more
information.