Minilase™ Quick Start Guide
Rev. January 2012
•
13
STEP 15:
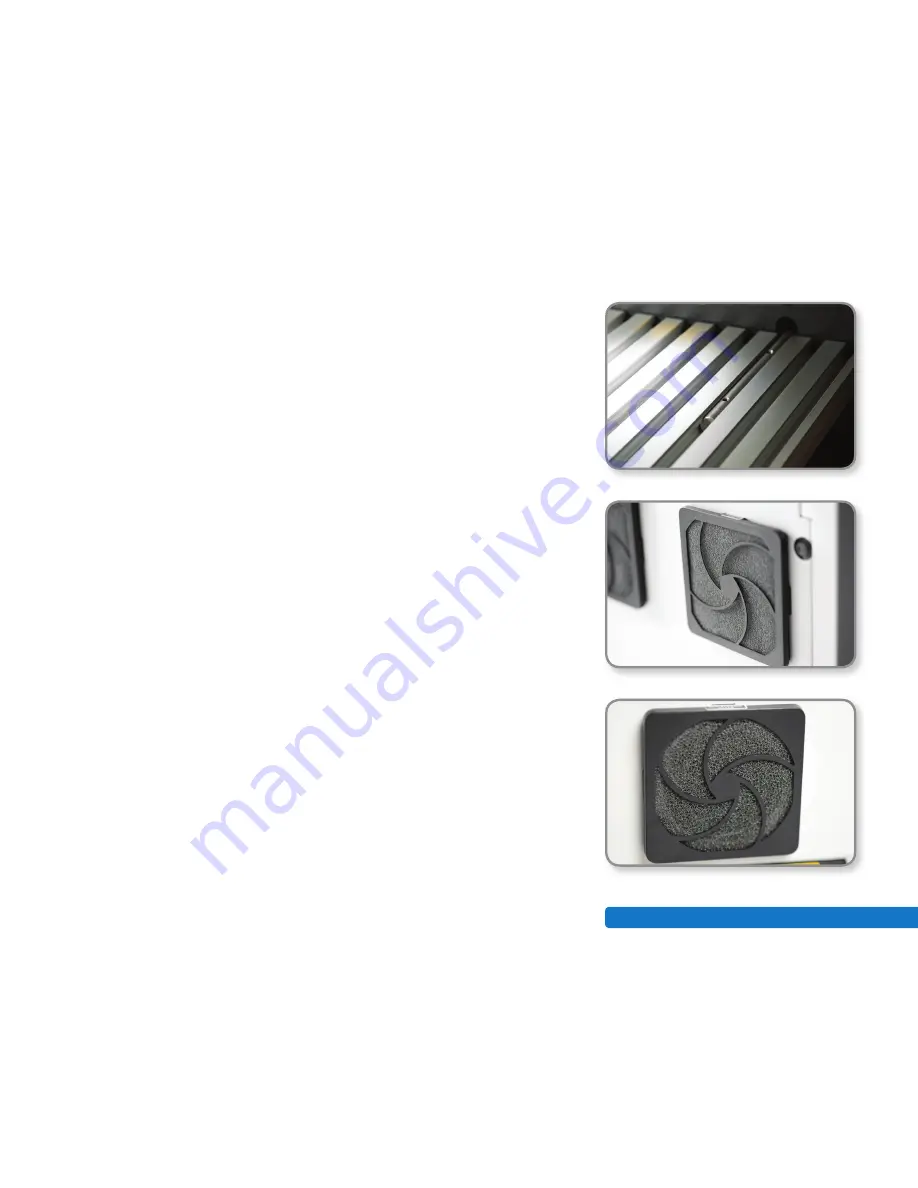
T-Slot Tool Base Customization. The T-Slot tool base can be removed for
customization and/or attaching fixtures or part holding devices. First, locate the
two set screws on the arms extending from the inside rear wall that slides into the
slots on the back of the T-Slot tool base. Once these screws are lose, the T-slot tool
base will easily slide off of the arm mounts.
STEP 16:
Maintenance. Your Minilase™ system requires very little maintenance, as
it is air cooled and contains very few mechanical or moving parts. However, there
are three cooling fans with removable dust filters that require cleaning on a routine
basis. (DO NOT BLOCK THESE PORTS DURING LASER OPERATION). Two fans are
located on the rear of the system plus one small fan located on the right side. Each
of these fans has a removable plastic cover. Simply pull on the cover with even
pressure to remove it and replace the filter material. Replacement filter material can
be purchased from TYKMA, or you can buy OEM filter material from any standard
supplier and cut it to size.
TYKMA highly recommends and provides a variety of fume extraction equipment
to minimize dust, fumes or smoke that can be created during deep marking
processes, engraving anodized surfaces, plastics and other coated materials.
Proper use and maintenance of your TYKMA Laser Marking System ensures
optimum performance, warranty coverage and prolongs equipment life. Consult
the appropriate MSDS to make sure your production operation is in compliance
with government mandated environmental safety standards.
Step 15: T-Slot Tool Base Customization.
Step 16: Rear fans.
Do not block these ports during laser operation.


