


Specific connections for certain commonly-used in-panel GPS units
Note that the information in the tables is based upon the best information available from each manufacturer’s documentation at
the time of publication. Please consult the appropriate installation manual for confirmation of wiring information.
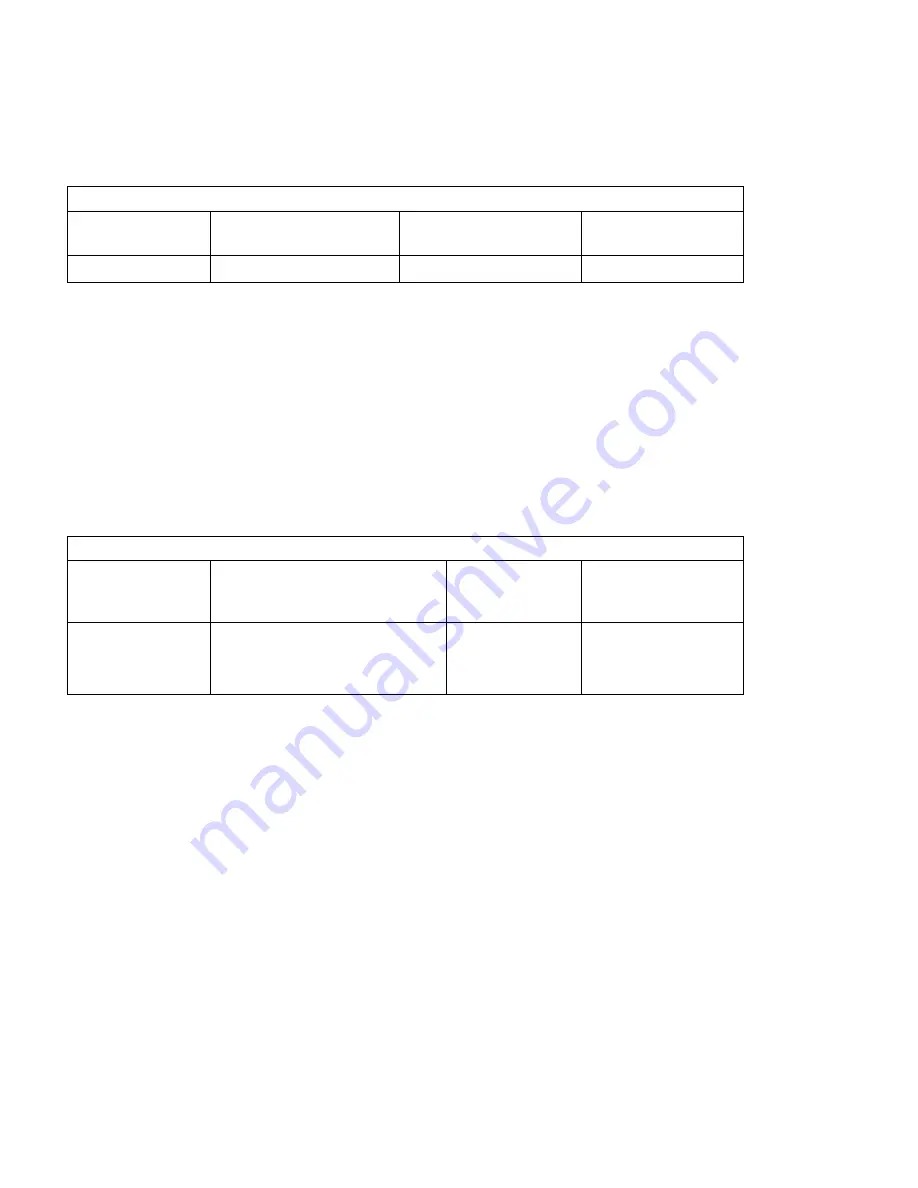
Garmin 430 and 530 connections to DigiTrak autopilot
P4001 [P5001] on
Garmin 430 [530]
Signal Name
(Garmin)
Signal Name
(DigiTrak)
P101 on
DigiTrak Autopilot
56
GPS RS 232 OUT 1
Primary Serial Input
3
Garmin 430/530 setup instructions:
Power 430/530 up and turn it on while holding down the ENT key. Release the ENT key when the display activates. After the
data base pages, the first page displayed is the MAIN ARINC 429 CONFIG page. While in Configuration mode, pages can be
selected by ensuring the cursor is off and rotating the small right knob. To change data on the displayed Configuration Page,
press the small right knob (CRSR) to turn on the cursor. Turn the large right knob to change between data fields. Turn the large
or small right knob to change a field that the cursor is on. Once you have made the desired selection, press the ENT key to
accept the entry.
Ensure that the cursor is off and use the small right knob to advance to the MAIN RS232 CONFIG page.
On the row labeled CHNL1, select OUTPUT
Î
Aviation.
Note that for the Garmin units, the autopilot will need to be set for 9600 baud.
UPSAT GX-50/60/65 connections to DigiTrak autopilot
37-Pin Connector
on UPSAT
GX-50/60/65
Signal Name
(UPSAT)
Signal Name
(DigiTrak)
P101 on
DigiTrak Autopilot
5
or
22
Use pin 5 – TxD1
or
pin 22 – TxD2
Primary Serial
Input
3
GX-50/60/65 setup instructions:
Power the GX-50/60/65 up and turn it on while holding down the leftmost and rightmost “smart keys.”
Rotate the LARGE knob to the Serial Interface Configuration “CH RX TX” page. Press SEL (the selection fields will start
flashing), rotate the LARGE knob to select the port, rotate the SMALL knob to select the desired configurations, then press
ENT when complete.
Depending upon other equipment to be driven by the GX unit, either channel 1 or channel 2 may be chosen. If another piece of
equipment is to be driven by the GX unit, and that equipment uses the MOVING MAP format, then the DigiTrak can be driven
from the same pin as the other external equipment. (The GX unit will not allow for both of its output channels to be set to the
same output format). If there is no other equipment other than the DigiTrak to be driven by the GX unit, simply use channel 1
(pin 5) on the GX unit.
Select “MOVING MAP” For CH 1, Tx column and wire pin 3 on the DigiFlight to pin 5 of the GX unit,
OR
Select “MOVING MAP” For CH 2, Tx column and wire pin 3 on the DigiFlight to pin 22 of the GX unit.
To restore the GX-50/60/65 to normal operation, switch its power off, then back on.
Note that for the GX-50/60/65 units, the autopilot will need to be set for 9600 baud.
TruTrak Flight System Digitrak Installation & User Guide
4 October 2002 Printing


