background image

TRUST 240H EASY WEBSCAN GOLD 

10 

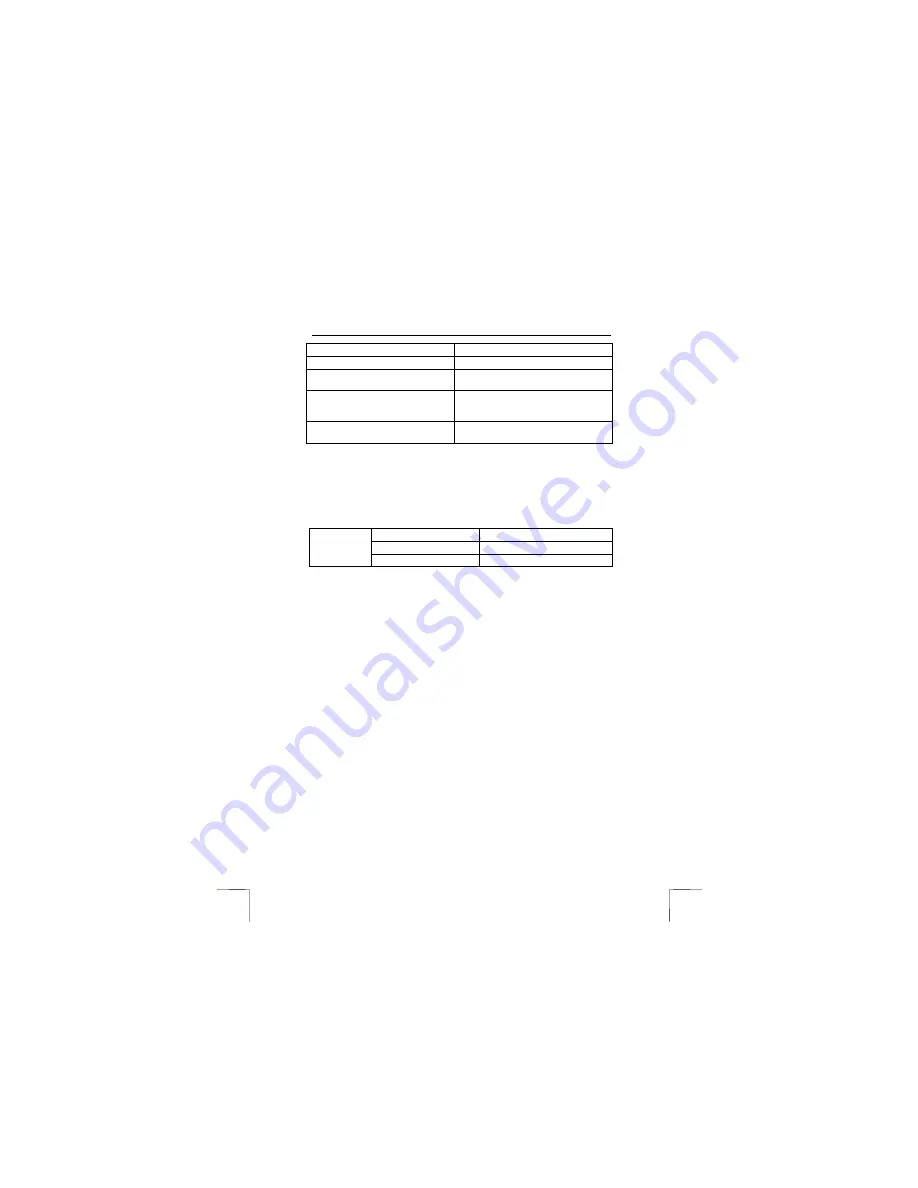
Function Description 

Mirror 

Vertically mirrors the image. 

Prescan Image Area Auto Detection 

This function automatically detects the 
size of the scanned image. 

Colour correction 

Select ‘Colour Correction’ to give a true-
to-life representation of the colours of the 
scanned area. 

Colour/Grey Depth 

Colour depth settings – 24/8 bit or 48/16 
bit. 


5.2.1.3 Monitor 

calibration 

Click on the ‘Monitor’ tab in the main TWAIN window (see figure 4). Figure 7 will 
appear. The hue of the scanned area can be altered in this window. When printing 
the scanned image, exactly the same hue will be printed as the alterations given in 
this window. 
See the table below for the various functions available in the ‘Monitor’ tab. 

‘Gamma Adjustment’ 

Alters the ‘Gamma’ settings. 

‘Gain Adjustment’ 

Alters the ‘Gain’ settings. 

Monitor 
calibration 

‘Reset monitor calibration’ 

Returns to the default settings. 

5.3 

Making a scan 

Follow the instructions given below to make a scan (also see figure 4). 
1. 

Place the image or document facing downwards on the glass plate. 

2. 

Use the mouse to click on ‘Make a preview of the image’ (A) to make a 
preview of the scan. 

3. 

Use the mouse in the ‘Preview’ window (F) to select the area that you wish 
to scan. 

4. 

Select the ‘Easy’ tab. 

5. 

For ‘Scan Object’, select the type of image that you wish to scan. 

6. 

For ‘Destination’, select the location that you wish to send the scanned 
image to. 

7. 

Use the mouse to click on ‘Scan the image’ (C) to make a scan. The result 
will be copied to the specified location. 

Tip: 

The scan process can be interrupted by clicking on ‘Cancel’. 

5.4 

Using the scanner in Photo Express 

Ulead Photo Express 4.0 SE has many options for editing your scanned images, 
such as: 

Adding and altering colours. 

Adding text to the image. 

Adding various effects to the image, such as ‘Morphing’. 

Making postcards and greetings cards using the image. 

And many more. 

Summary of Contents for 240H EASY WEBSCAN GOLD

Page 1: ...uch of a button 2 Safety Carefully read the following instructions before use The TRUST 240H EASY WEBSCAN GOLD does not require any special maintenance Use a slightly damp soft cloth to clean the scan...

Page 2: ...ing to unlock the scanner 1 Remove the scanner from the packaging and turn the scanner upside down 2 Use a small coin for example a five pence piece to unlock the transport lock by turning it anticloc...

Page 3: ...the installation 4 Click on Install TextBridge Pro Millennium to continue with the installation 5 Click on Next 6 Select the option to accept the license agreement and click on Next 7 Fill in your nam...

Page 4: ...computer in order to read the Photo Express instruction manual This program is included on the Ulead CD ROM and the Trust CD ROM On the Trust CD ROM open the Acrobat folder and double click on the Se...

Page 5: ...ferent operating systems 5 Using the scanner Scans can be made in two different ways using the Trust 240H Easy Webscan Gold namely via the ScanPanel application the easiest way or via the TWAIN interf...

Page 6: ...your default OCR application TextBridge Pro Millennium where the document is converted into a text file The text file can now be edited using a word processing program Exit Closes the ScanPanel applic...

Page 7: ...IN window F Preview window Shows a preview scan of the image G Pixels Inch cm selection button Displays the width and height of the selected area in pixels inches or cm in the information window H H I...

Page 8: ...if the TWAIN window has been opened from the application Send image to disk Saves the scanned image to your hard disk Send image to printer Sends the scanned image to the printer Send image to fax Sen...

Page 9: ...Remove The properties of the area can be viewed by clicking on Property Calibrate scanner Calibrates the scanner Image Enhancement Tools Settings for improving the quality of the image Figure 6 will...

Page 10: ...ion Reset monitor calibration Returns to the default settings 5 3 Making a scan Follow the instructions given below to make a scan also see figure 4 1 Place the image or document facing downwards on t...

Page 11: ...it colours the TIF file format must be selected for File type C This is the only format which can handle 48 bit colours 8 Click on Acquire D to open the scanner s TWAIN interface window see figure 9 9...

Page 12: ...ller which appears automatically when the application CD ROM is inserted into your CD ROM drive Also see the program s extensive Help function 6 Maintenance Regularly clean the glass plate with a soft...

Page 13: ...ministrator before installing the scanner The USB port is switched off in the BIOS of your computer Consult the manual of your computer for switching on the USB port Windows does not detect any new ha...

Page 14: ...ean the glass of the scanner thoroughly See chapter 6 Scanner is set to a very high resolution In practise a maximum resolution of 600dpi is sufficient Only use higher resolutions for small original i...

Page 15: ...R result Resolution set too low Use a higher resolution when scanning the document Scanner does not function on a notebook Notebook battery voltage is insufficient for the USB scanner Use an external...

Reviews: