7.
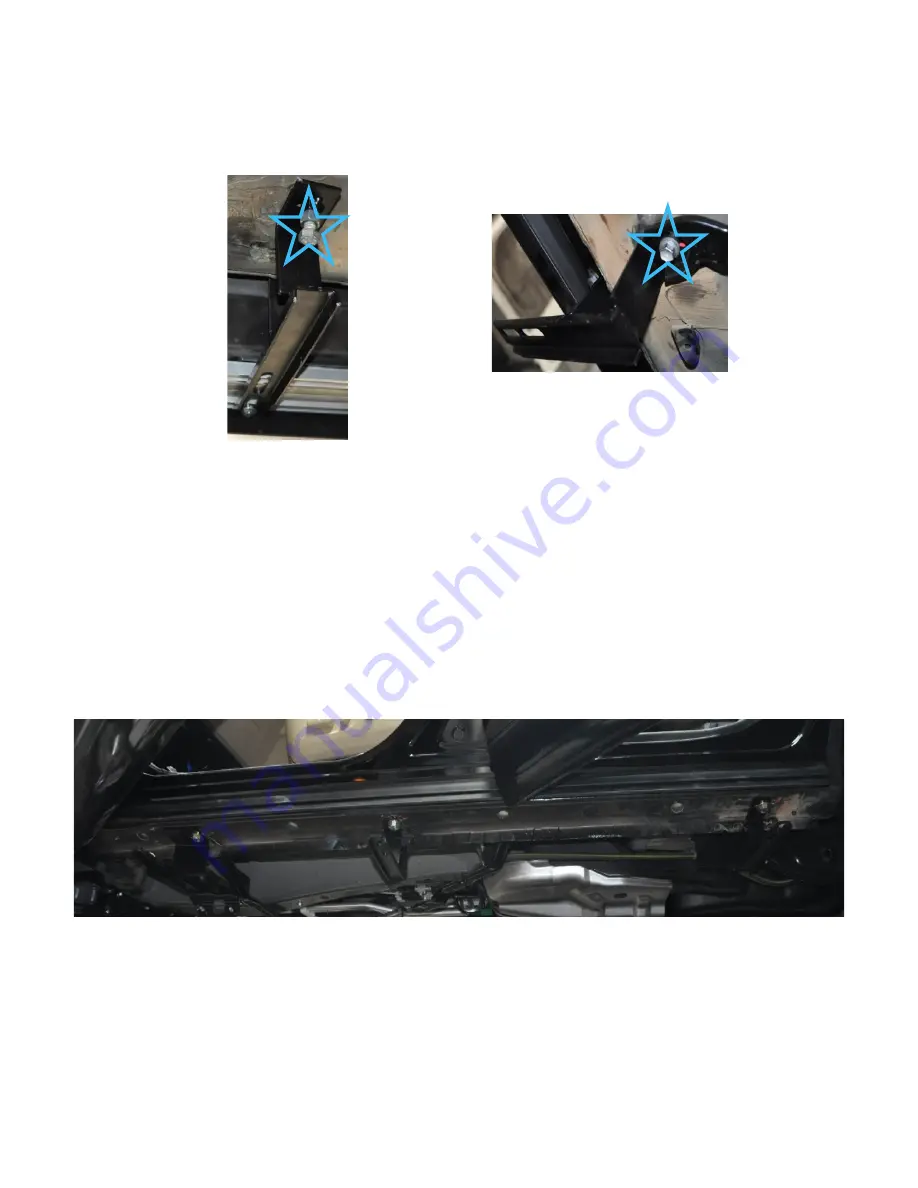
The holes indicated with a blue star / star; ensure that one middle bracket has a large hex bolt with a hex
nut attached, let’s call it
Middle Bracket A
. Then ensure that the other one does not have any bolts or
nuts on it, let’s call this one
Middle Bracket B
.
Figure 6: Middle Bracket B
Figure 5: Middle Bracket A
a)
Middle Bracket A:
This one is for the Driver’s Side and will require you to tighten the bolt until the
bracket is on the same level as the front and rear brackets.
b)
Middle Bracket B:
This one is for the Passenger’s Side and will require you to use the original bolts,
nut, and screws that came with the vehicle. If not, then you will have to purchase them separately at a
local hardware store nearby.
8.
For the holes indicated with a green square / square; ensure that you have a set of
8mm x 15mm x 60mm
T-Bolts, 8mm Bolt Nuts, 8mm Flat Washers,
and
8mm Lock Washers
. These will lock the rear brackets in
place on the vehicle.
Figure 7: Driver’s Side with all brackets installed
9.
Place the running board on the brackets with Side A as the Front and Side B as the rear as indicated on
Figures 8 and 9 on the next page.


